
How to Seal Diamond Painting?
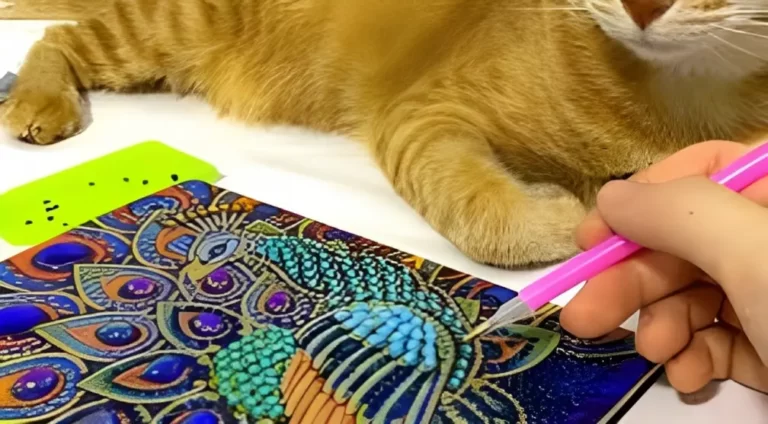
Diamond painting is a popular craft that involves placing tiny resin rhinestones, also known as “diamonds,” onto a canvas to create stunning and vibrant artwork. Once you have completed your diamond painting masterpiece, it is essential to seal it properly to ensure the longevity and preservation of your hard work.
In this article, we will guide you through the step-by-step process of sealing your diamond painting, providing you with valuable tips and techniques. Let’s dive in!
.
Why is Sealing Important?
Sealing your diamond painting serves multiple purposes. Firstly, it provides a protective barrier that prevents the diamonds from becoming loose or falling off the canvas. This is especially important if you plan to display or handle your diamond painting frequently. Secondly, sealing adds a glossy finish that enhances the vibrancy of the diamonds, making your artwork appear more visually appealing.
Additionally, sealing protects your diamond painting from dust, moisture, and potential damage caused by UV rays. Now that you understand the importance of sealing, let’s gather the materials you will need.
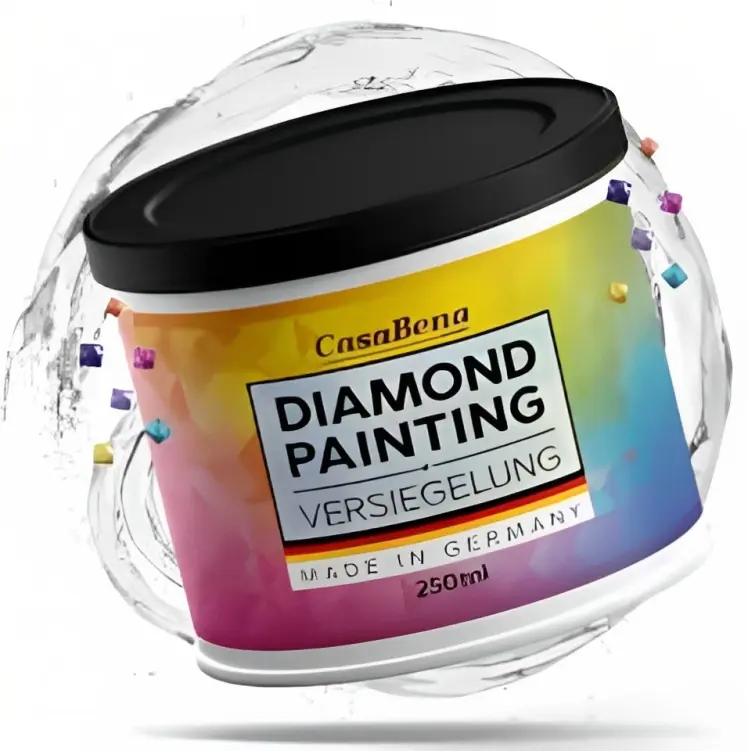
Materials You Will Need
Before you begin the sealing process, gather the following materials:
Once you have gathered all the necessary materials, it’s time to prepare your diamond painting for sealing.
Preparing Your Diamond Painting
Before sealing, ensure that your diamond painting is completely free of dust, lint, or any other particles. Use a clean cloth or lint roller to gently remove any debris from the surface of the canvas. This step is crucial as it helps achieve a smooth and flawless finish. Once your diamond painting is clean, let’s explore different sealing methods.
Sealing Methods
There are various methods available for sealing diamond paintings. The most commonly used methods include clear adhesive spray, brush-on sealers, and liquid glass sealers. Let’s take a closer look at each method and its application process.
Clear Adhesive Spray
Clear adhesive spray is a popular choice for sealing diamond paintings due to its ease of use. Here’s how to apply it:
Brush-on Sealers
Brush-on sealers provide more control over the application process and are ideal for sealing small or intricate diamond paintings. Follow these steps to seal your diamond painting using a brush-on sealer:
Liquid Glass Sealers
Liquid glass sealers offer a unique, glass-like finish that enhances the appearance of diamond paintings. Here’s how to apply a liquid glass sealer:
Step-by-Step Sealing Process
Now that you are familiar with different sealing methods, let’s explore the step-by-step process of sealing your diamond painting.
Lay Your Diamond Painting on a Flat Surface
Start by laying your diamond painting on a clean and flat surface. Ensure that the canvas is free from any creases or wrinkles.
Clean the Surface
Use a clean cloth or lint roller to gently remove any dust or debris from the surface of the canvas. This step is crucial for achieving a smooth and flawless finish.
Choose Your Sealing Method
Select the sealing method that suits your preferences and the size of your diamond painting. Whether you opt for a clear adhesive spray, brush-on sealer, or liquid glass sealer, make sure you have all the necessary materials at hand.
Start Sealing
Follow the specific instructions for your chosen sealing method to apply the sealer to your diamond painting. Ensure that you apply an even coat, covering all the diamonds and the gaps between them.
Allow the Sealer to Dry
After applying the sealer, allow your diamond painting to dry for the recommended time. This duration may vary depending on the type of sealer you are using. Be patient and avoid touching the surface until it is completely dry.
Apply Additional Coats (Optional)
If desired, you can apply additional coats of sealer to enhance the protection and finish of your diamond painting. Ensure that each coat is dry before applying the next one. Remember to follow the manufacturer’s instructions for the best results.
Tips for Successful Sealing
To ensure successful sealing of your diamond painting, consider the following tips:
By following these tips, you can achieve a professional and long-lasting seal for your diamond painting.
Conclusion
Sealing your diamond painting is a crucial step in preserving its beauty and protecting your hard work. By following the step-by-step process outlined in this article and considering the tips provided, you can ensure a successful sealing experience. Remember to choose the sealing method that suits your preferences and gather all the necessary materials before starting. With proper sealing, your diamond painting will maintain its brilliance and vibrancy for years to come.
4 Comments