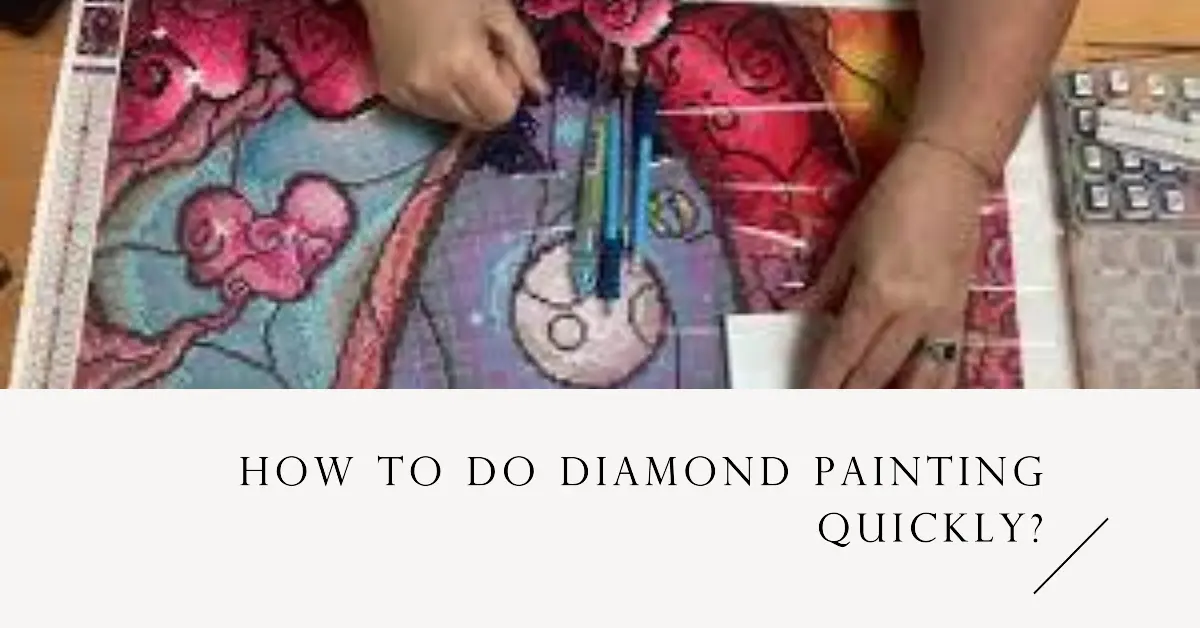
Diamond painting has gained immense popularity in recent years as a creative and relaxing hobby. It combines the joy of painting with the sparkle and elegance of diamonds, resulting in stunning and intricate artwork.
If you’re new to diamond painting or looking to improve your speed and efficiency, this article will guide you through the process step-by-step and provide helpful tips to complete your diamond painting quickly.
Before you embark on your diamond painting journey, it’s essential to gather the necessary supplies and set up a comfortable workspace. Start by choosing a diamond painting kit that appeals to you.
These kits typically include a canvas with a printed design, colored diamonds, a tray for organizing the diamonds, a diamond applicator tool, and wax or gel for picking up the diamonds.
Prepare your workspace by clearing a clean and well-lit area where you can comfortably work on your diamond painting project.
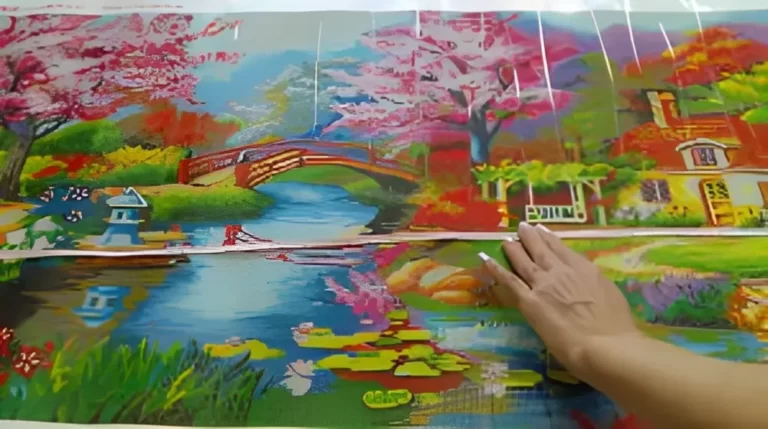
Lay out the canvas on a flat surface and ensure that it remains undisturbed throughout the process. Familiarize yourself with the canvas, which is divided into numbered or colored sections that correspond to the diamond colors.
Sorting the diamonds: Begin by sorting the diamonds according to their colors. Use the provided tray or small containers to keep the diamonds organized and easily accessible.
Applying the adhesive: Peel back a small section of the protective film covering the canvas, revealing the sticky surface underneath. Apply a small amount of wax or gel to the diamond applicator tool, which helps in picking up the diamonds effortlessly.
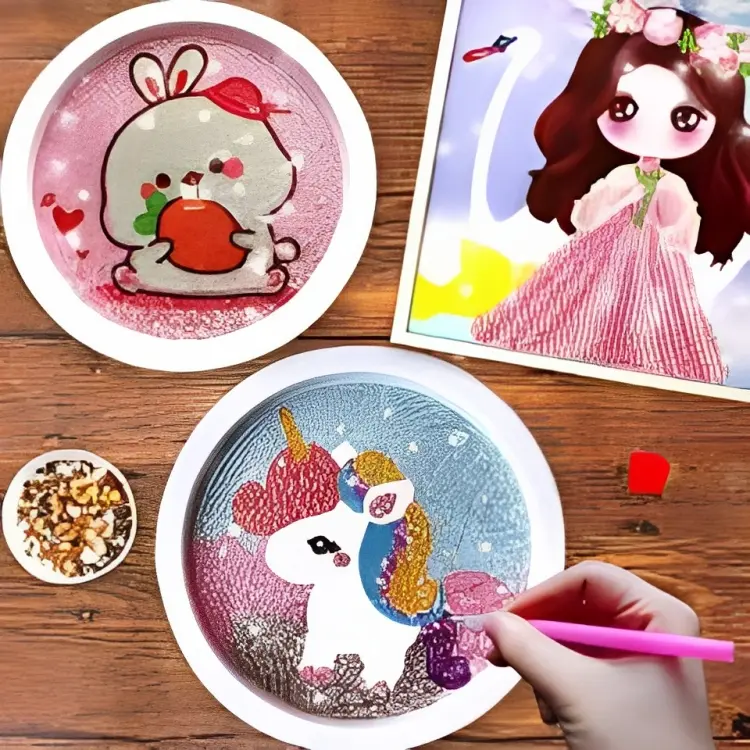
Placing the diamonds on the canvas: Dip the diamond applicator tool onto the flat side of a diamond, ensuring it adheres to the tool’s tip. Gently press the diamond onto the corresponding symbol or color on the canvas. Repeat this process for each diamond, working one color at a time.
Using a roller or flat surface: After placing several diamonds, use a roller or a flat surface to apply gentle pressure over the canvas. This step helps in ensuring that the diamonds are firmly attached to the adhesive surface.
Repeating the process: Continue applying diamonds and rolling the canvas until you complete your diamond painting. Take breaks if needed, but try to maintain a steady pace to avoid losing focus or motivation.
Tips for Speeding Up the Diamond Painting Process
While diamond painting is a leisurely activity, there are several techniques you can employ to speed up the process without compromising the quality of your artwork. Here are some helpful tips:
Organizing diamonds: Use containers or trays to sort your diamonds according to their colors or numbers. This organization will allow you to locate specific diamonds quickly, saving time during the placement process.
Multi-diamond applicators: Consider using multi-diamond applicator tools that can pick up multiple diamonds at once. This accelerates the placement process, especially for larger sections of the canvas.
Working in sections: Instead of focusing on the entire canvas at once, divide it into smaller sections. This approach helps you maintain concentration and work efficiently, completing one section at a time.
The “pouring method”: For large areas that require the same diamond color, utilize the “pouring method.” Simply pour the diamonds onto the canvas, spread them evenly, and use the diamond applicator tool to press them down. This technique can significantly speed up the process.
Wax or gel: Applying a small amount of wax or gel on the diamond applicator tool helps in picking up diamonds more easily. The wax or gel creates a tacky surface that ensures the diamonds adhere to the tool, reducing the chances of dropping or misplacement.
Additional Techniques for Quick Diamond Painting
Apart from the general tips mentioned above, here are a few additional techniques that can further enhance your speed and efficiency while diamond painting:
Double-sided adhesive sheets: For larger and more intricate projects, consider using double-sided adhesive sheets instead of a canvas. These sheets provide a larger working area and allow you to place diamonds more quickly.
Light pads or lightboxes: If you find it challenging to see the symbols or numbers on the canvas, a light pad or lightbox can be immensely helpful. These devices illuminate the canvas from beneath, making it easier to identify and place the diamonds accurately.
Tweezers or pen tool: Some individuals find it more convenient to use tweezers or a pen tool instead of the standard diamond applicator. Experiment with different tools and choose the one that feels most comfortable and efficient for you.
The “start from the center” method: When starting a diamond painting, consider beginning from the center of the canvas and working your way outward. This method ensures a balanced design and minimizes the risk of running out of space or misalignment.
As with any hobby or project, maintaining motivation and overcoming challenges is crucial. Here are a few tips to help you stay inspired and enjoy the diamond painting process:
Take breaks: Diamond painting can be time-consuming, so it’s essential to take regular breaks to rest your eyes and prevent fatigue. Stretch, hydrate, and engage in other activities to rejuvenate yourself before returning to your project.
Listen to music or podcasts: Enhance your diamond painting experience by listening to your favorite music or podcasts. This can make the process more enjoyable and help you stay focused for longer periods.
Join online communities: Engage with other diamond painting enthusiasts by joining online communities or forums. Share your progress, seek advice, and find inspiration from the work of fellow artists. These communities can provide a valuable support network throughout your diamond painting journey.
Dealing with errors: Mistakes happen, even in diamond painting. If you accidentally place a diamond in the wrong spot, don’t worry. Gently remove the diamond using tweezers or the sticky side of the diamond applicator, and place it in the correct position. Remember, diamond painting is a relaxing activity, and mistakes can be fixed without much difficulty.
Completing and Displaying Your Diamond Painting
Once you’ve finished placing all the diamonds and completed your diamond painting, it’s time to give it the final touches and display it proudly. Follow these steps:
Sealing the finished artwork: To protect your diamond painting and ensure the diamonds remain in place, apply a sealant or clear adhesive spray over the entire canvas. This step will prevent the diamonds from shifting or falling off over time.
Framing or mounting: Consider framing your completed diamond painting to give it a polished and professional look. Alternatively, you can mount it on a wooden board or stretch it on a frame, depending on your preference and the size of the artwork.
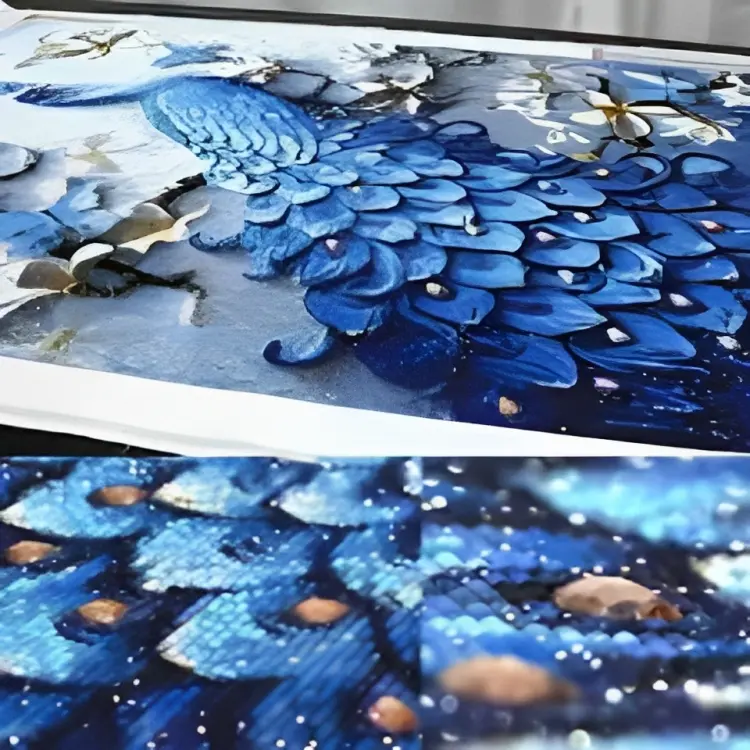
Showcasing your masterpiece: Display your diamond painting in a prominent place in your home or gift it to a loved one. The sparkling diamonds and intricate design are sure to catch the attention of anyone who sees it.
Conclusion
Diamond painting offers a delightful way to express creativity and create stunning artworks. By following the step-by-step process and implementing the tips provided in this article, you can complete your diamond painting quickly while enjoying the therapeutic and relaxing benefits it offers.
Remember to maintain motivation, seek inspiration from others, and embrace the process as a rewarding journey. So gather your supplies, find a comfortable workspace, and let the diamonds sparkle as you embark on your diamond painting adventure!
Yes, there are custom diamond painting kits available that allow you to turn your own photos or artwork into diamond paintings. Simply upload your image, select the size and shape of the canvas, and receive a personalized diamond painting kit.
A2: The time it takes to complete a diamond painting varies depending on the size, complexity of the design, and your own pace. Smaller projects can be finished in a few hours or days, while larger ones may take weeks or even months.
A3: If you run out of diamonds in a specific color, reach out to the manufacturer or supplier of your diamond painting kit. They will typically provide replacement diamonds or guide you on how to obtain the missing color.
A4: Diamond painting can be enjoyed by children, but adult supervision is recommended, especially for younger kids. Ensure that children do not put the diamonds in their mouths and handle the tools safely.
A5: Yes, you can frame a diamond painting without glass, especially if you want to showcase the texture and sparkle of the diamonds. However, framing it with glass can provide additional protection from dust and physical damage.
I'm William, a diamond painting enthusiast. Through my site diamond-paint.com, I offer tips, tricks, and resources for creating stunning works of art. Join me on this journey of self-expression and artistic fulfillment!
Diamond painting is a captivating and relaxing craft that allows you to create stunning pieces of art using tiny, flat-backed rhinestones. While diamond painting can be done on various canvas sizes, working on a large diamond painting can present unique challenges. In this article, we will guide you through the process of tackling a large…
Diamond painting is a popular and enjoyable craft that allows you to create stunning artwork using small resin diamonds. To achieve the best results, it’s important to properly section off your diamond painting. In this article, we will guide you through the process and provide valuable tips for effective sectioning. Understanding Diamond Painting Before we…
Diamond painting has become a popular craft activity that combines the creativity of painting with the sparkle of diamonds. To create stunning diamond art, one essential tool is diamond painting wax. This wax plays a crucial role in picking up the tiny diamond drills and placing them accurately on the canvas. In this article, we…
Diamond painting has taken the creative world by storm, captivating craft enthusiasts with its blend of relaxation, mindfulness, and dazzling results. While traditional diamond paintings are typically done on canvases, there’s a whole world of unconventional materials waiting to be transformed into sparkling masterpieces. In this article, we’ll dive into the exciting realm of diamond…
Diamond painting is a popular craft that combines the art of painting with the sparkle of diamonds. It involves placing colorful resin rhinestones, also known as drills or diamonds, onto a canvas to create stunning mosaic-like designs. One essential tool used in diamond painting is paddywax, a special wax adhesive that helps secure the diamonds…
Diamond painting has gained popularity as a therapeutic and artistic hobby. After hours of meticulous work pasting diamond drills onto the canvas, the next step is to frame and display the finished diamond painting. Framing adds a professional touch and allows you to showcase your hard work to the world. In this article, we will…


2 Comments