
How to Make Paddywax for Diamond Painting?
Diamond painting is a popular craft that combines the art of painting with the sparkle of diamonds. It involves placing colorful resin rhinestones, also known as drills or diamonds, onto a canvas to create stunning mosaic-like designs. One essential tool used in diamond painting is paddywax, a special wax adhesive that helps secure the diamonds to the canvas. In this article, we will guide you through the process of making paddywax for diamond painting, allowing you to enhance your diamond painting experience.
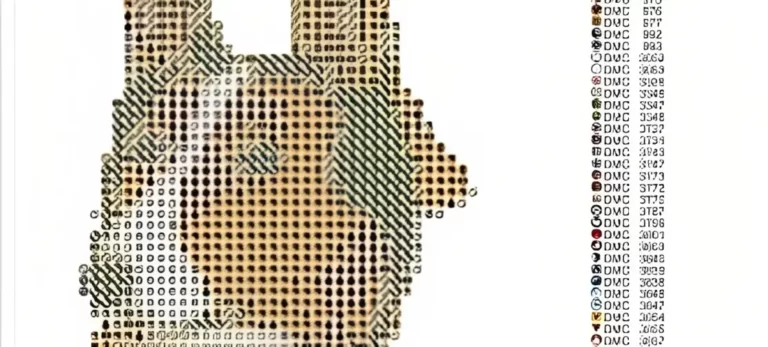
What is Diamond Painting?
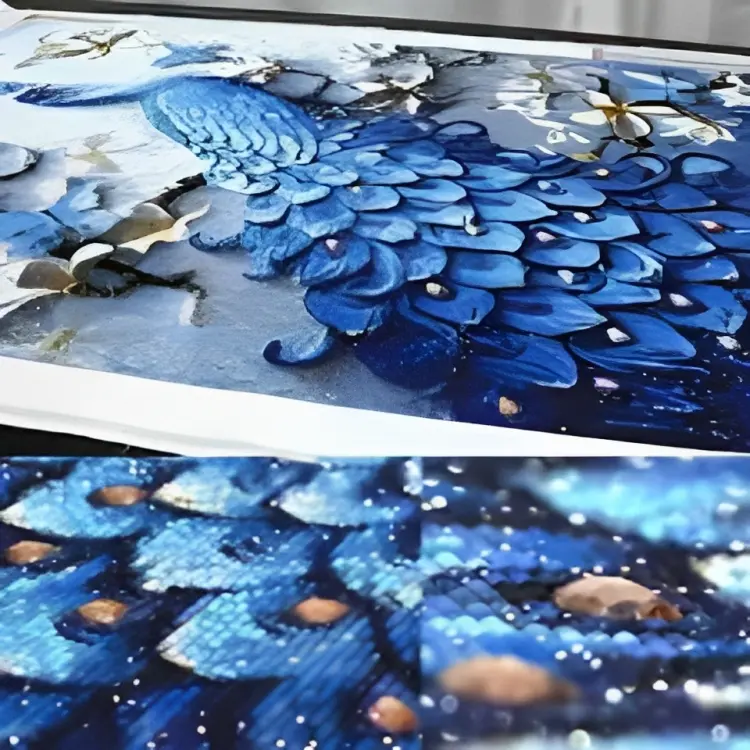
Diamond painting is a relaxing and creative craft that originated from the concept of paint by numbers. It involves using tiny, faceted resin diamonds to create vibrant and intricate designs on a canvas. Each diamond corresponds to a specific color on the canvas, and by placing the diamonds carefully, a beautiful artwork emerges.
Understanding Paddywax
Paddywax is a type of wax adhesive specially designed for diamond painting. It acts as a tacky surface that holds the diamonds in place on the canvas, preventing them from shifting or falling off.
Paddywax is particularly useful when working with larger diamond paintings or designs with intricate details, as it provides a stronger bond and improves the overall durability of the finished artwork.
Benefits of Using Paddywax in Diamond Painting
Using paddywax in your diamond painting process offers several benefits. Firstly, it ensures that the diamonds stick securely to the canvas, reducing the risk of diamonds popping out or shifting during the creation process. This adhesive property also helps in maintaining the alignment and overall appearance of the artwork.
Additionally, paddywax makes it easier to pick up the diamonds using a diamond applicator tool. The wax creates a slight stickiness on the tip of the applicator, allowing you to effortlessly pick up the diamonds and place them precisely on the canvas. It simplifies the process and saves time compared to using alternative methods like tweezers or adhesive sheets.
Materials Required for Making Paddywax
Before we dive into the process of making paddywax, let’s gather the materials you’ll need:
- Beeswax or paraffin wax
- Adhesive putty or adhesive tack
- Microwave-safe container
- Microwave or double boiler
- Stirring utensil
Make sure to have these materials ready before proceeding to the next section.
Step-by-Step Guide: How to Make Paddywax for Diamond Painting
Step 1: Gather the Ingredients
To make paddywax, you’ll need beeswax or paraffin wax and adhesive putty or adhesive tack. Beeswax is a natural option, while paraffin wax is a synthetic alternative. Both work well for diamond painting.
Step 2: Melt the Wax
Place the wax in a microwave-safe container and melt it in the microwave or using a double boiler on the stovetop. Follow the instructions on the wax packaging for the appropriate melting method and temperature.
Step 3: Add the Adhesive
Once the wax has melted, add a small amount of adhesive putty or adhesive tack to the container. The adhesive will provide the stickiness required for diamond painting.
Step 4: Mix Thoroughly
Using a stirring utensil, mix the melted wax and adhesive putty or tack until they are well combined. Ensure that the adhesive is evenly distributed throughout the wax.
Step 5: Allow the Paddywax to Cool
Let the mixture cool and solidify. This may take a couple of hours, depending on the type of wax used. Once the paddywax has solidified, it is ready to use for your diamond painting projects.
Using Paddywax in Diamond Painting
Applying paddywax to your diamond painting canvas is simple and effective. After preparing your canvas and sorting your diamonds by color, follow these steps:
Applying Paddywax to the Diamond Painting Canvas
- Take a small amount of paddywax and roll it into a ball using your fingers.
- Press the wax ball gently against the tip of the diamond applicator tool.
- The wax will adhere to the applicator, providing a tacky surface for picking up diamonds.
- Pick up a diamond using the applicator tool, and it will stick to the wax on the tip.
- Carefully place the diamond onto the corresponding symbol on the canvas, pressing it down lightly.
- Repeat the process for each diamond until your artwork is complete.
Benefits of Using Paddywax During the Diamond Painting Process
Using paddywax offers several advantages during the diamond painting process. It enhances the grip between the diamonds and the applicator, making it easier to handle and place the diamonds accurately. It also reduces the risk of diamonds falling off the canvas, ensuring a long-lasting and visually appealing artwork.
Tips and Tricks for Using Paddywax
Here are some tips and tricks to make the most of your paddywax:
Storing Paddywax Properly
To preserve the quality of your paddywax, store it in an airtight container or wrap it tightly with plastic wrap. This prevents the wax from drying out and maintains its adhesive properties.
Applying the Right Amount of Paddywax
Use a small amount of paddywax on the diamond applicator. Applying too much wax can result in excess buildup on the canvas, making it difficult to see the symbols clearly.
Avoiding Excess Wax Buildup
If you notice excess wax buildup on the canvas, gently wipe it off with a clean cloth or tissue. This ensures that the symbols remain visible and the diamonds adhere properly.
Conclusion
Paddywax is an essential tool for diamond painting enthusiasts, providing a reliable adhesive solution for securing diamonds to the canvas. By following the step-by-step guide on making paddywax and incorporating it into your diamond painting process, you can enhance the precision, durability, and overall enjoyment of your artwork. Enjoy the creative journey as you bring your diamond painting masterpieces to life!

One Comment