
How to Make a Diamond Painting Pattern: A Comprehensive Guide
Diamond painting is a popular craft that combines elements of cross-stitch and paint-by-numbers. While many diamond painting enthusiasts enjoy working with pre-made kits, creating your own diamond painting pattern can be a rewarding and unique experience.
In this guide, we will walk you through the step-by-step process of making your own diamond painting pattern from start to finish.
Gathering Materials and Tools
Before you begin creating your diamond painting pattern, it’s important to gather all the necessary materials and tools. Here’s a list of items you’ll need:
These materials and tools will help you in the process of creating and executing your diamond painting pattern.
Choosing a Design
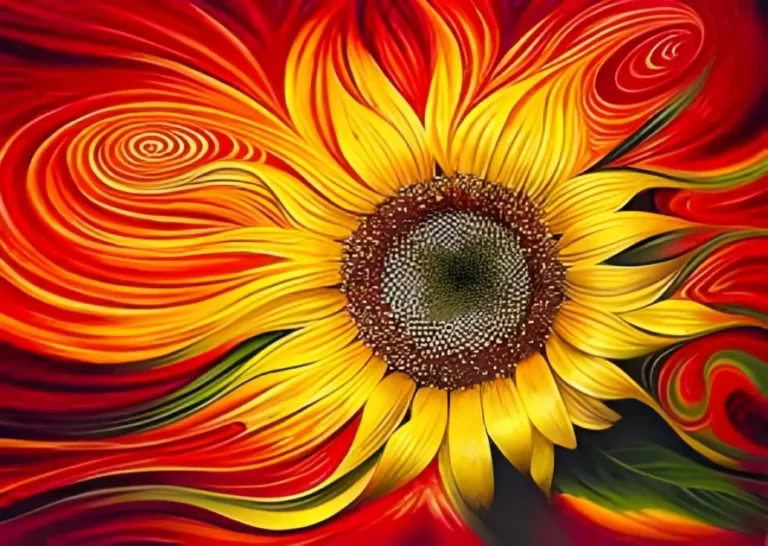
The first step in making a diamond painting pattern is selecting a design. You can draw inspiration from various sources such as photographs, artwork, or even create your own design. Keep in mind any copyright or licensing considerations when choosing an image.
Once you have a design in mind, ensure it is clear and detailed enough to translate well into a diamond painting pattern.
Preparing the Canvas
Before you start charting your pattern, it’s essential to prepare the canvas. Most diamond painting canvases come with a pre-printed grid, but if yours doesn’t, you can create a grid using a ruler and pencil.
Alternatively, you can use a light pad to trace the grid onto the canvas. Having a clear and well-defined grid will make the charting process much easier.
Creating the Pattern
To create the diamond painting pattern, you’ll need to transfer the image onto the canvas grid. Start by simplifying the image, removing unnecessary details, and reducing it to its basic shapes.
Then, using the colors of diamond beads you have, determine the placement of each color on the canvas grid. This is where the use of symbols and labels becomes crucial for easy reference while working on the pattern.
Selecting Diamond Colors
Matching the colors of diamond beads to the image is an important step in creating a diamond painting pattern. Refer to color charts and references, such as those used in DMC Embroidery thread, to ensure accurate color selection.
Consider factors like color accuracy and contrast to make your pattern visually appealing and true to the original image.
Mapping the Chart
Divide the canvas into manageable sections and map out the diamond placement for each section. This helps you stay organized and prevents confusion while working on the pattern.
Use symbols and labels to mark each section and denote the color of diamond beads required for that specific area.
Finalizing the Pattern
Review your pattern for accuracy, making any necessary adjustments. Ensure that the pattern is clear, easy to follow, and visually pleasing. Add any finishing touches or details to enhance the overall appearance of the pattern.
Printing and Testing the Pattern
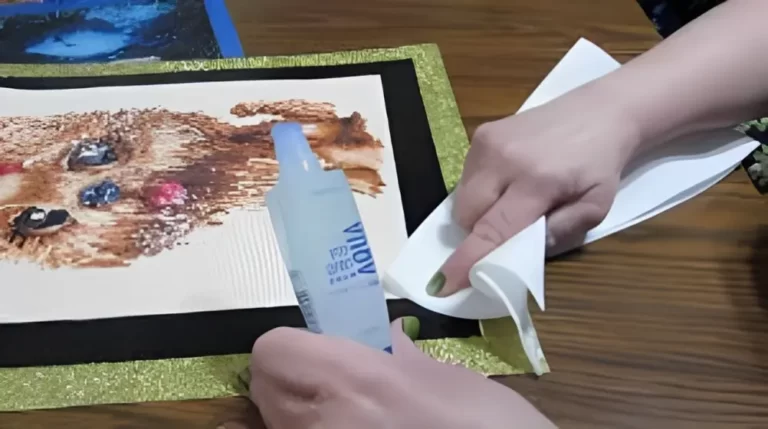
Print the finalized pattern on suitable paper, such as heavy cardstock, to ensure durability. Check the clarity and legibility of the chart before proceeding.
Additionally, test the pattern on a small scale, using a portion of the canvas, to ensure that the diamond placement aligns with your intended design.
Sharing and Distributing the Pattern
If you wish to share or sell your diamond painting pattern, it’s important to protect your work with copyrights. Explore different platforms and communities dedicated to diamond painting where you can share your pattern and receive feedback.
Collaboration with fellow diamond painters can also lead to valuable insights and inspiration.
Tips for Creating Unique Patterns
To make your diamond painting patterns stand out, experiment with different techniques. Incorporate personal touches and customization, such as adding initials or small details that hold special meaning to you.
Find inspiration from other diamond painters, explore various themes, and let your creativity flow.
Conclusion
Creating your own diamond painting pattern opens up a world of possibilities for personalization and creativity.
By following the step-by-step process outlined in this guide, you’ll be able to design and execute unique diamond painting patterns that reflect your individual style and preferences. Enjoy the journey of bringing your imagination to life through the art of diamond painting!

2 Comments