How to Create Diamond Painting Designs?
Diamond painting has taken the crafting world by storm, offering a delightful blend of creativity and relaxation. The process involves placing small “diamond” drills onto an adhesive sheet to form a colorful image or pattern.
While many crafters enjoy using existing diamond painting kits, creating your own designs can take your artistic expression to new heights. In this article, we will guide you through the process of designing your own unique diamond paintings.
Getting Started
Before diving into the world of diamond painting design, it’s essential to have the right tools and resources. Choose suitable design software that allows you to create and edit intricate patterns. Once you have the software in place, select the image or pattern you want to turn into a diamond painting. Whether it’s a personal photograph or a digital artwork, ensure it has the desired level of detail and clarity.
Preparing the Canvas
The canvas serves as the foundation for your diamond painting. Choose a base material that complements your design, such as high-quality cardstock or canvas fabric. Apply the adhesive sheet to the canvas, ensuring a smooth and even surface for the diamond drills. Carefully cut the canvas to the desired size, considering the dimensions of your design.
Selecting the Diamond Drills
Diamond drills come in various sizes and shapes, offering versatility in design. Understand the differences between round and square drills and choose the ones that best suit your artistic vision. Organize the drills by color, using color charts and key codes provided by the drill kit or software.
Designing the Layout
Decide whether you want a structured grid-based design or a freeform layout. Grid designs offer a sense of organization, while freeform designs allow for more artistic freedom. Create a symmetrical design for a balanced and visually appealing result. Add intricate details and highlights to bring depth and dimension to your diamond painting.
Placing the Drills
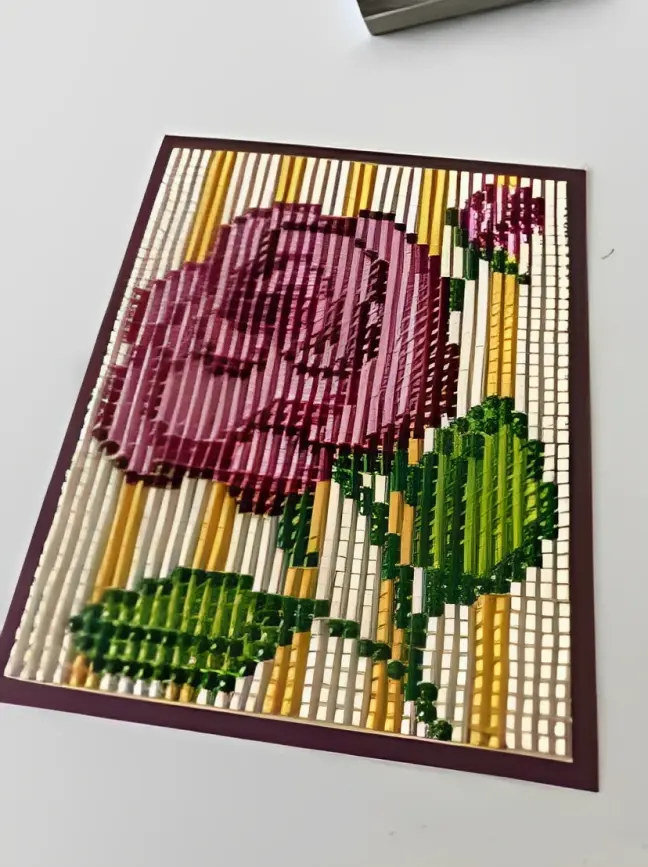
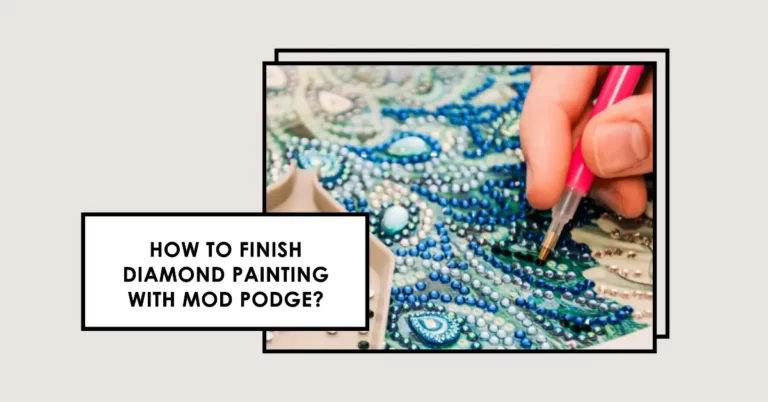
Using a diamond pen tool loaded with wax, begin placing the drills onto the adhesive canvas. Take your time to ensure precise placements, aligning the drills with the corresponding spaces on the design. The sticky adhesive will hold the drills in place, preventing them from falling off during the process.
Enhancing the Design
Go beyond the basics by incorporating special effects into your diamond painting. Experiment with different materials, such as metallic drills or sequins, to add shimmer and sparkle to your design. Add text or lettering to convey a message or personalize the artwork.

Reviewing and Editing
Once your design is complete, review it thoroughly for any mistakes or discrepancies. Make necessary adjustments and corrections to achieve the desired outcome. Seek feedback and opinions from friends or fellow crafters to gain valuable insights.
Finalizing the Design
With the design perfected, it’s time to secure the drills in place. Press down on the drills to ensure they are firmly attached to the adhesive sheet. Consider applying a protective sealant to preserve the brilliance and longevity of your diamond painting.
Sharing and Selling Your Designs
Showcase your creations online, whether through social media platforms or dedicated diamond painting communities. Share your designs with like-minded individuals and receive appreciation for your artistic talents. If you wish, explore the possibility of monetizing your designs by selling them as digital downloads or physical kits.
Conclusion
Creating diamond painting designs is a rewarding and fulfilling experience that allows you to explore your artistic abilities. The process of turning an image into a stunning diamond painting brings joy and satisfaction. As you experiment with various designs and techniques, you’ll uncover new ideas and creative possibilities, making diamond painting an ongoing journey of artistic expression.

One Comment