How to Flatten Diamond Painting Canvas?
Diamond painting has gained immense popularity as a relaxing and creative craft activity. It involves placing tiny resin diamonds onto a canvas to create stunning and shimmering artwork. However, when your diamond painting kit arrives, you may encounter a common issue: a tightly rolled-up canvas with wrinkles and creases. In this article, we will explore various methods to flatten your diamond painting canvas and achieve a smooth surface for an enjoyable painting experience.
Methods to Flatten a Diamond Painting Canvas
There are several methods you can use to flatten your diamond painting canvas, ranging from simple techniques to specialized tools. Let’s explore each method in detail:
Unsticking and Re-sticking Protective Plastic
- Step 1: Peel back the protective layer on one corner
- Begin by gently lifting the protective plastic film from one corner of the canvas.
- Be careful not to damage the canvas or the adhesive layer underneath.
- Step 2: Reapply the protective layer, moving from one corner to the other
- Slowly and evenly reapply the protective plastic film, exerting pressure with your hands.
- Repeat this process for all remaining sides of the canvas.
- Benefits of this method
- Unsticking and re-sticking the protective plastic helps flatten the canvas by releasing tension and allowing it to relax.
- Some wrinkles may naturally smooth out during this process.
Rolling Your Diamond Painting Canvas The Other Way Round
- Step 1: Lay the canvas on a flat surface
- Find a clean and flat surface to work on, ensuring that there are no obstructions.
- Step 2: Unroll and roll the canvas in the opposite direction
- Gently unroll the canvas, ensuring it lies flat on the surface.
- Roll the canvas back up, but in the opposite direction than how it arrived.
- Repeat the process to achieve a flat canvas
- Repeat the unrolling and rolling process a few times, including rolling and unrolling the canvas upside down.
- This technique helps to relax the canvas fibers and reduce wrinkles.
Using Heavy Weight
- Step 1: Lay the canvas on a flat surface
- Find a clean and level surface where you can work comfortably.
- Step 2: Place heavy objects such as books or boxes on top of the canvas
- Carefully position heavy, flat objects evenly across the canvas.
- Alternatively, you can tape the canvas on all four corners to keep it in place.
- Duration and effectiveness of using heavy weights
- Leave the weights on the canvas for several days or longer, depending on the severity of the wrinkles.
- Over time, the weight will help flatten the canvas and smoothen out the creases.
Using a Craft Knife or Steel Ruler
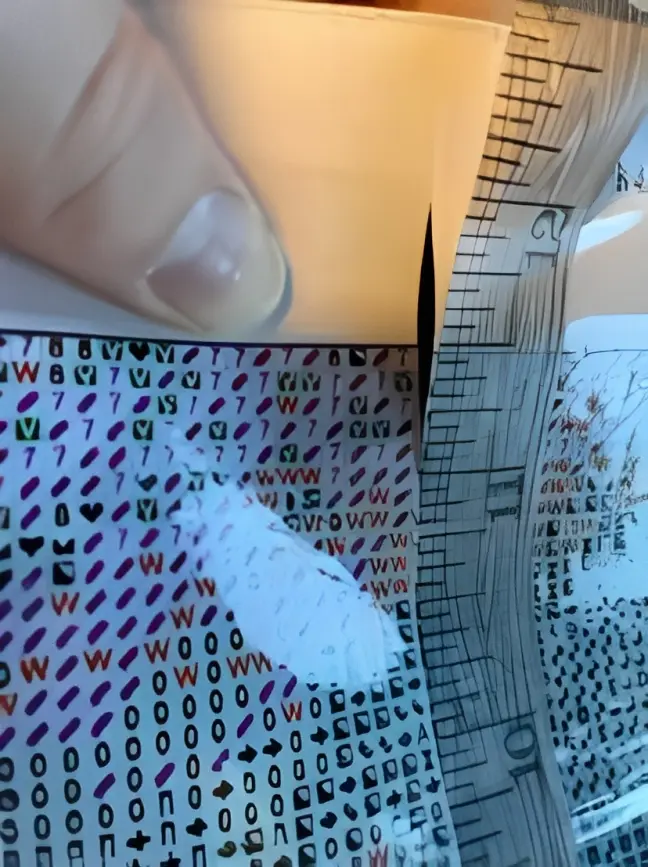
- Step 1: Identify air bubbles trapped in the canvas
- Inspect the canvas for any air bubbles or areas that appear uneven.
- Step 2: Gently prick the air bubble or make a delicate cut to release trapped air
- Use a craft knife or steel ruler to gently prick the air bubble or make a small cut on the affected area.
- Be extremely careful to avoid cutting the canvas or damaging the adhesive layer.
- Caution to avoid damaging the canvas
- This method is suitable when air bubbles are causing wrinkles.
- Exercise caution and use gentle force to release the trapped air without causing harm.
Using a Wrinkle Releaser Spray
- Step 1: Test the spray on a corner of the canvas
- Before applying any products, it’s important to conduct a test on an inconspicuous corner of the canvas.
- Spray a small amount of the wrinkle releaser spray and observe any adverse effects.
- Step 2: Apply the spray on the backside of the canvas
- If the test is successful, spray a small amount of the wrinkle releaser spray on the backside of the canvas.
- Ensure that the spray is evenly distributed over the wrinkled areas.
- Remove excess spray and allow the canvas to dry
- Use a clean, lint-free cloth to remove any excess spray from the canvas.
- Allow the canvas to air dry completely before proceeding.
Using an Iron
- Step 1: Lay the canvas face down on an ironing board
- Set up an ironing board in a well-ventilated area, away from any flammable objects.
- Step 2: Place a thick towel on the backside of the canvas
- Cover the backside of the canvas with a thick towel to protect it from direct heat.
- Iron the canvas gently to remove wrinkles
- Set your iron to a low heat setting (without steam) and gently glide it over the canvas in a smooth motion.
- Be cautious not to leave the iron in one place for too long, as it may damage the adhesive or the canvas.
Heat Pad Method
- Step 1: Prepare a heat pad between towels on a flat surface
- Place a heat pad or a heating blanket on a flat surface.
- Cover the heat pad with towels to create a protective layer between the heat and the canvas.
- Step 2: Place the canvas on top, design side facing upward
- Lay the canvas on the towels, ensuring the design side is facing upward.
- Apply heat and allow the canvas to flatten
- Turn on the heat pad and adjust it to a low or medium heat setting.
- Allow the heat to distribute evenly and leave the canvas on the heat pad for a specific duration.
Precautions and Tips
- When using an iron, always start with a low heat setting and gradually increase if necessary. High heat can damage the canvas or the adhesive.
- Avoid applying excessive pressure or using sharp objects that may puncture the canvas.
- Before using any method on the entire canvas, test it on a small, inconspicuous area to ensure it doesn’t cause any damage or discoloration.
- Once the canvas is flattened, avoid exposing it to high temperatures or humidity, as it may cause the canvas to warp or lose its shape.
Conclusion
Flattening a diamond painting canvas is an essential step to achieve a smooth and wrinkle-free surface for an enjoyable painting experience. By following the methods discussed in this article, you can effectively flatten your canvas and create a stunning artwork with ease. Experiment with different techniques to find the one that works best for your specific canvas and enjoy the process of diamond painting.


6 Comments