
How to Unroll a Diamond Painting Correctly
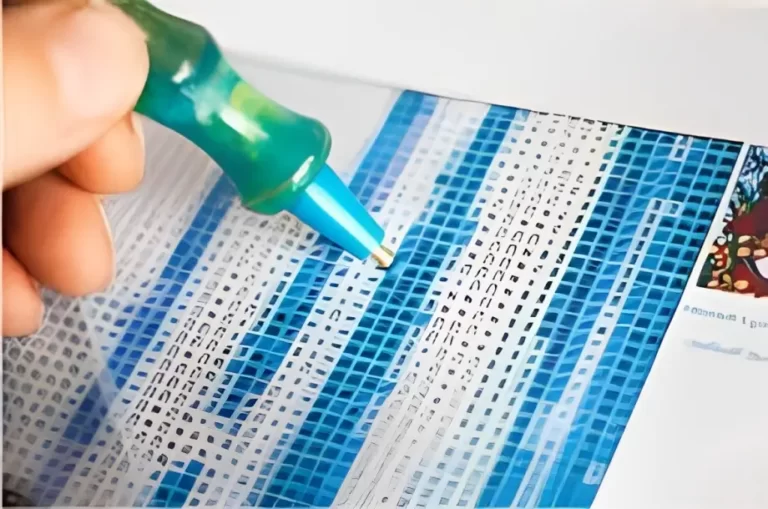
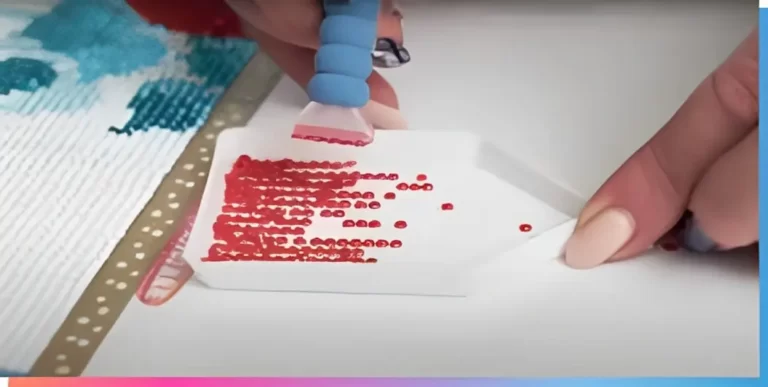
Diamond painting is a popular craft that combines elements of paint-by-number and cross-stitch. It involves placing tiny resin “diamonds” onto an adhesive canvas, creating a sparkling and colorful artwork. When starting a new diamond painting project, it’s essential to unroll the canvas correctly to ensure a smooth and enjoyable experience. In this article, we will guide you through the process of unrolling a diamond painting canvas correctly, preventing wrinkles and creases for optimal results.
Preparing the Canvas
Before unrolling the canvas, gather the necessary materials: your diamond painting kit, a flat and clean surface, and a pair of scissors. Find a suitable workspace where you can comfortably unroll the canvas without any obstructions. It’s also recommended to have ample lighting to ensure clear visibility of the canvas and the symbols printed on it.
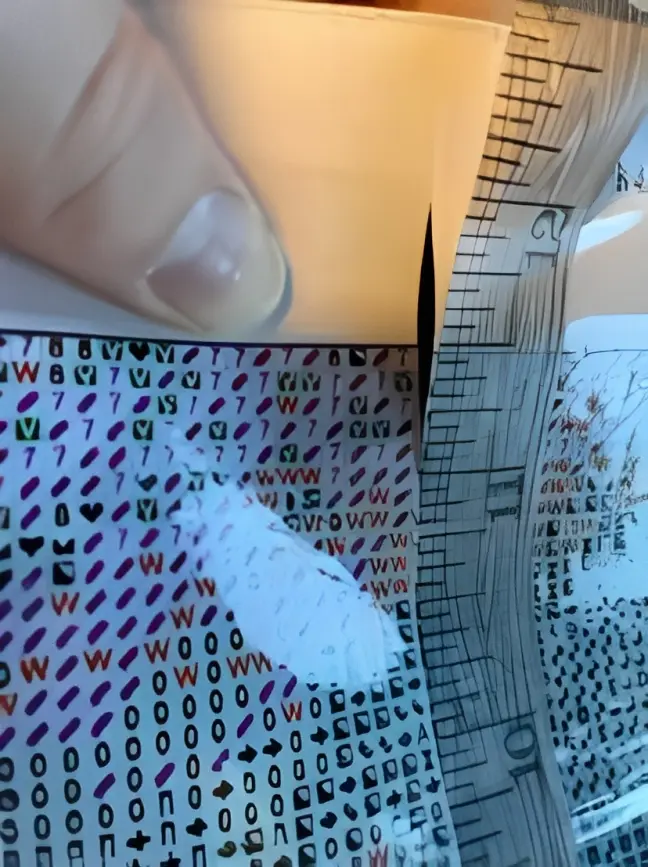
To begin unrolling the canvas, carefully remove the protective plastic in sections. Starting from one corner, peel back a small portion of the protective layer and reapply it using gentle hand pressure. Repeat this process on all remaining sides of the canvas. By doing so, you’ll gradually unfurl the canvas, allowing it to lay flat.
Rolling and Unrolling Techniques
To further alleviate any curling, you can employ rolling and unrolling techniques. Lay the canvas on a flat surface and unroll it completely. Then, roll it in the opposite direction from how it was originally rolled. Repeat this process a few times, changing the direction with each roll. By doing so, you’ll help loosen the curl and encourage the canvas to lay flatter.
Remember to handle the canvas gently during this process to avoid causing any damage. Applying too much force or pulling forcefully may result in tears or creases. Patience and care are key to unrolling thecanvas correctly.
Applying Weight and Pressure
Another effective method to flatten the canvas is by applying weight and pressure. Place heavy objects, such as books or flat weights, on the corners of the canvas. This will help the canvas to stay in place and gradually flatten out over time. You can also leave the canvas underneath a mattress for several days, as the weight of the mattress will aid in flattening the canvas.
If heavy objects are not readily available, you can use alternative options such as books or other flat weights. The goal is to apply consistent pressure to the canvas to encourage it to flatten. Leave the objects on the canvas overnight or for a longer duration if necessary.
Using Heat to Flatten the Canvas
Heat can be an effective tool for removing wrinkles and creases from the canvas. However, it’s important to approach this method with caution to avoid damaging the adhesive or the diamonds on the canvas. Use an iron on a low heat setting and place a thick towel over the canvas. The towel acts as a protective barrier between the iron and the canvas.
Lay the canvas face down on the ironing board and gently iron the towel-covered surface. Avoid using high heat, as it may melt the adhesive or cause the diamonds to lose their shine. Gradually increase the heat if needed, but always check the canvas to ensure it is not being damaged. If desired, you can lightly spray water on the towel to create steam, which can aid in removing wrinkles.
Addressing Wrinkles and Creases
In some cases, the canvas may still have stubborn wrinkles and creases even after using the previous methods. To address these issues, you can try a few additional techniques.
Using a craft knife or a steel ruler, carefully prick any air bubbles that may be trapped under the canvas. This can help release the trapped air and alleviate the wrinkles. Take caution to avoid cutting the canvas itself while doing this.
Another option is to use a wrinkle release spray. Choose a fabric wrinkle spray of any brand and spot check on an inconspicuous corner of the canvas. Ensure that the ink of the canvas does not bleed when exposed to the spray. If it remains unaffected, you can spray the backside of the canvas from a distance of 6-8 inches. Use the spray sparingly and remove any excess by dabbing with a tissue. Smooth out the canvas using your hands and let it dry naturally.
Conclusion
Unrolling a diamond painting canvas correctly is an essential step in preparing for a successful and enjoyable crafting experience. By following the techniques mentioned in this article, you can flatten the canvas, remove wrinkles and creases, and create a smooth surface for your diamond painting project. Remember to handle the canvas with care and take your time to ensure the best results.
Now that you know how to unroll a diamond painting correctly, you can embark on your creative journey with confidence. Enjoy the process of placing the dazzling diamonds on the canvas and watch your artwork come to life.
One Comment