
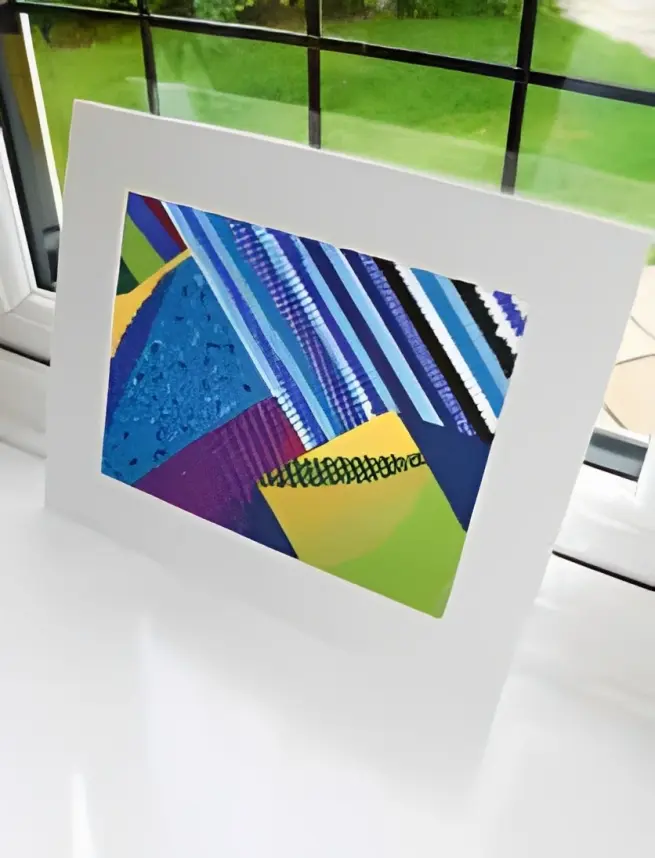
What is a Diamond Painting Canvas?
A diamond painting canvas serves as the base for your artwork. It consists of a pre-printed design or a blank canvas with a sticky adhesive layer. The canvas is usually covered with a protective film that needs to be peeled off before starting the diamond painting process.
Benefits of Making Your Own Diamond Painting Canvas
Creating your own diamond painting canvas offers several benefits. Firstly, it allows you to unleash your creativity and design a unique artwork that reflects your personal style and interests.
Additionally, making your own canvas enables you to customize the size, shape, and level of detail of the design according to your preferences.
Materials Needed for Making Your Own Diamond Painting Canvas
Before you begin, gather the following materials:
- Blank diamond painting canvas
- Design or image for reference
- Clear adhesive film or double-sided tape
- Diamond drills in various colors
- Diamond painting pen or tweezers
- Wax or adhesive pad for picking up drills
- Tray or containers for organizing drills
- Scissors or craft knife
- Ruler or measuring tape
- Optional: Frame or stretcher bars for mounting the finished canvas.
Step 1: Choosing a Design or Image
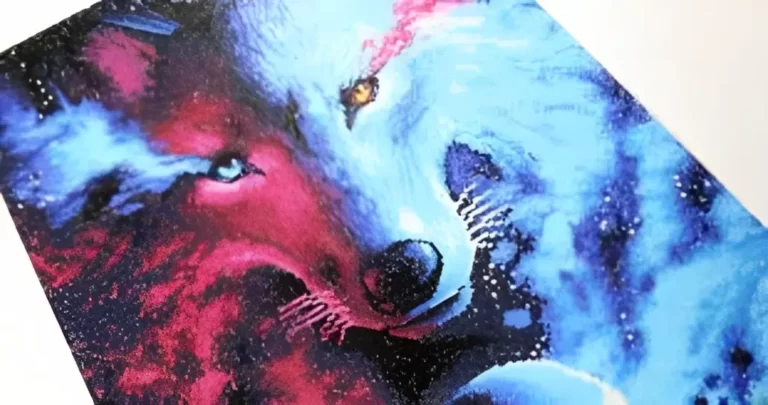
The first step in creating your own diamond painting canvas is selecting a design or image that you want to transform into a sparkling artwork. You can choose from a wide range of sources, including photographs, illustrations, or even your own original artwork. Ensure that the design is clear and has distinct colors to make the diamond painting process easier.
Step 2: Preparing the Canvas
If you are using a blank canvas, prepare it by removing any protective films or coverings. Ensure that the canvas is clean and free from dust or debris before proceeding.
Step 3: Applying the Adhesive
To create a sticky surface for the diamond drills, apply a clear adhesive film or double-sided tape onto the canvas. Ensure that the adhesive is evenly distributed and covers the entire surface of the canvas. Smooth out any wrinkles or air bubbles to create a flat working surface.
Step 4: Transferring the Design onto the Canvas
Transfer the design onto the canvas by placing it on top of the adhesive surface. Secure it in place using tape or weights to prevent it from shifting during the diamond painting process. Alternatively, you can trace the design directly onto the adhesive surface using a pencil or pen.
Step 5: Sorting and Organizing the Diamond Drills
Sort and organize the diamond drills according to their colors. Use trays or small containers to keep the drills separate and easily accessible. Label each container with the corresponding color code to simplify the diamond painting process.
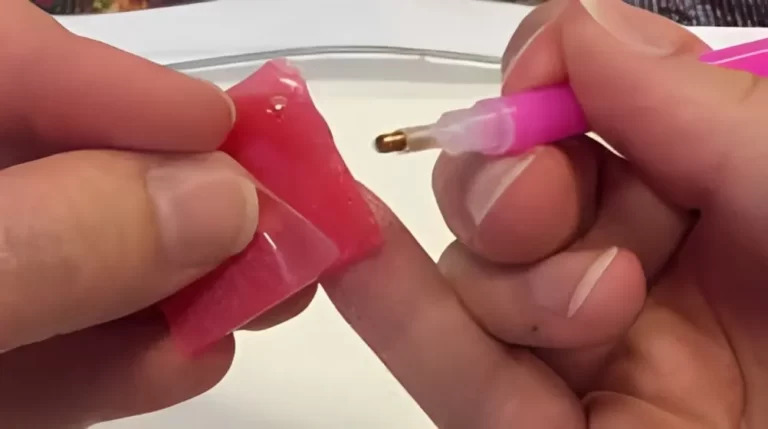
Step 6: Applying the Diamond Drills to the Canvas
Using a diamond painting pen or tweezers, pick up a drill and place it onto the corresponding symbol on the canvas. Apply slight pressure to ensure that the drill sticks to the adhesive. Repeat this process for each symbol, working one color at a time until the design starts to take shape.
Step 7: Securing the Diamond Drills
Once you have completed a section of the canvas or the entire design, gently press down on the diamond drills to ensure they are securely attached to the adhesive. This step helps to prevent the drills from falling off or getting dislodged during the framing or display process.
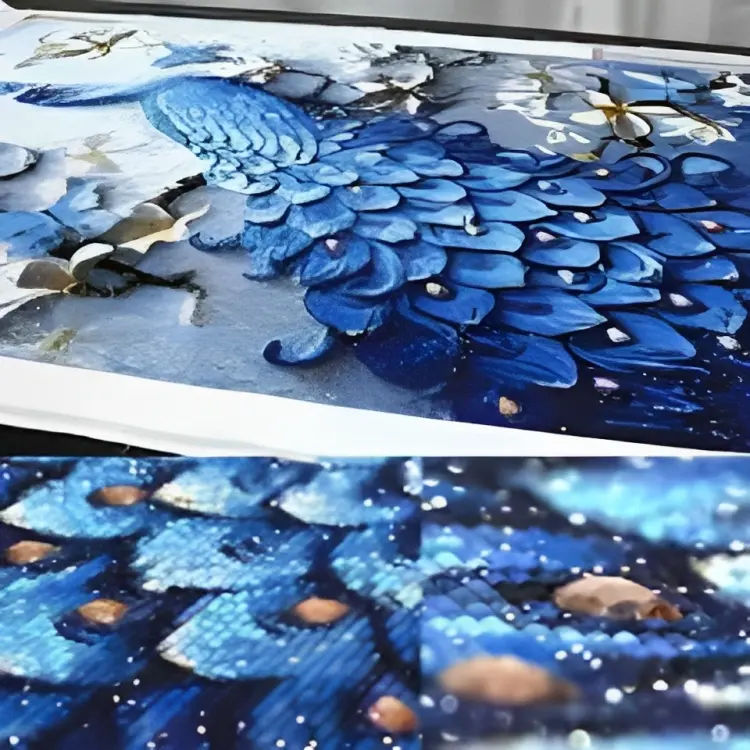
Step 8: Finishing Touches and Framing Options
After completing the diamond painting, you can add finishing touches to enhance the overall appearance of the artwork. This may include adding additional decorative elements, using special effect drills, or applying a sealant to protect the surface.
Tips and Tricks for Creating Your Own Diamond Painting Canvas
- Begin with a simple design if you are new to diamond painting to familiarize yourself with the process.
- Use a lightbox or a bright light source to make it easier to see the symbols on the canvas.
- Place a soft cloth or foam pad under the canvas to provide a cushioned surface while working.
- Regularly clean the diamond painting pen or tweezers to ensure better adhesion of the drills.
- Take breaks and stretch your hands and fingers to prevent fatigue.
Conclusion
Creating your own diamond painting canvas is a fulfilling and rewarding experience that allows you to unleash your creativity. By following the step-by-step process outlined in this article, you can transform any design or image into a stunning diamond painting artwork. Enjoy the therapeutic benefits of this craft as you watch your masterpiece come to life, one sparkling drill at a time.

One Comment