
How to Use a Diamond Painting Pen: A Step-by-Step Guide
Diamond painting is a popular and relaxing craft that allows you to create stunning mosaic-like art using tiny diamond beads. To bring your diamond painting masterpiece to life, it’s crucial to understand how to effectively use a diamond painting pen.
In this guide, we will take you through the process step by step, ensuring that you can enjoy your diamond painting experience to the fullest.
I. Understanding the Diamond Painting Pen
Before we delve into the usage instructions, let’s familiarize ourselves with the diamond painting pen. This essential tool is specifically designed to pick up and place diamond beads onto the template.
The pen resembles a stylus and has a small opening near the tip to store wax, which aids in picking up the beads.
Learn More: What Can I Use Instead of Wax for Diamond Painting?
II. Gathering the Materials
To begin your diamond painting journey, ensure you have all the necessary materials within reach. A standard diamond painting kit typically includes:
- Diamond painting template
- Diamond beads
- Tray
- Wax
- Hobby knife
- Diamond painting pen
Having these materials organized and readily available will make the process smoother and more enjoyable.
Learn More: How Many Diamonds in a 30×40 Diamond Painting?
III. Preparing the Workspace
Set up a clean and well-lit workspace for your diamond painting project. A flat surface with ample space is ideal, allowing you to spread out the materials comfortably. This will prevent any accidental spills or misplacements during the process.
IV. Applying Wax to the Diamond Painting Pen
Before you begin placing diamond beads, it’s essential to apply a small amount of wax to the tip of your diamond painting pen. The wax acts as an adhesive, ensuring the beads stick to the pen.
Be cautious not to apply too much wax, as it can compromise the adhesive properties of the canvas. Similarly, using too little wax may result in the beads falling off before they reach their designated spot.
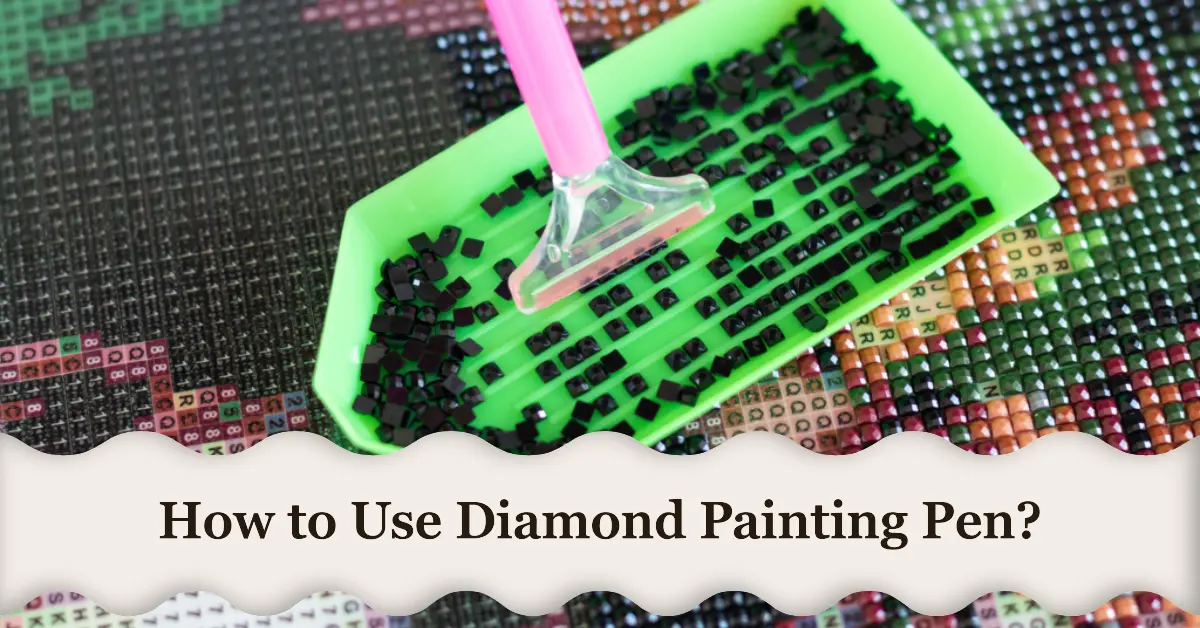
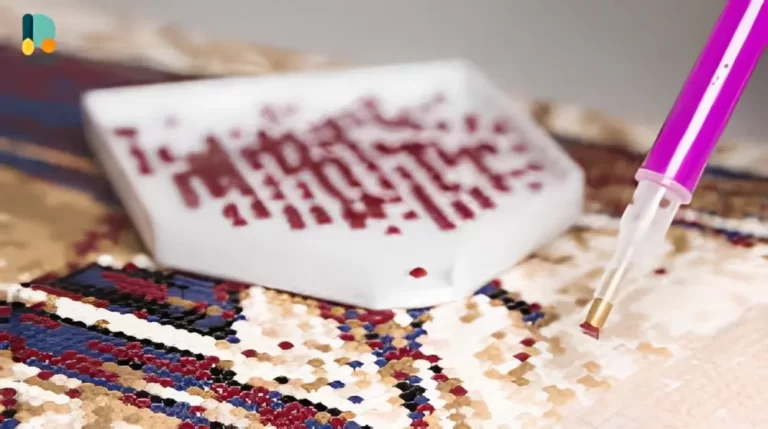
V. Pouring Out the Diamond Beads
Pour a single color of diamond beads onto the tray. This allows for easier access and prevents mixing different colors.
Avoid pouring all the beads at once, as it can make it challenging to shake the tray gently to keep the beads flat. Instead, pour a portion of the beads, leaving room for easy movement and manipulation.
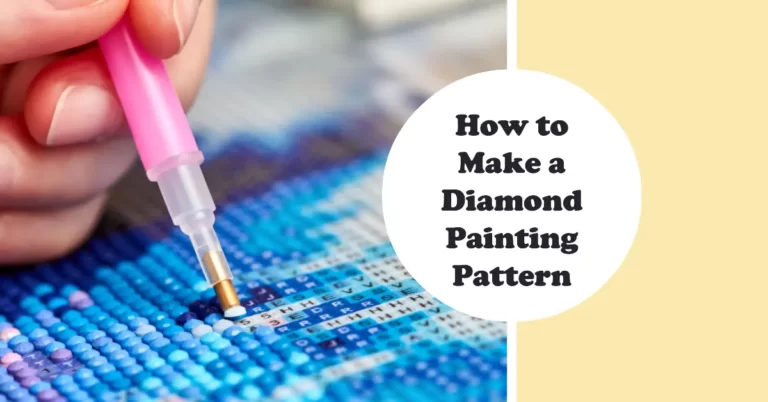
VI. Placing the Diamond Beads on the Template
VII. Filling in the Diamond Painting
Continue the process of picking up diamond beads with the pen, matching them to their designated spots on the template, and pressing them firmly to ensure adhesion.
Work systematically, section by section, until the entire template is filled with sparkling diamond beads. This process requires patience and attention to detail, but it is incredibly rewarding as you witness your artwork come to life.
VIII. Finalizing the Diamond Painting
Once you have filled the template with diamond beads, take a step back and admire your creation. If you notice any areas where beads are not firmly attached, gently press them down using your finger or the edge of the diamond painting pen.
Conclusion
Diamond painting is a therapeutic and enjoyable activity that allows you to unleash your creativity while finding moments of tranquility.
By following the step-by-step guide on how to use a diamond painting pen, you can dive into this artistic journey with confidence and create stunning diamond paintings that showcase your artistic prowess.
Learn More: Who Invented Diamond Painting?
FAQs (Frequently Asked Questions)
Q1: Can I reuse the diamond painting pen for different projects?
Yes, the diamond painting pen can be reused for multiple projects. However, ensure you clean the tip thoroughly before switching to a different color or type of bead.
Q2: What should I do if a diamond bead falls off the pen during the painting process?
If a diamond bead falls off the pen, simply pick it up using the pen’s tip or a pair of tweezers and place it back on the adhesive surface.
Q3: How do I store my diamond painting pen and beads between painting sessions?
To prevent loss or misplacement, store your diamond painting pen and beads in a small container or resealable bag, keeping them away from dust and humidity.
Q4: Can I create my own designs for diamond painting?
While many diamond painting kits come with pre-designed templates, you can certainly create your own designs by using special software or by adapting existing images into diamond painting templates.
Q5: Are there different types of diamond painting pens available?
Yes, there are various types of diamond painting pens available, including single-placer pens for precision work and multi-placer pens that allow you to place multiple beads simultaneously.
7 Comments