How to Seal Diamond Painting Pens?
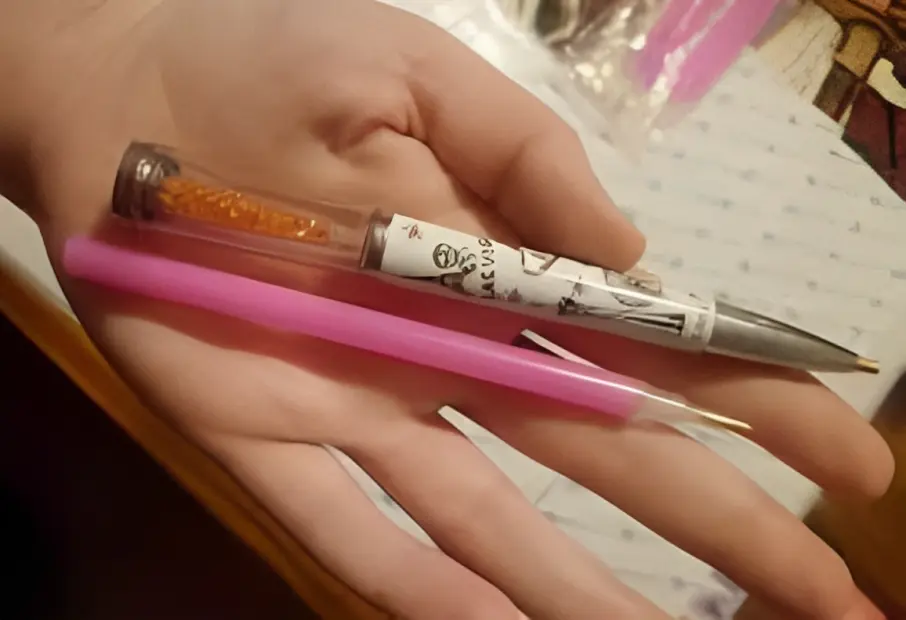
Diamond painting has become a popular craft hobby, allowing enthusiasts to create stunning and intricate artworks using tiny rhinestones, also known as diamonds. One of the essential tools used in diamond painting is the diamond painting pen, which is designed to pick up and place individual diamonds onto the adhesive canvas.
While these pens are effective in creating beautiful artwork, they often require sealing to enhance their longevity and performance.
Why Sealing Diamond Painting Pens is Important?
Sealing diamond painting pens is an essential step in the crafting process for several reasons. Firstly, it helps to protect the pen’s tip, ensuring it remains in optimal condition for extended use. Sealing prevents the pen’s tip from wearing out quickly due to constant contact with adhesive and diamonds, ensuring a longer lifespan.
Additionally, sealing the pen prevents the diamonds from sticking excessively to the pen’s tip. When the pen’s tip is not sealed, diamonds may accumulate and cause smudging, making it challenging to pick up new diamonds efficiently.
Sealing the pen creates a protective barrier that prevents excessive adhesive buildup, ensuring smooth and precise diamond placement.
Different Methods of Sealing Pens
There are various methods to seal diamond painting pens, and crafters can choose the one that suits their preferences and materials available. The most common sealants used for this purpose include clear nail polish, glue gun wax, and clear tape.
Each method has its benefits and drawbacks, so it’s essential to understand how they work before deciding which one to use.
Materials Needed for Sealing
Before sealing a diamond painting pen, gather the necessary materials. The list includes:
Step-by-Step Guide to Sealing Diamond Painting Pens
Step 1: Clean the Pen Tip Before applying any sealant, ensure that the pen tip is clean and free from any adhesive residue or dirt. Use a dry cloth to wipe off any excess adhesive or dust particles.
Step 2: Choose a Sealant Select a sealant that suits your preferences and the pen’s material. Clear nail polish is readily available and easy to apply, while glue gun wax provides a more robust seal. Clear tape is a quick and convenient option for temporary sealing.
Step 3: Prepare the Sealant If using clear nail polish, ensure that it is not too thick or gloopy. For glue gun wax, melt a small amount in a heat-resistant container. For clear tape, cut a piece to fit the pen tip’s size.
Step 4: Apply the Sealant to the Pen Tip Using a thin brush or applicator, carefully apply the sealant to the pen tip. Start with a small amount and add more if necessary. Be precise in your application to avoid getting sealant on unwanted areas.
Step 5: Let the Sealant Dry Allow the sealant to dry completely before using the pen for diamond painting. The drying time will vary depending on the type of sealant used. Follow the manufacturer’s instructions for best results.
Step 6: Test the Pen Before using the sealed pen on your artwork, test it on a scrap paper or testing surface. Ensure that the sealant has dried completely and that the pen picks up diamonds smoothly.
Tips for Effective Sealing
Tip 1: Use a Small Amount of Sealant Applying too much sealant can cause smudging and affect the pen’s performance. Start with a small amount and add more if needed.
Tip 2: Use a Thin Brush for Application A thin brush or applicator allows for precise application, preventing the sealant from spreading to unwanted areas.
Tip 3: Store the Sealed Pen Properly After sealing, store the pen in a clean and dry container to prevent dust or debris from sticking to the sealant.
Tip 4: Test the Pen on a Scrap Paper First Always test the sealed pen on a scrap paper or testing surface before using it on your artwork to ensure it works correctly.
Tip 5: Avoid Touching the Sealed Area Until Fully Dry Avoid touching the sealed area until the sealant is completely dry to prevent smudging or damage.
Troubleshooting Common Sealant Issues
Issue 1: Sealant Smudging the Diamonds If the sealant smudges the diamonds, try using less sealant or switch to a different type of sealant.
Issue 2: Sealant Not Drying Properly Ensure that the workspace is well-ventilated and free from dust, as this can affect the sealant’s drying time. Follow the manufacturer’s instructions for proper drying.
Issue 3: Sealant Clogging the Pen Tip If the sealant clogs the pen tip, clean it thoroughly with a dry cloth and avoid applying too much sealant in the future.
Alternative Sealing Methods and Products
Method 1: Using Nail Polish as a Sealant Clear nail polish is a popular and readily available sealant for diamond painting pens. Its thin consistency allows for easy application and quick drying. However, be cautious not to apply too much, as it may cause smudging.
Method 2: Using Glue Gun Wax Glue gun wax provides a more robust seal for diamond painting pens. It requires melting a small amount in a heat-resistant container and then applying it to the pen tip. The wax creates a protective layer that prevents adhesive buildup and smudging.
Method 3: Using Clear Tape Clear tape is a quick and temporary sealing option for diamond painting pens. Simply cut a small piece of clear tape and apply it to the pen tip. While not as durable as other sealants, it can be convenient for temporary use..
Conclusion
Sealing diamond painting pens is a crucial step in the crafting process, enhancing the pen’s durability and performance. By following the step-by-step guide and using the appropriate sealant, crafters can ensure smooth and precise diamond placement.
Additionally, troubleshooting common sealant issues and considering alternative sealing methods provides flexibility in the sealing process. With proper sealing, diamond painting enthusiasts can enjoy creating beautiful artworks with their pens for an extended period.

One Comment