How to Make Your Own Diamond Painting at Home?
Diamond painting has gained significant popularity as a creative and relaxing craft. It involves placing tiny resin diamonds, also known as drills, onto a canvas to create a sparkling and colorful piece of artwork.
In this article, we will explore the process of making your own diamond painting at home, from the materials needed to the step-by-step instructions.
Materials Needed for Diamond Painting
Before you begin your diamond painting project, it’s essential to gather the necessary materials. You will need a diamond painting kit, which typically includes a canvas, diamonds, wax or adhesive, a tray, and an applicator tool. The canvas is pre-printed with a design, and each symbol on the canvas corresponds to a specific diamond color.
Preparing the Canvas
Start by unrolling the canvas and laying it flat on a clean surface. Remove the protective film from the canvas, revealing a sticky adhesive surface. If you have a light pad, you can place it underneath the canvas to enhance visibility.
To prevent the canvas from shifting while you work, you can secure it using tape or clamps.
Organizing the Diamonds
Diamonds are typically organized by color for easier access during the diamond painting process. Sort the diamonds into separate containers or trays based on their color codes.
This organization will help you locate the diamonds quickly and ensure accuracy while placing them on the canvas.
Applying the Diamonds
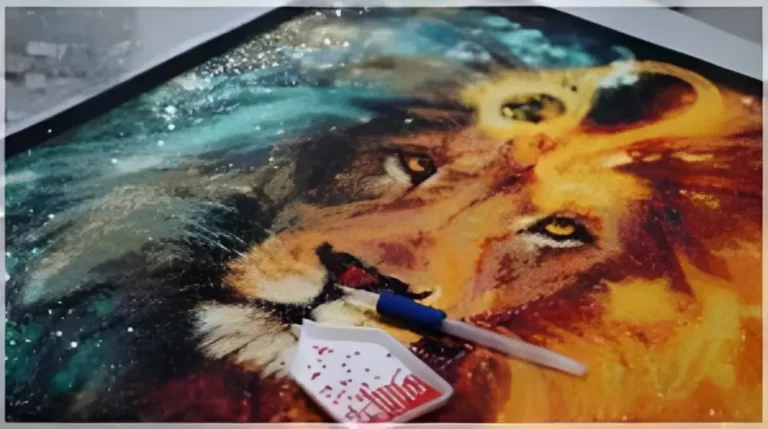
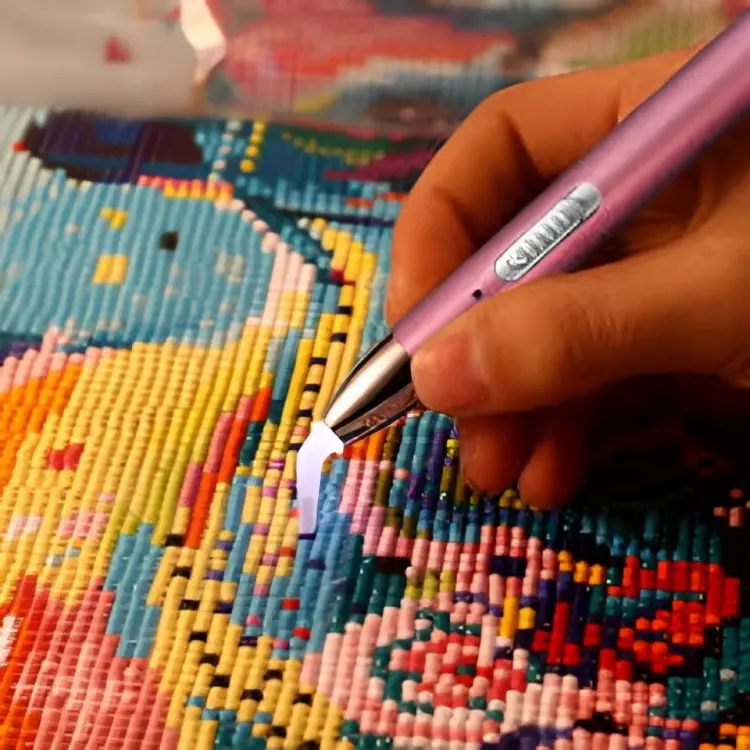
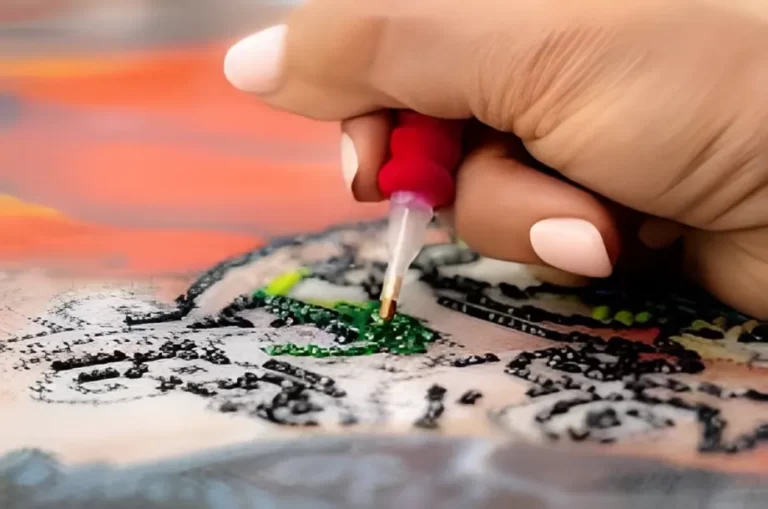
To start placing the diamonds, apply a small amount of wax or adhesive to the applicator tool. The wax or adhesive helps the diamonds stick to the tool. Select a diamond with the applicator tool by gently pressing it onto the flat side of the diamond. The diamond will stick to the tool, allowing you to transfer it to the canvas.
Match the diamond color with the corresponding symbol on the canvas and gently press the diamond onto the adhesive, ensuring it sticks securely. Repeat this process for each symbol and color until the entire canvas is filled.
Tips for a Successful Diamond Painting Experience
To make your diamond painting experience enjoyable and successful, consider the following tips. Find a well-lit and comfortable space to work in, as good lighting will make it easier to see the symbols and colors on the canvas. Start with larger sections or background colors before moving on to smaller details.
Check the alignment and placement of diamonds regularly to ensure accuracy. It’s also essential to take breaks to rest your eyes and prevent fatigue.
Finishing and Displaying the Diamond Painting
Once you have completed the diamond painting, it’s important to give it a finishing touch. Place the finished artwork under heavy books or use a rolling pin to ensure the diamonds are pressed firmly onto the adhesive.
This step helps secure the diamonds in place. If desired, you can frame or mount the finished diamond painting to display it in your home or gift it to others.
Conclusion
Creating your own diamond painting at home can be a rewarding and relaxing experience. With the right materials and techniques, you can bring a beautiful piece of art to life. Remember to organize your diamonds, apply them carefully to the canvas, and follow the tips for a successful diamond painting journey. Enjoy the process and let your creativity shine through your finished diamond painting masterpiece.
One Comment