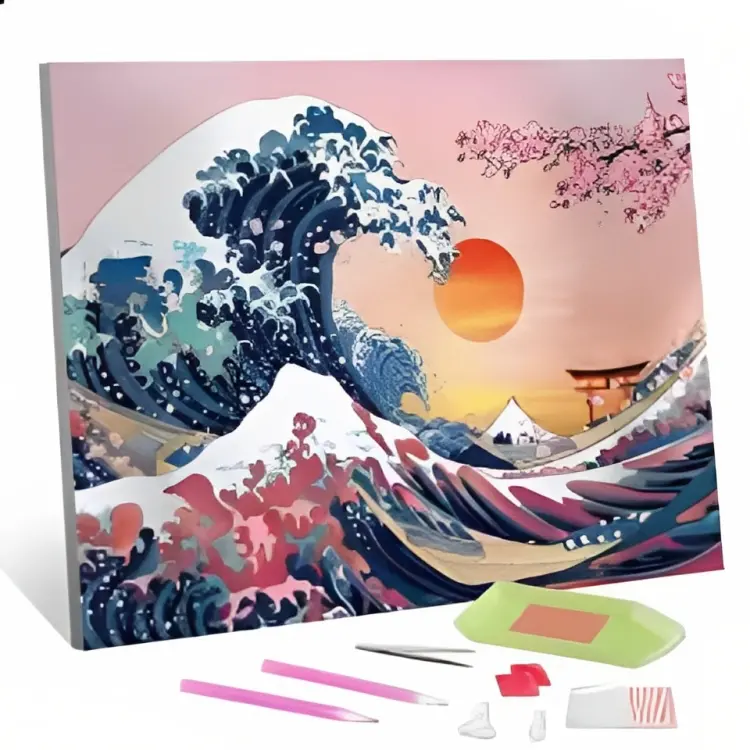
Diamond painting is a popular craft that combines the joy of painting with the sparkle of diamonds. It involves creating stunning mosaic-like artworks by placing tiny resin drills onto a canvas, following a pattern.
While traditional diamond painting involves placing one drill at a time, using a multi-placer tool allows you to pick up and place multiple drills simultaneously, making the process more efficient and enjoyable.
Before diving into diamond painting, it’s essential to gather all the necessary materials and set up a comfortable workspace. You will need a diamond painting kit that includes a canvas, drills, a drill pen, wax or adhesive, and a tray for organizing the drills. Find a well-lit and quiet area where you can work without interruptions.
Make sure to have a flat surface to place your canvas and all the tools within reach.
Understanding the Multi-Placer Tool
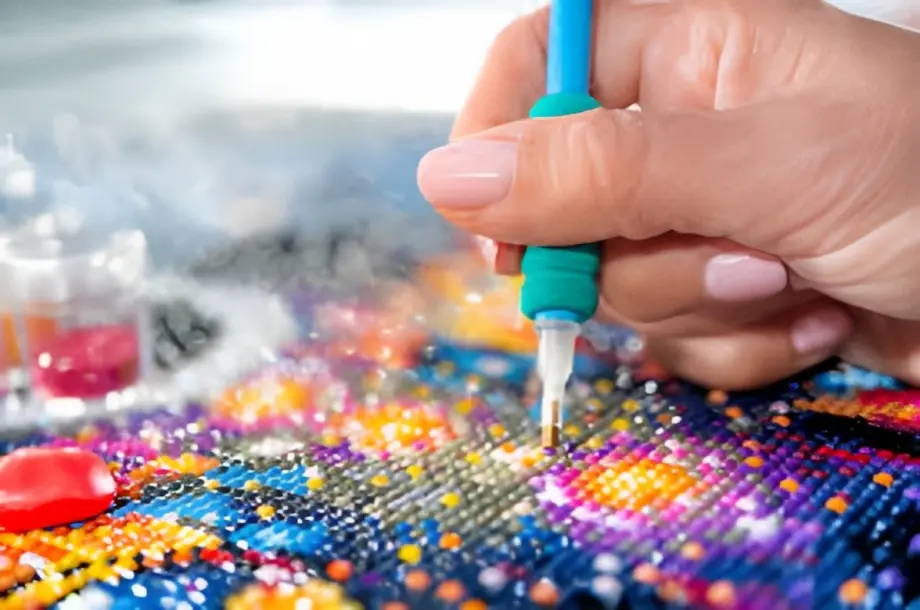
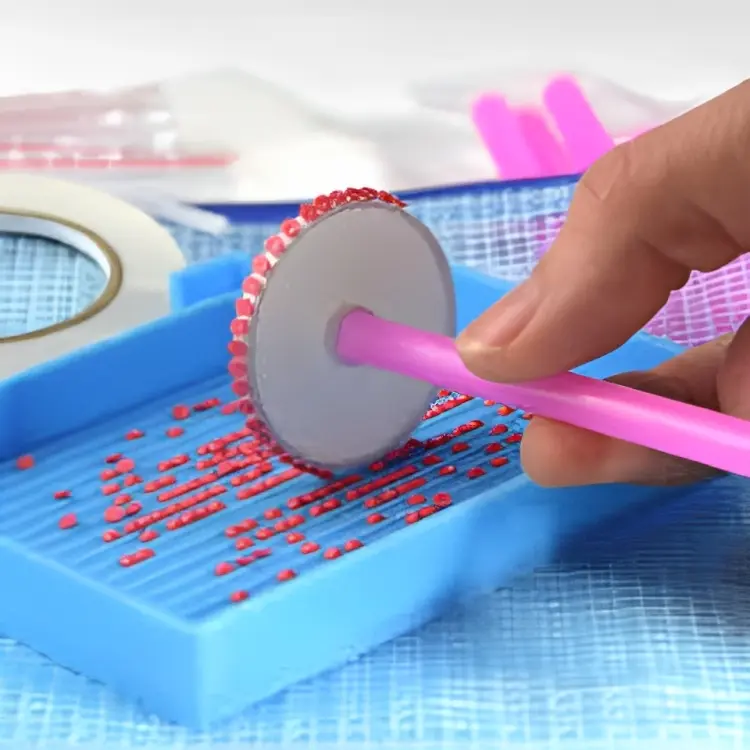
The multi-placer tool is a specially designed instrument that simplifies the process of placing drills onto the canvas. It typically consists of a handle, a hollow tip, and a mechanism that allows you to pick up multiple drills at once. The hollow tip of the multi-placer tool can hold the drills securely until you position them on the canvas.
There are different types of multi-placers available, including ones with wax or adhesive as the holding mechanism.
Using a multi-placer tool offers several advantages. Firstly, it saves time by allowing you to work on larger sections of the canvas more quickly. Secondly, it reduces strain on your hands and fingers, especially when working on projects with thousands of drills.
Lastly, it enhances accuracy and precision, ensuring that the drills align perfectly on the canvas.
Step-by-Step Guide to Using a Multi-Placer Tool
To make the most of your multi-placer tool, follow these step-by-step instructions:
Preparing the canvas: Start by unrolling the canvas and securing it to a flat surface using tape or clips. Smooth out any wrinkles or creases to ensure a clean working surface.
Sorting and organizing the drills: Pour out the drills onto the sorting tray and separate them by color. Use the provided storage containers or resealable bags to keep the drills organized and easily accessible.
Applying adhesive to the multi-placer tool: If your multi-placer tool uses adhesive as the holding mechanism, apply a small amount of wax or adhesive to the hollow tip. This will help the drills stick to the tool.
Picking up multiple drills at once: Gently press the hollow tip of the multi-placer tool onto the drills of the desired color. The adhesive or wax will secure the drills to the tool. Ensure that the drills are aligned neatly within the hollow tip.
Placing the drills on the canvas: Position the hollow tip with the drills over the corresponding symbol on the canvas. Apply gentle pressure to transfer the drills onto the adhesive or wax. The drills should stick to the canvas securely.
Correcting misplaced drills: If you accidentally place a drill in the wrong spot, carefully remove it using a pair of tweezers or the pointed end of the drill pen. Place the drill in the correct location, ensuring a snug fit.
Tips for Using a Multi-Placer Tool
While using a multi-placer tool, consider the following tips to optimize your diamond painting experience:
Maintaining a steady hand: Keep your hand steady while placing the drills to ensure accuracy and prevent accidental spills.
Dealing with static cling: In humid weather conditions, drills may stick together due to static electricity. Gently tap the multi-placer tool on the side of the tray or use an anti-static brush to separate them.
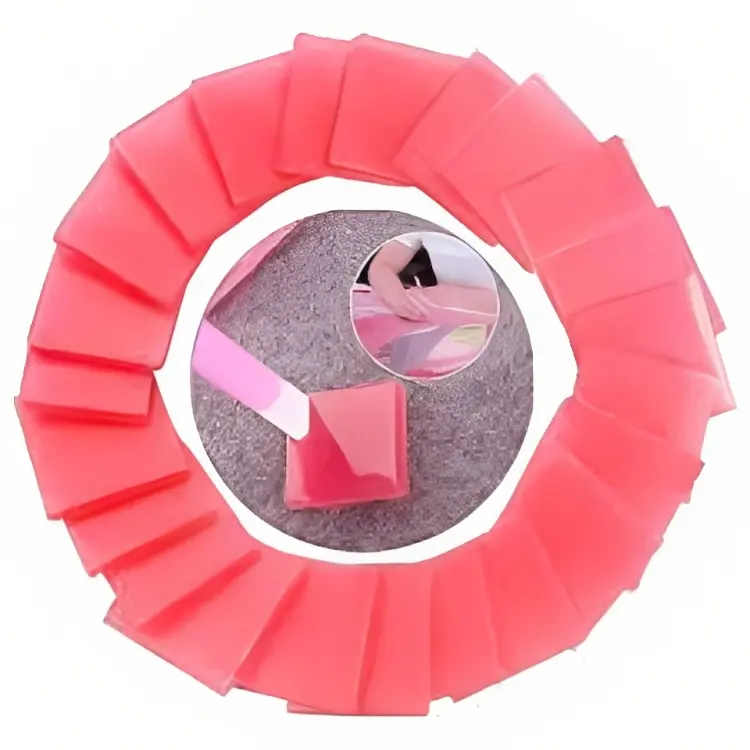
Working with different drill shapes and sizes: Some multi-placer tools come with interchangeable tips to accommodate various drill shapes, such as round or square. Make sure to use the appropriate tip for the type of drills you are working with.
Cleaning and storing the multi-placer tool: After each use, clean the multi-placer tool by wiping it with a soft, lint-free cloth. Store it in a protective case or container to prevent damage and maintain its functionality.
Common Mistakes to Avoid
While using a multi-placer tool, be mindful of the following common mistakes:
Misalignment of drills: Ensure that the drills are correctly placed within the hollow tip, aligned in the same direction. Misaligned drills may lead to gaps or overlapping on the canvas.
Uneven placement of drills: Apply consistent pressure while placing the drills to maintain an even distribution across the canvas. Avoid pressing too hard, as it may cause the drills to sink into the adhesive or wax.
Using excessive force while placing drills: Gentle pressure is sufficient to secure the drills onto the canvas. Excessive force can damage the drills or distort the canvas.
Troubleshooting
If you encounter any challenges while using a multi-placer tool, consider the following troubleshooting tips:
Drill adhesive not sticking properly: Ensure that the canvas is clean and free from dust or debris. You may need to apply a fresh layer of adhesive or change the wax on your multi-placer tool.
Difficulty in picking up drills: If the drills do not stick to the multi-placer tool, check the adhesive or wax for any buildup or debris. Clean the tool and apply a fresh layer of adhesive or wax.
Challenges with large or complex areas: When working on intricate parts of the canvas or areas with numerous color changes, take your time and work in small sections. This will help you maintain accuracy and prevent confusion.
Conclusion
Using a multi-placer tool can significantly enhance your diamond painting experience. It allows for efficient and precise placement of drills, saving time and reducing hand strain. By following the step-by-step guide and implementing the provided tips, you can create stunning diamond art with ease. Enjoy the process and let your creativity sparkle!
FAQs
Yes, multi-placer tools are compatible with most diamond painting kits, regardless of the design or complexity.
Ensure that you are applying enough pressure while placing the drills to ensure proper adhesion. If the drills continue to fall off, consider using a stronger adhesive or wax.
Tap the side of the tray or use an anti-static brush to reduce static cling between the drills. This will help separate them and prevent them from sticking together.
Yes, multi-placer tools can be used by beginners. They simplify the process of placing drills and can help beginners achieve more accurate results.
Yes, there are multi-placer tools available with interchangeable tips that can accommodate both round and square drills. Ensure you have the appropriate tip for the type of drills you are using.
I'm William, a diamond painting enthusiast. Through my site diamond-paint.com, I offer tips, tricks, and resources for creating stunning works of art. Join me on this journey of self-expression and artistic fulfillment!
Diamond painting has gained immense popularity as a creative and therapeutic activity. If you’re new to this craft, a 5D diamond painting kit is a perfect starting point. In this article, we will guide you through the process of completing a 5D diamond painting kit, step by step. So, let’s dive in and explore the…
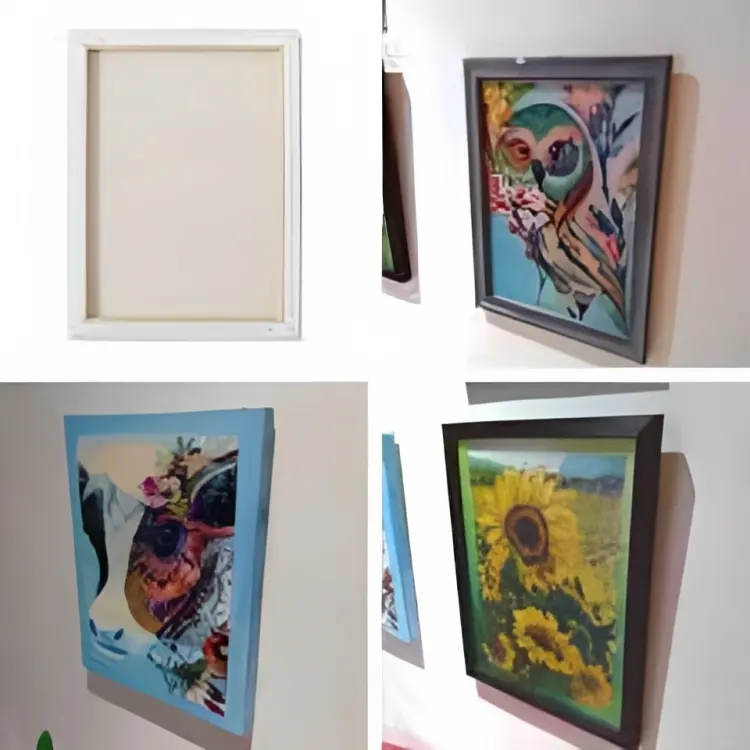
Diamond painting has gained immense popularity as a therapeutic and creative craft activity. Once you’ve completed your dazzling diamond painting masterpiece, the next step is to consider how to preserve and display it. Framing your diamond painting not only protects it from dust and damage but also showcases your hard work and talent. In this…
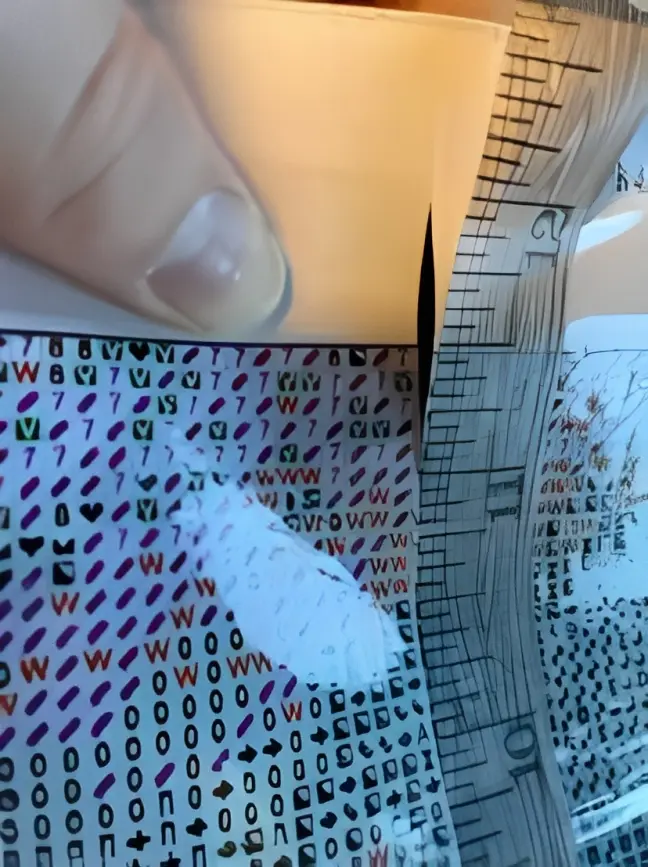
Diamond painting is a popular and creative craft that combines the elements of paint-by-numbers and cross-stitch, using small resin diamonds to create stunning and sparkling mosaic-like art pieces. However, even the most careful of diamond painters may encounter the unfortunate mishap of a torn canvas during their artistic journey. A torn canvas can be disheartening,…
Diamond painting has become a popular and enjoyable craft, allowing individuals to create stunning artworks using small, sparkling resin diamonds. The use of 5D diamond painting tools is essential to achieve precise and beautiful results. In this article, we will explore how to use these tools effectively and efficiently to enhance the diamond painting experience….
Diamond painting has gained immense popularity among craft enthusiasts due to its therapeutic and rewarding nature. One essential element in this creative process is the glue, which plays a crucial role in securing the sparkling diamond beads to the canvas. In this article, we will guide you on how to use glue effectively in your…
Diamond painting has become a popular and creative hobby for many people. It involves placing colorful resin rhinestones onto a canvas, creating stunning and sparkly mosaic-like artworks. But did you know that you can also turn your passion for diamond painting into a profitable venture? In this article, we will explore various ways in which…