
How to Do a 5D Diamond Painting Kit?
Diamond painting has gained immense popularity as a creative and therapeutic activity. If you’re new to this craft, a 5D diamond painting kit is a perfect starting point. In this article, we will guide you through the process of completing a 5D diamond painting kit, step by step. So, let’s dive in and explore the wonderful world of diamond painting!
What is a 5D Diamond Painting Kit?
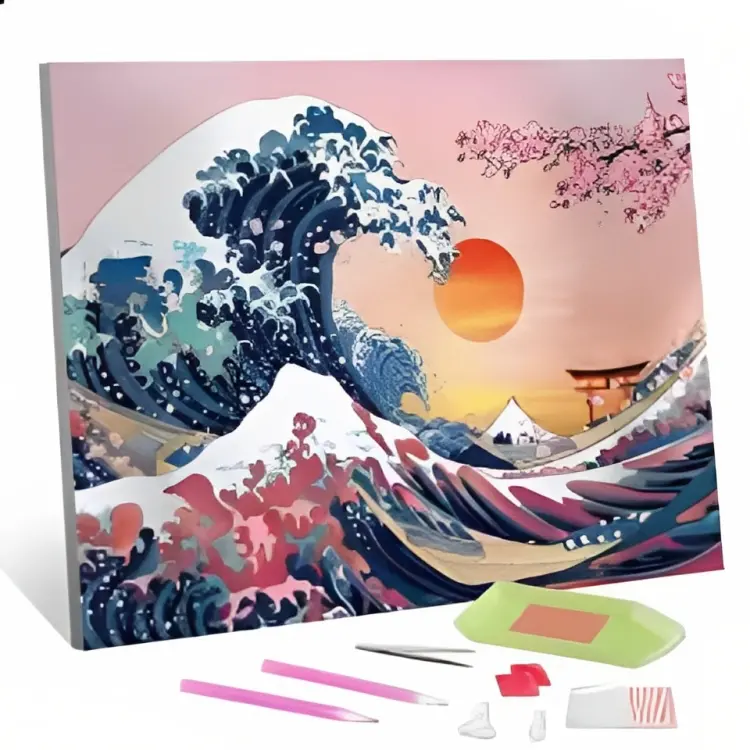
A 5D diamond painting kit includes all the necessary materials to complete a diamond painting project. It typically consists of an adhesive canvas, diamond drills (resin diamonds), a tray, a diamond applicator tool, and wax or gel for the tool. The canvas is printed with symbols or numbers that correspond to different diamond colors, making it easier to follow the pattern.
Understanding the Components of a 5D Diamond Painting Kit
Before starting your diamond painting project, it’s essential to familiarize yourself with the components of the kit. The adhesive canvas serves as the base for placing the diamonds. Diamond drills are small, faceted resin gems that give the artwork its shimmering effect. The tray is used for organizing the diamonds, and the diamond applicator tool helps pick up and place the diamonds accurately.
Preparing Your Workspace
Creating a comfortable and organized workspace is crucial for an enjoyable diamond painting experience. Find a clean, well-lit area where you can work without interruptions. Lay out a soft cloth or mat to protect your table surface. Keep the kit components, such as the diamonds and tools, within easy reach for convenience.
Sorting and Organizing the Diamonds
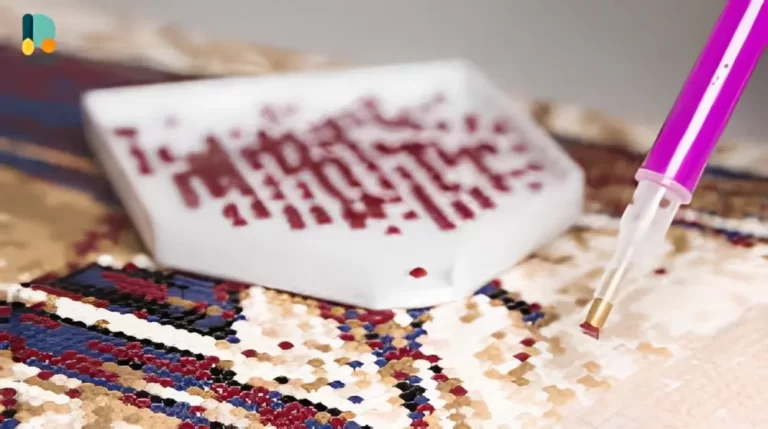
To make the diamond placement process smoother, it’s essential to sort and organize the diamonds beforehand. Start by pouring the diamonds into the tray and shake it gently to spread them evenly. Then, using the diamond applicator tool, pick up each diamond and place them into separate compartments of the tray according to their colors or symbols.
Applying the Adhesive Canvas
Begin by peeling back a small portion of the protective film on the adhesive canvas. Carefully align the canvas with the corresponding pattern or design on the printed chart. Press down gently to secure the canvas in place. Gradually peel off more of the protective film as you work, ensuring that the adhesive remains sticky.
Selecting the Right Tools for Diamond Placement
Choosing the right tools for diamond placement is crucial for accuracy and efficiency. The diamond applicator tool comes in two types: a pen-like tool and a tweezer-like tool. Experiment with both to find which one feels more comfortable for you. Additionally, wax or gel can be applied to the tip of the tool to help pick up the diamonds more easily.
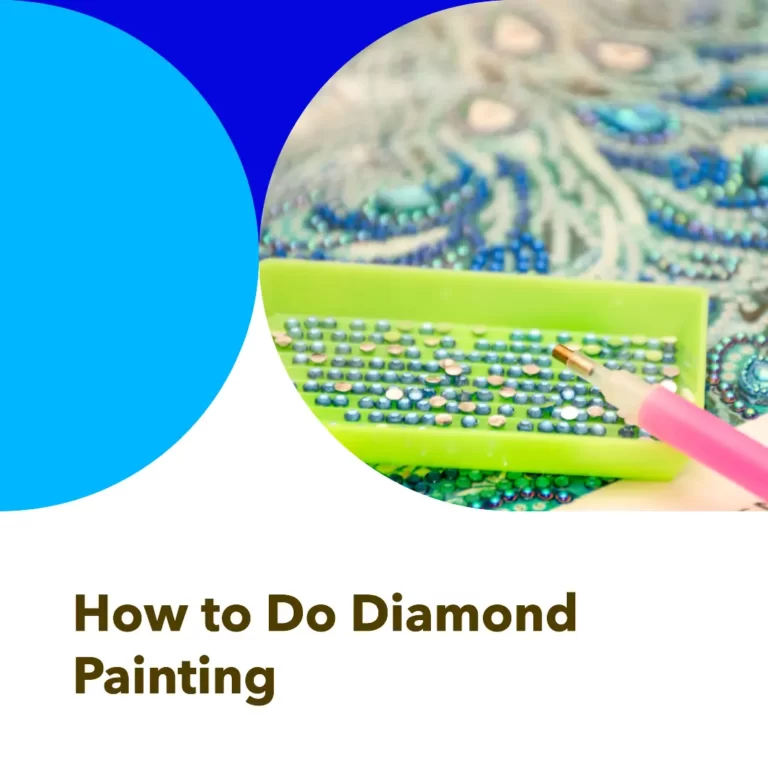
Picking up and Placing the Diamonds
Using your chosen diamond applicator tool, gently press it onto the rounded side of a diamond. The diamond will adhere to the tool due to the wax or gel. Carefully position the diamond onto the corresponding symbol or number on the canvas. Apply a slight amount of pressure to ensure the diamond sticks firmly.
Techniques for Smooth Diamond Placement
To achieve a polished and professional look, employ some techniques for smooth diamond placement. Start from the bottom of the canvas and work your way up to prevent smudging or accidental displacement. Press down on each diamond gently to secure its position. If you make a mistake, use the flat side of the applicator tool or tweezers to remove the diamond.
Completing the Diamond Painting
As you progress, you’ll see your diamond painting come to life. Continue placing the diamonds following the pattern until the entire canvas is covered. Take breaks if needed to prevent eye strain or fatigue. Enjoy the process and take pride in each completed section.
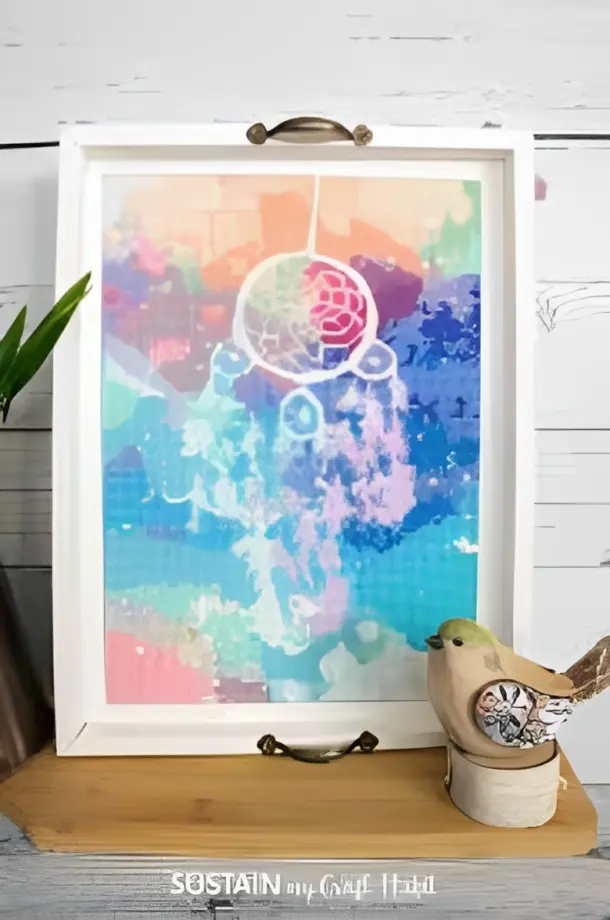
Sealing and Framing Your Finished Work
Once you’ve completed your diamond painting, it’s essential to seal and protect it. Apply a layer of clear sealant or adhesive spray over the diamonds to ensure they stay in place. Allow it to dry completely before handling. Finally, consider framing your finished work to display it proudly or giving it as a thoughtful gift.
Tips and Tricks for a Successful 5D Diamond Painting Experience
Here are some valuable tips and tricks to enhance your 5D diamond painting experience:
gain inspiration.
Conclusion
5D diamond painting is an enjoyable and rewarding activity that allows you to create stunning works of art. By following the steps outlined in this article, you can embark on your diamond painting journey with confidence. Remember to take your time, enjoy the process, and let your creativity shine through. Happy diamond painting!
3 Comments