
How to Glue Diamond Painting?
Diamond painting is a popular craft activity that involves creating stunning mosaic-like artworks using small resin rhinestones, also known as diamonds. Once you have completed your diamond painting, it’s essential to secure the diamonds in place to ensure the longevity and preservation of your masterpiece. Gluing diamond painting is a simple yet crucial step that will help keep the gems firmly adhered to the canvas. In this article, we will guide you through the process of gluing diamond painting, providing you with step-by-step instructions and helpful tips to achieve the best results.
Gather Your Materials
Before you begin the gluing process, make sure you have all the necessary materials at hand. Here’s a list of what you’ll need:
Prepare Your Work Area
Prepare a clean and well-lit work area where you can comfortably perform the gluing process. Lay down a smooth surface such as a table or desk and cover it with a clean cloth or tissue paper to protect your diamond painting.
Secure the Canvas
To prevent the canvas from shifting during the gluing process, you can secure it using painter’s tape or clips. This will keep the canvas taut and ensure precise gluing.
Select the Right Glue
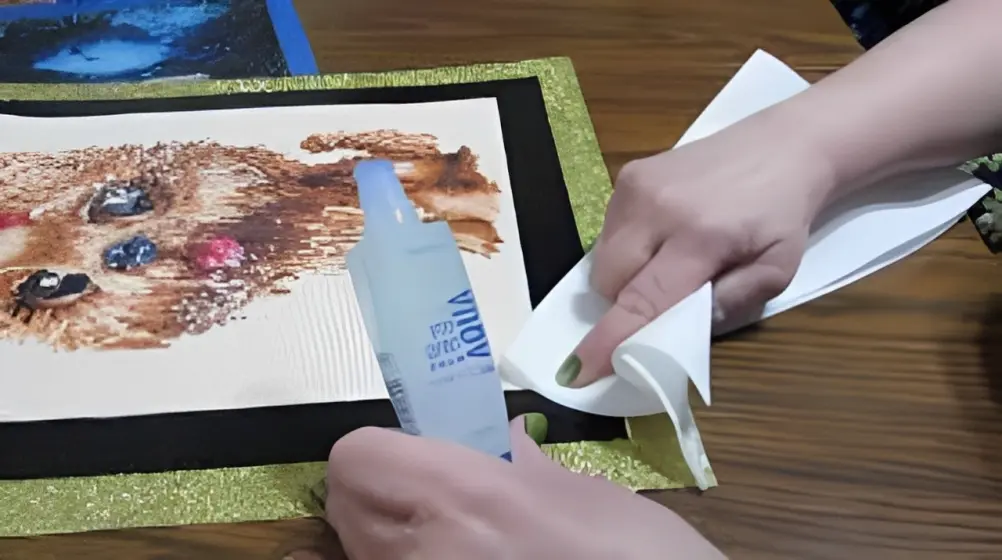
Using the appropriate glue is crucial for a successful diamond painting project. There are specific glues designed explicitly for diamond painting, providing strong adhesion without damaging the canvas or diamonds. These glues often come in convenient applicator bottles, allowing for precise and controlled application.
Apply Glue to the Diamonds
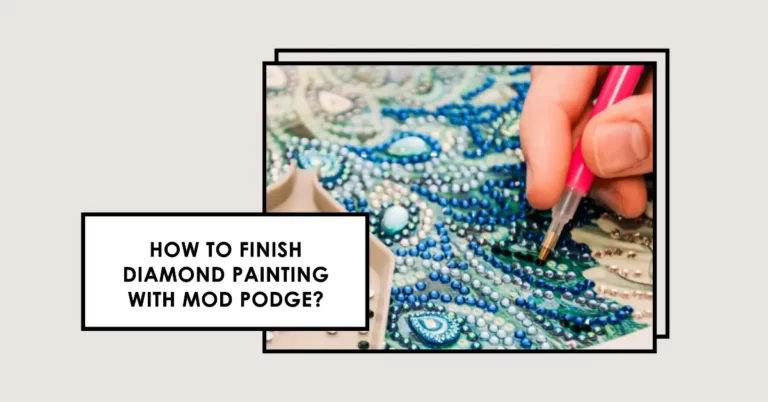
Using tweezers or a diamond painting pen, pick up a diamond and apply a small amount of glue to the flat side of the diamond. Be careful not to use excessive glue, as it can overflow and create unwanted messes.
Spreading the Glue
After applying glue to a diamond, gently press it onto the corresponding symbol on the canvas. Apply a slight amount of pressure to ensure the diamond adheres firmly. Repeat this process for each diamond, working in sections to maintain accuracy.
Drying Time and Curing Process
Allow the glued diamonds to dry completely before moving the canvas or touching the diamonds. The drying time can vary depending on the type of glue used, so refer to the manufacturer’s instructions for specific guidance. Some glues require additional curing time to achieve maximum bond strength, so be patient and follow the recommended curing process.
Final Touches
Inspect your diamond painting after the glue has dried. If you notice any diamonds that are not adhered properly, gently press them down using a toothpick or wax pencil. Ensure that all the diamonds are secure before proceeding to the next step.
Framing Your Diamond Painting
Once the glue has fully cured, you may consider framing your diamond painting to showcase it beautifully. Choose a suitable frame that complements the size and style of your artwork. Place the canvas within the frame, ensuring it is centered and secure. Hang your framed diamond painting in a location where it can be admired by all.
Tips for Gluing Diamond Painting
Here are some additional tips to enhance your diamond painting gluing experience:
Conclusion
Gluing your diamond painting is a crucial step in preserving your artwork and ensuring that the diamonds remain securely in place. By following the step-by-step instructions provided in this article, you can achieve a well-adhered and long-lasting diamond painting. Remember to work in sections, choose the right glue, and give ample drying and curing time. With proper care and framing, your diamond painting will be a stunning display of creativity and craftsmanship for years to come.


One Comment