Diamond Painting: How to Seal with Mod Podge?
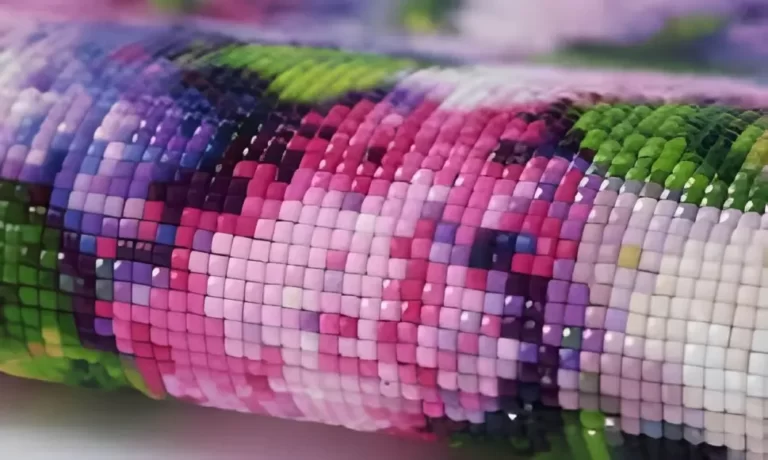
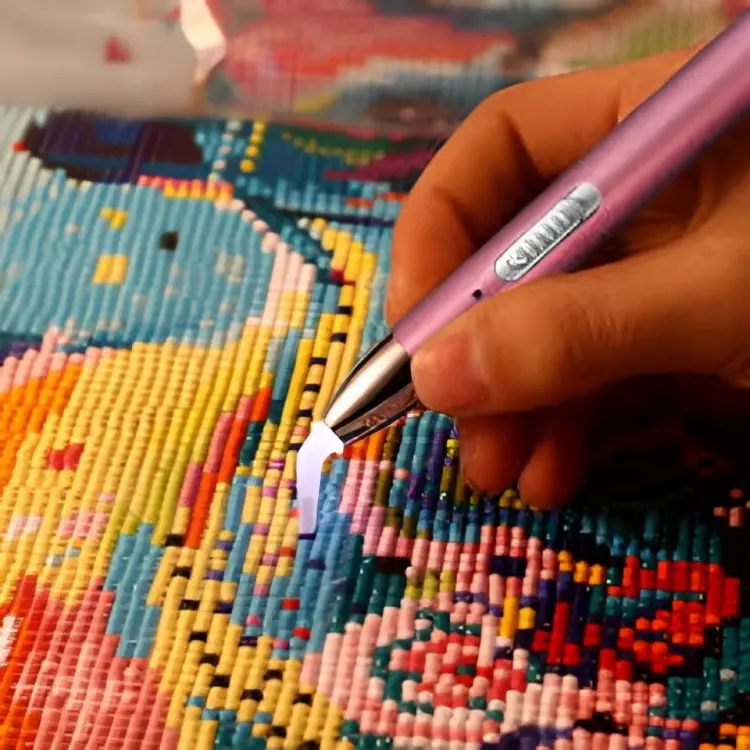
In the world of crafting, diamond painting has become a popular and captivating hobby for many enthusiasts. Creating stunning and intricate artwork by placing tiny diamond-shaped gems onto a sticky canvas is not only therapeutic but also rewarding.
However, once you’ve completed your diamond painting masterpiece, you may wonder how to preserve its beauty and keep the gems securely in place. That’s where Mod Podge comes in. In this article, we will guide you through the process of sealing your diamond painting using Mod Podge, a versatile and reliable sealant.
Understanding the Need to Seal
Before we delve into the sealing process, let’s understand why it’s important to consider sealing your diamond painting. While some high-quality diamond painting kits come with a strong adhesive that holds the gems in place, others may require additional sealing to ensure the longevity of your artwork.
Sealing is particularly crucial for lower quality kits to prevent the gems from falling off over time and protect the finished painting from dust and dirt.
Pros and Cons of Sealing
As with any crafting decision, there are pros and cons to sealing your diamond painting. Some enthusiasts prefer to frame their diamond paintings, which eliminates the need for sealing. However, others find that sealing offers additional protection and peace of mind, especially for paintings that may be displayed without a frame.
Pros:
Cons:
Choosing the Right Sealant
When it comes to selecting a sealant for your diamond painting, there are two main options: spray-on sealants and brush-on sealants. Each type has its advantages and considerations.
Spray-on Sealants
Spray-on sealants are easy to apply and won’t yellow over time. They offer a hassle-free sealing process and maintain the natural shine of the diamonds. However, they do not fill gaps between the diamonds, so you may need to consider this aspect when making your choice.
Brush-on Sealants
Brush-on sealants, such as Mod Podge, act as both a finishing coat and glue. They fill gaps between diamonds, preventing dust and dirt from settling in those areas. However, be cautious not to apply too much, as excessive brush-on sealant may lead to yellowing over time and reduce the sparkle of the diamonds.
Step-by-Step Guide: How to Seal with Mod Podge
Now that you’ve decided to seal your diamond painting with Mod Podge, follow this step-by-step guide to ensure the best results.
Step 1: Prepare Your Diamond Painting
Before applying Mod Podge, ensure that all diamond beads are flat and securely in place. Use a plastic protective cover, a towel, or a large piece of fabric to cover your completed diamond painting.
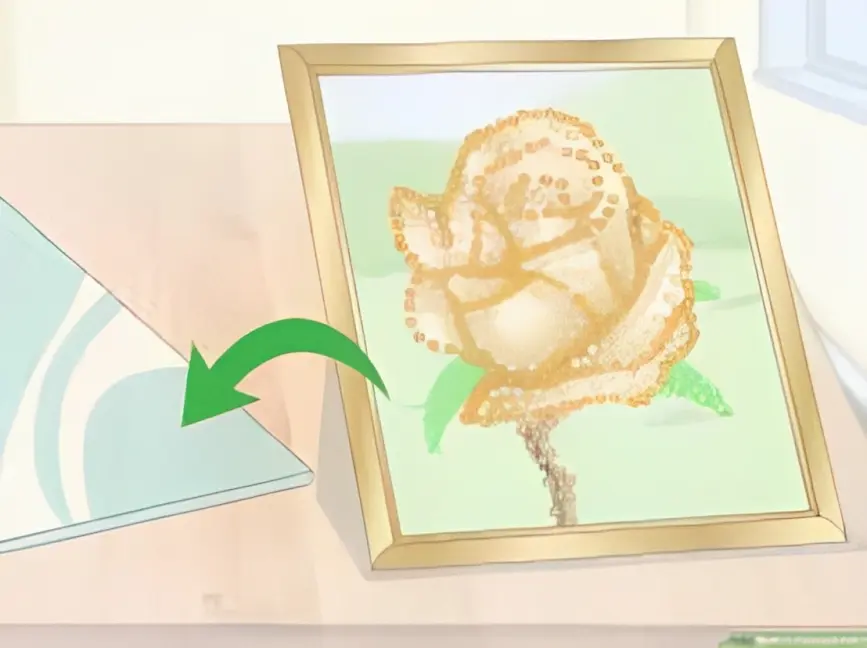
Step 2: Pressing Down the Beads
To achieve a smooth and even surface, gently press down on all the beads using a rolling pin. This step ensures that the beads are firmly attached to the canvas.
Step 3: Applying Mod Podge
For brush-on Mod Podge, lightly coat your brush with the sealant. Begin to paint on top of the beads evenly. Remember, less is more, so start with a thin layer and add more if needed. If using spray-on Mod Podge, follow the instructions on the canister and hold it six to eight inches away from the canvas while spraying.
Step 4: Allow Drying Time
Once you’ve applied the Mod Podge, allow your diamond painting to dry according to the sealant’s instructions. Avoid picking up the painting too early to prevent any dripping of the sealant.
Conclusion
Sealing your diamond painting with Mod Podge can be a beneficial step in preserving your masterpiece for years to come. Whether you choose to frame your artwork or display it without a frame, Mod Podge provides an effective and reliable sealant to keep the gems securely in place and protect your artwork from external elements.
