How to Use Diamond Painting Straightening Tools?
Diamond painting is a popular craft that combines the art of painting with the meticulous placement of small resin diamonds on a canvas to create stunning and sparkling mosaic-like designs.
To achieve a polished and professional look in your diamond painting projects, the proper use of straightening tools is essential. In this article, we will guide you through the process of using diamond painting straightening tools effectively.
Introduction: What are Diamond Painting Straightening Tools?
Diamond painting straightening tools are specially designed accessories that help keep your diamonds straight and arrange them in order during the diamond painting process.
These tools come in various shapes and sizes, but the most common ones include a ruler for square diamond painting, a ruler for round diamond painting, and a diamond painting fix tool.
Preparing Your Diamond Painting Kit
Before you start using the straightening tools, ensure that you have a complete diamond painting kit.
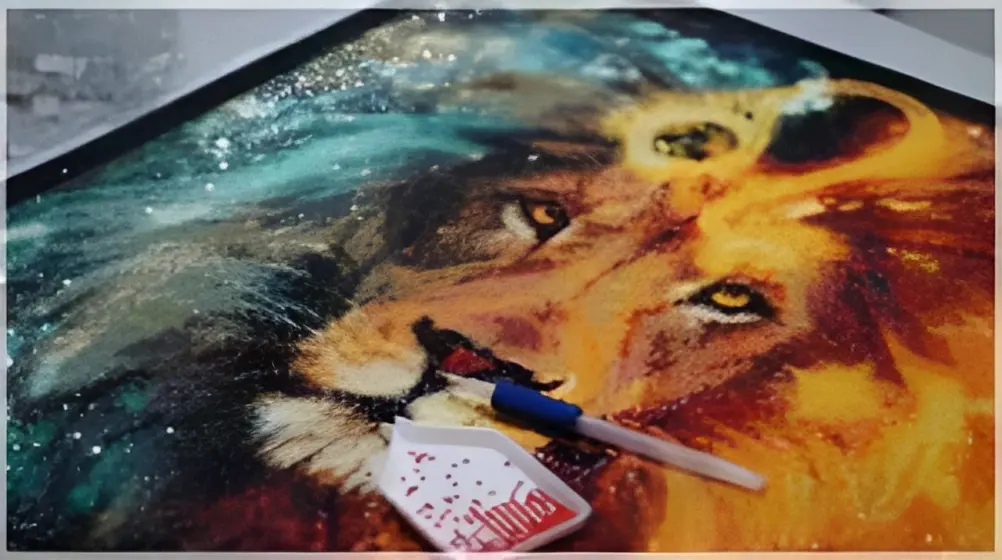
This typically includes a canvas with a printed design, adhesive layer, colored resin diamonds, a tray for organizing diamonds, a diamond applicator pen, and of course, the straightening tools.
Unboxing and Familiarizing Yourself with the Tools
Once you have your kit ready, unbox it and take a moment to familiarize yourself with the straightening tools.
Inspect each tool and understand its purpose and functionality. This will help you use them more effectively during your diamond painting journey.
Using the Ruler for Square Diamond Painting
When working with square diamond painting, the ruler becomes your best friend. Place the ruler on the canvas, aligning it with the edge or the existing row of diamonds.
Gently press the diamonds against the ruler, ensuring they fit snugly into the grid cells. This technique helps maintain straight lines and prevents any misalignment.
Using the Ruler for Round Diamond Painting
For round diamond painting, the process is similar, but the ruler is designed to accommodate the circular shape of the diamonds.
Align the ruler with the existing row of diamonds and press them against it, making sure they sit securely in their designated spaces. The ruler provides stability and ensures the round diamonds are perfectly arranged.
Using the Diamond Painting Fix Tool
The diamond painting fix tool is incredibly handy for adjusting and fixing any misplaced diamonds. If you notice a diamond that needs repositioning, gently place the fix tool tip on top of the diamond and carefully slide it to the correct spot. The sticky tip of the fix tool makes it easy to pick up and move the diamonds without damaging the adhesive layer.
Tips for Achieving Neater and Smoother Results
To enhance the overall appearance of your diamond painting, consider the following tips:
- Organize your diamonds: Use the tray or small containers to keep your diamonds sorted by color. This makes it easier to find the right diamond when you need it.
- Work in sections: Start with a small section of the canvas and gradually move on to the next. This prevents the adhesive from drying out before you finish placing all the diamonds.
- Use gentle pressure: When applying diamonds, use light pressure with the applicator pen to avoid smudging the adhesive or damaging the diamonds.
- Double-check alignment: Periodically step back and examine your work from a distance to ensure straight lines and proper alignment.
- Enjoy the process: Diamond painting is a relaxing and therapeutic activity. Take your time, enjoy the process, and appreciate the beautiful results you create.
Conclusion
Diamond painting straightening tools are invaluable for achieving neat and professional-looking diamond paintings. By following the steps outlined in this article and applying some useful tips, you’ll be able to create stunning diamond artworks that shimmer with brilliance. Enjoy the journey and let your creativity shine!
