
How to Put Top Glue on DIY Diamond Painting?
Diamond painting is a popular craft that involves placing small resin rhinestones, known as diamonds, onto a canvas to create a stunning piece of art. One crucial step in the diamond painting process is applying the top glue, which secures the diamonds in place and ensures their long-lasting adhesion.
In this article, we will guide you through the steps of applying top glue on your DIY diamond painting, providing you with the knowledge and techniques to create a beautiful and durable masterpiece.
What is Top Glue in Diamond Painting?
Top glue, also known as diamond painting adhesive or sealer, is a specialized glue designed specifically for diamond painting projects. It acts as a protective layer, securing the diamonds onto the canvas and preventing them from losing their adhesion.
Top glue is transparent and dries clear, ensuring that it doesn’t affect the overall appearance of your artwork.
Choosing the Right Top Glue
When selecting top glue for your diamond painting, it’s essential to choose a high-quality adhesive specifically formulated for this craft. Look for glue that is non-toxic, odorless, and dries quickly.
Additionally, opt for a glue that provides a strong and durable bond without leaving any residue or marks on the diamonds or canvas.
Materials Needed
Before you begin applying top glue to your DIY diamond painting, gather the following materials:
Preparing Your Workspace
Before you start applying the top glue, it’s crucial to prepare your workspace properly. Clear a clean, flat surface where you can work comfortably.
Make sure the area is well-lit, allowing you to see the details of the canvas clearly. Lay out all the materials you will need within reach, ensuring an organized and efficient workflow.
Step 1: Read the Instructions
Before opening the top glue, carefully read and familiarize yourself with the instructions provided by the manufacturer.
Each brand may have specific guidelines and drying times, so it’s essential to understand the recommended application process.
Step 2: Test the Top Glue
To ensure compatibility and assess the consistency of the top glue, perform a small test application on a spare piece of diamond painting canvas or a less noticeable area of your artwork.
This step allows you to evaluate the glue’s drying time, adhesion, and transparency before applying it to the entire canvas.
Step 3: Applying Top Glue to the Canvas
Begin by pouring a small amount of top glue into a bowl or dish. Using a toothpick or craft stick, carefully scoop a small portion of the glue and apply it to the canvas.
Start from one corner of the painting and work your way across, ensuring an even and consistent application. Avoid applying excess glue to prevent overflow and smudging of the diamonds.
Step 4: Spreading the Glue Evenly
After applying the top glue to a section of the canvas, use a toothpick or craft stick to spread the glue evenly across the area.
Gently glide the tool over the canvas, ensuring that the glue covers the entire diamond area. Take care not to press too hard, as it may displace the diamonds or create air bubbles.
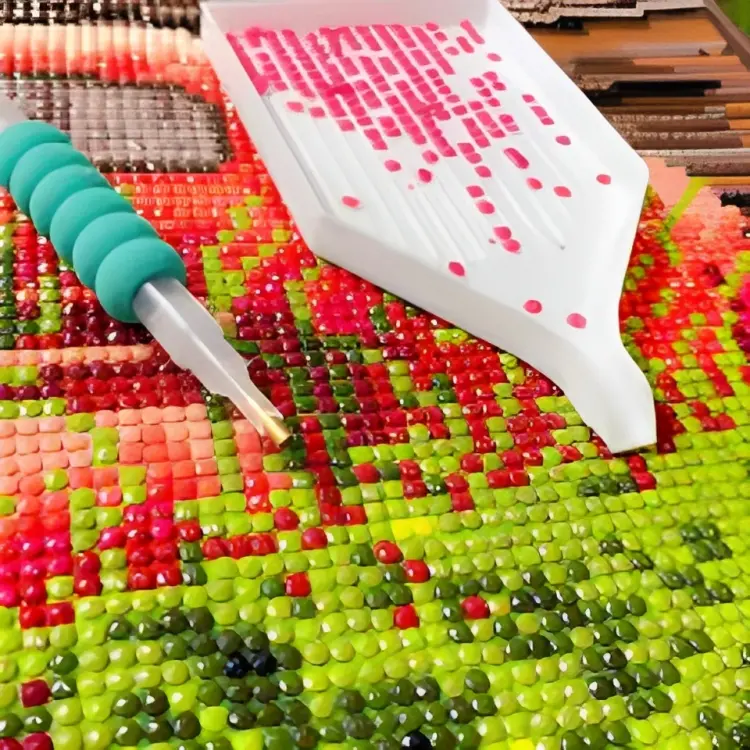
Step 5: Placing the Diamonds
Once the glue is evenly spread, use a pair of tweezers or a diamond applicator tool to pick up the diamonds and place them onto the corresponding symbols on the canvas.
Press each diamond gently but firmly into the glue, ensuring a secure bond. Continue this process, working section by section, until the entire canvas is covered with diamonds.
Step 6: Securing the Diamonds
After placing all the diamonds, use the flat side of the craft stick or a clean cloth to gently press down on the diamonds.
This step helps ensure that the diamonds are firmly embedded in the glue, enhancing their adhesion and preventing any loose or wobbly diamonds.
Step 7: Drying and Curing the Glue
Allow the diamond painting to dry and cure according to the manufacturer’s instructions. This process typically takes a few hours or overnight.
Avoid touching or moving the canvas during this time to prevent any accidental displacement of the diamonds.
Step 8: Finishing Touches
Once the top glue has completely dried and cured, inspect your diamond painting for any loose diamonds or areas that require additional adhesive. Apply a small amount of top glue to these areas and follow the previous steps to secure the diamonds.
Afterward, carefully trim any excess glue from the edges of the canvas, if necessary, for a clean and polished finish.
Tips and Tricks for Applying Top Glue
Common Mistakes to Avoid
Conclusion
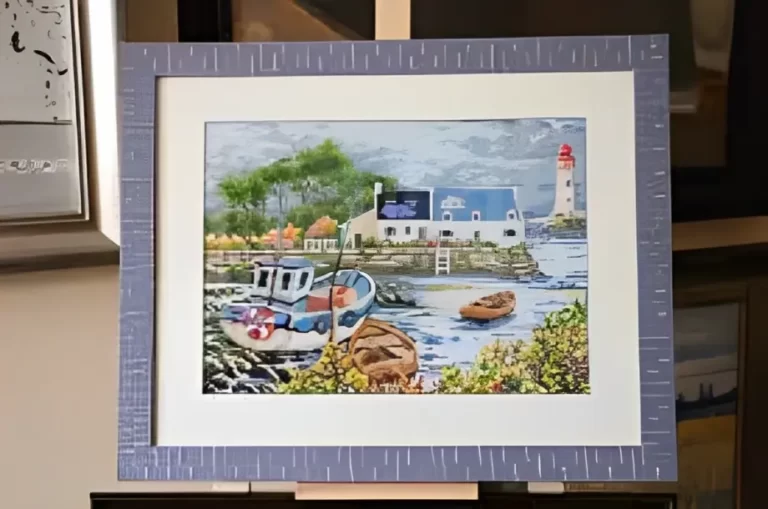
Applying top glue is a crucial step in the diamond painting process, as it ensures the longevity and durability of your artwork.
By following the step-by-step instructions and utilizing the tips provided in this article, you can confidently apply top glue to your DIY diamond painting, creating a masterpiece that will stand the test of time.
Enjoy the process, and let your creativity shine!
5 Comments