How to Mount Diamond Painting on Foam Board?
Diamond painting is a creative and relaxing hobby that allows you to create stunning artwork using tiny resin drills. Once you’ve completed your diamond painting masterpiece, you may want to display it proudly.
One popular and cost-effective way to showcase your finished work is by mounting it on foam board. In this article, we will guide you through the process of mounting a diamond painting on foam board, step by step.
Step 1: Completing the Diamond Painting
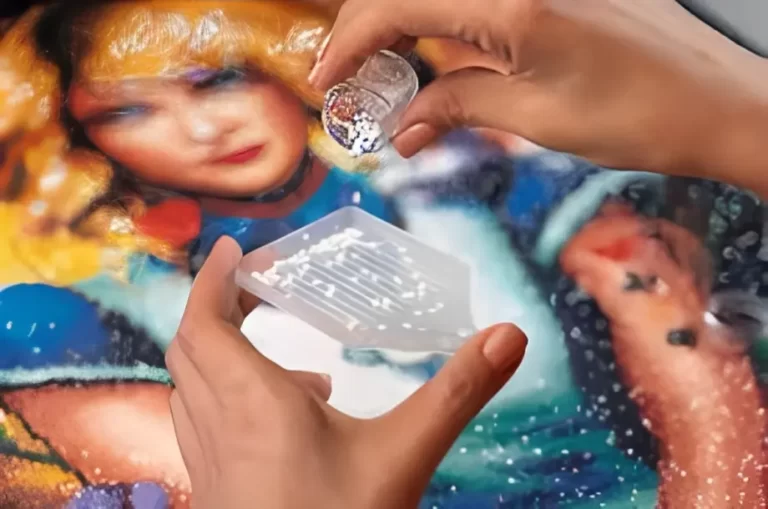
Before you can mount your diamond painting, make sure it is fully completed. Take your time to carefully place each diamond on the canvas, ensuring they are aligned properly.
Double-check for any missing drills and fix them before proceeding to the mounting process.
Step 2: Measuring and Cutting the Foam Board
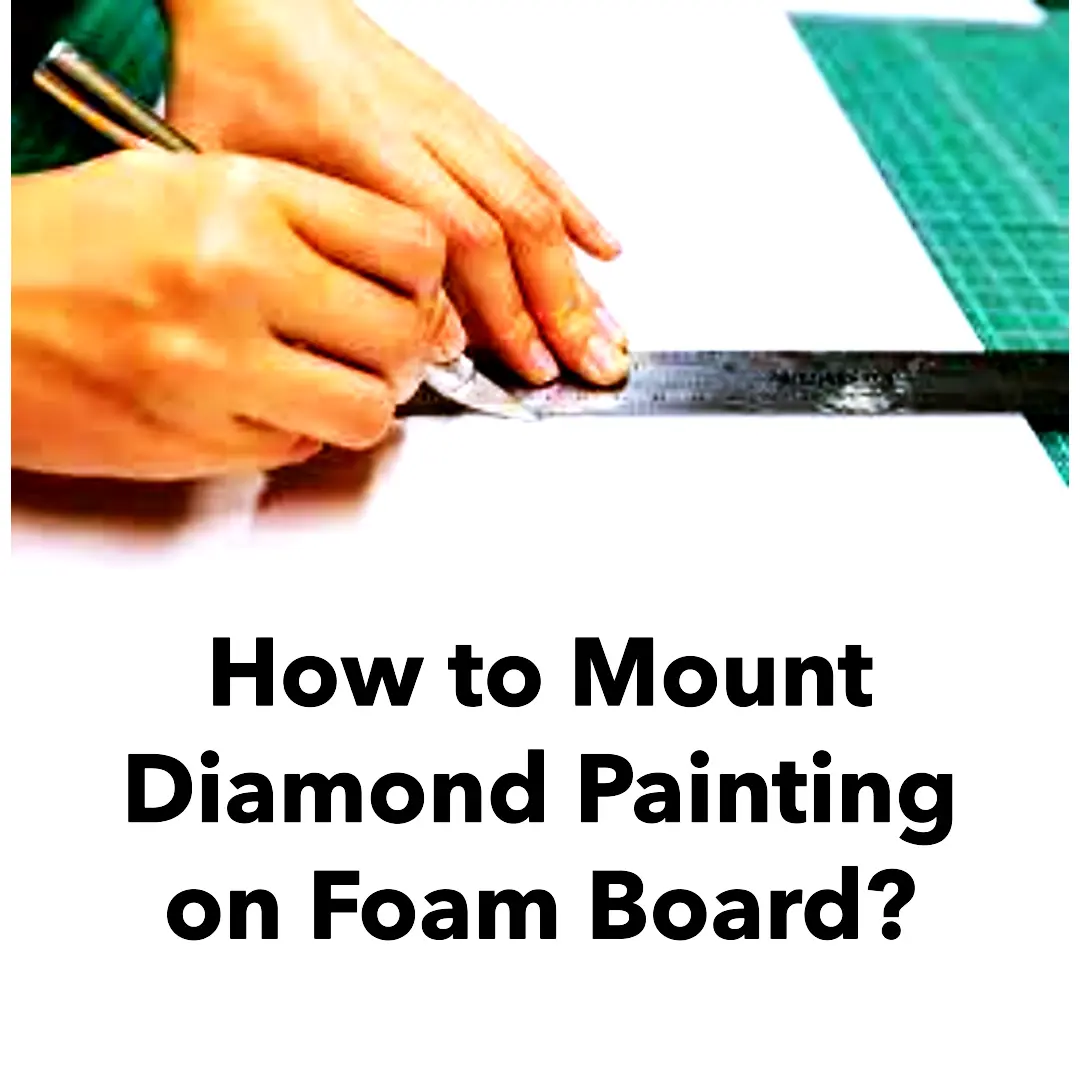
To mount your diamond painting on foam board, you will need a piece of foam board that matches the size of your artwork. Using a ruler and a pencil, measure and mark the dimensions on the foam board.
Then, carefully cut along the marked lines using a utility knife or a sharp pair of scissors. Take your time to achieve clean and precise cuts.
Step 3: Attaching the Diamond Painting to the Foam Board
Now it’s time to attach your diamond painting to the foam board. Begin by applying a spray adhesive to the surface of the foam board. Make sure to follow the instructions provided with the adhesive and use it in a well-ventilated area.
Once the adhesive is applied, carefully place your diamond painting on top of the foam board, aligning it with the edges.
To ensure a smooth and wrinkle-free result, start from the center of the painting and gently press down, moving outward. Use your hands or a soft cloth to smooth out any bubbles or creases.
Take extra care when handling the adhesive to avoid smudging or damaging your artwork.
Step 4: Adding a Protective Layer (Optional)
If you want to provide additional protection to your mounted diamond painting, you can consider adding a protective layer. One popular option is using a transparent sheet of acrylic or plexiglass.
Cut the sheet slightly larger than the dimensions of your foam board and place it on top of your artwork. Secure the edges with clear adhesive tape or use framing clips to hold it in place.
Adding a protective layer not only safeguards your diamond painting from dust and damage but also gives it a professional and polished look.
Step 5: Displaying and Hanging the Mounted Diamond Painting
Once your diamond painting is securely mounted on foam board, it’s time to decide how you want to display it. Foam board is lightweight, making it easy to hang on walls or place on easels.
You can use adhesive hooks or picture hanging strips to mount it on the wall without causing any damage. Alternatively, you can display it on a tabletop or shelf using an easel or a plate stand.
Consider the lighting conditions in the room where you plan to display your artwork. Avoid direct sunlight or harsh artificial light that may fade the colors over time. Opt for well-lit areas with moderate lighting for the best visual impact.
Tips and Tricks for a Perfect Mounting
Conclusion
Mounting your diamond painting on a foam board is an excellent way to showcase your artistic creation. By following the step-by-step process outlined in this article, you can create a beautiful and professional-looking display piece.
Whether you choose to hang it on the wall or place it on a shelf, your mounted diamond painting is sure to capture attention and admiration. Enjoy the satisfaction of displaying your diamond painting masterpiece for all to see!
