How to Finish Diamond Painting?
Diamond painting has gained popularity as a relaxing and creative hobby that combines elements of cross-stitching and painting by numbers. If you are new to diamond painting or looking for guidance on how to complete your project, this article will provide you with step-by-step instructions and useful tips.
From selecting the right kit to sealing and displaying your finished artwork, we will cover all the essential aspects of finishing a diamond painting.
Getting Started with Diamond Painting
Choosing a Diamond Painting Kit
Before diving into the diamond painting process, it’s crucial to select a kit that suits your preferences.
Consider factors such as the complexity of the design, the size of the canvas, and the quality of materials. Popular themes include landscapes, animals, flowers, and famous artworks.
Preparing the Workspace
Creating a comfortable and organized workspace is essential for an enjoyable diamond painting experience. Clear a flat and well-lit surface where you can spread out the canvas and all the necessary tools.
Ensure you have ample space to work without any obstructions. Organize the diamond drills, tray, wax or adhesive pad, and applicator tool within easy reach.
Unboxing and Set-Up
Unpacking the Kit
When you receive your diamond painting kit, carefully unpack it and lay out all the components. Take a moment to familiarize yourself with the contents to ensure everything is included and in good condition.
Understanding the Contents
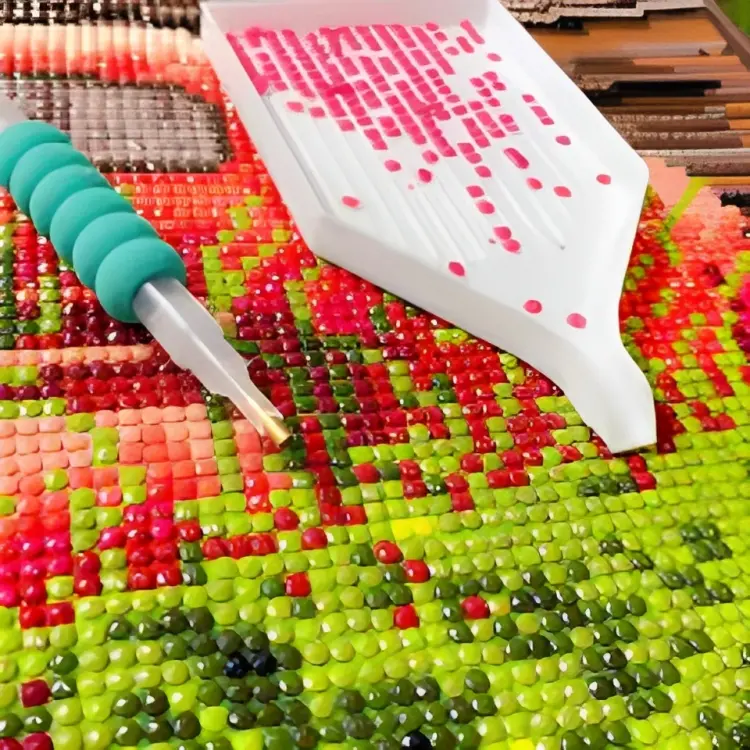
A typical diamond painting kit consists of a canvas, diamond drills, a tray, wax or adhesive pad, and an applicator tool. The canvas is covered with a protective film that you will remove gradually as you work on the painting.
Preparing the Canvas
Before starting, it’s important to prepare the canvas properly. If the canvas arrives rolled up, flatten it by placing heavy books or objects on top for a few hours. If the canvas doesn’t have adhesive, apply a thin layer of glue or double-sided tape to secure the drills.
Diamond Painting Techniques
Understanding the Symbols
The canvas is printed with symbols that represent different colors and shapes of diamond drills. Refer to the provided legend or symbol chart to understand the codes. Familiarize yourself with the color-coding system and ensure you have a clear understanding of the symbols before you begin.
Applying the Diamond Drills
To apply the diamond drills, use the wax or adhesive pad provided. Dip the applicator tool into the wax or press it against the adhesive pad to pick up a diamond drill. Place the drill onto the corresponding symbol on the canvas, applying gentle pressure until it sticks. Repeat this process for each symbol.
Working Section by Section
To stay organized and prevent drills from getting mixed up, it’s advisable to work on one section of the canvas at a time. Start from the top or left side and work your way across or down. Keep the tray of diamond drills organized and labeled according to their colors to avoid confusion.
Tips for a Successful Diamond Painting Experience
To enhance your diamond painting experience, here are some useful tips to keep in mind:
Proper Lighting
Working in a well-lit environment is crucial for accurately placing the diamond drills. Ensure you have sufficient lighting that illuminates the canvas and makes it easy to differentiate between colors and symbols.
Consistent Pressure and Alignment
When placing the diamond drills, apply consistent pressure to ensure they stick securely to the canvas. Align the drills neatly within the symbol boundaries for a polished and professional appearance.
Taking Breaks and Avoiding Fatigue
Diamond painting can be a time-consuming activity, so it’s important to take breaks and avoid fatigue. Stretch your hands and neck regularly, rest your eyes, and stay hydrated. Pace yourself to maintain concentration and enjoyment throughout the process.
Completing the Diamond Painting
As you near completion, follow these steps to finish your diamond painting:
Checking for Missing Drills
Before declaring your project finished, carefully inspect the canvas to ensure no symbols are left empty or with missing drills. Use the provided inventory sheet or reference the legend to cross-check each symbol.
Filling in any Gaps or Empty Spaces
If you notice any gaps or empty spaces between the diamond drills, use the applicator tool to add the missing drills. Ensure that the entire canvas is covered with diamond drills for a cohesive and visually appealing finished piece.
Final Inspection and Corrections
After filling in any gaps, take a step back and inspect your diamond painting from a distance. Look for any inconsistencies or errors in the placement of the drills. Make any necessary corrections to achieve a high-quality and refined result.
Sealing and Displaying the Finished Diamond Painting
Considering the Need for Sealing
Once your diamond painting is complete, you may consider sealing it to protect the drills and extend the artwork’s lifespan. Sealing can also prevent the drills from falling off and protect the canvas from dust and damage. However, sealing is a personal choice, and some individuals prefer to display their diamond paintings without any sealant.
Options for Sealing the Diamond Painting
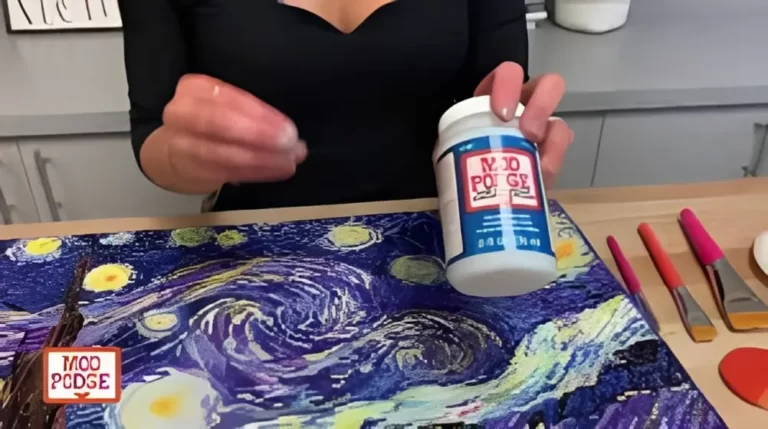
There are various options for sealing a diamond painting, including spray-on sealers and brush-on sealers. Popular brands like Mod Podge and Diamond Dotz offer sealants specifically designed for diamond paintings. Follow the instructions provided with the sealer of your choice to ensure proper application.
Displaying the Finished Artwork
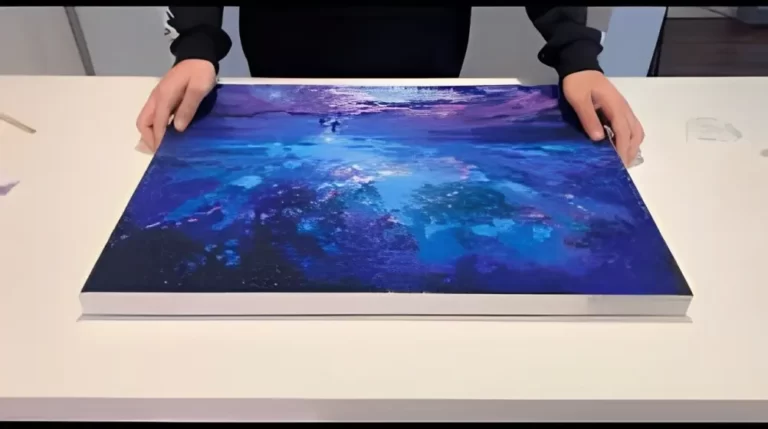
Once sealed or left unsealed, you can display your finished diamond painting in a frame or mount it on a canvas stretcher. Consider framing options that suit the size and style of your artwork. Alternatively, you can attach a hanging mechanism directly to the canvas and display it as-is.
Conclusion
Diamond painting is a captivating and creative hobby that allows individuals to create stunning pieces of art. By following the steps outlined in this article, you can confidently complete your diamond painting project.
Remember to choose a kit that resonates with you, prepare your workspace, apply the drills with precision, and consider sealing and displaying your finished artwork to showcase your accomplishment.
