
How to Do Diamond Painting for Beginners?
Diamond painting is a popular craft that combines the creativity of painting with the relaxation of working with beads. It involves placing small resin diamonds onto a canvas, creating a stunning and sparkling piece of art.
If you’re new to diamond painting and want to learn how to get started, this guide will walk you through the process step by step.
Getting Started with Diamond Painting
Before you begin diamond painting, it’s important to choose the right kit that suits your preferences and skill level. There are various kits available in the market, ranging from simple designs for beginners to more intricate and advanced designs.
Consider factors such as the size of the canvas, the type of diamonds included, and the level of detail in the design.
Once you have your diamond painting kit, take a moment to familiarize yourself with its components. Typically, a kit will include a rolled canvas, diamond beads (drills), a set of tools, and an inventory sheet. The inventory sheet lists the colors of the diamonds and the number of drill bags you should have received for each color.
Preparing Your Canvas
When unboxing your diamond painting kit, start by checking the inventory to ensure you have all the necessary drill bags. Separate the bags by color and cross-check them with the inventory sheet. If any bags are missing or short in quantity, contact the seller for replacements.
Next, unroll your canvas and check for any issues or damage. Peel back the clear plastic covering and examine the canvas. Once you’ve inspected it, recover the canvas to prevent the adhesive from drying out.
Using the Tools
The tools included in your diamond painting kit are essential for a smooth and enjoyable crafting experience. They typically consist of a diamond pen, a tray, wax, tweezers, and storage baggies.
The diamond pen is used to pick up the diamonds, while the tray helps organize them. To prepare the diamond pen, insert the metal tip into the wax, ensuring a small amount of wax sticks to the tip.
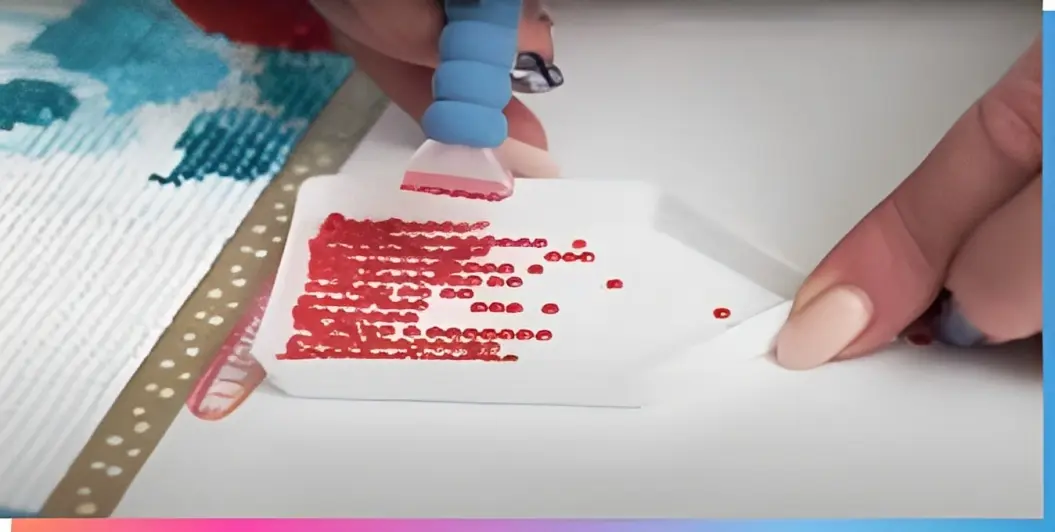
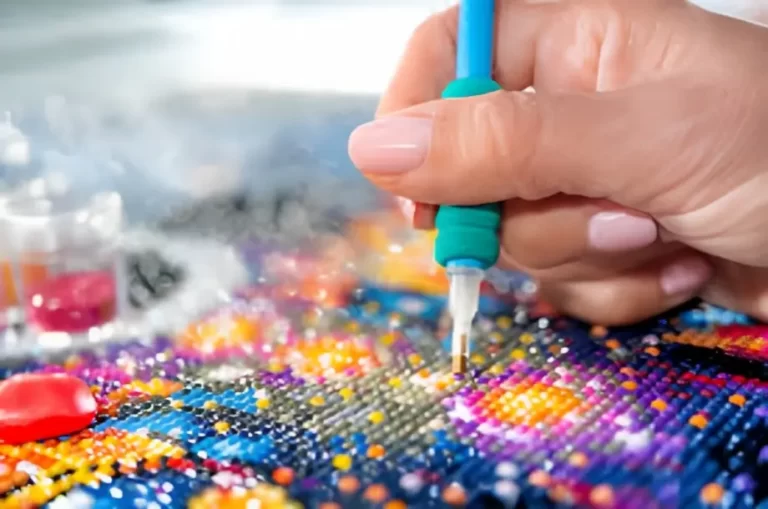
Placing the Diamonds
Before you start placing the diamonds, familiarize yourself with the symbol chart on the canvas. The chart correlates symbols with specific DMC color codes, guiding you on where to place each diamond. Begin by selecting a small section of the canvas to work on.
Using the chart, identify the DMC code for the starting symbol in that section. Locate the corresponding diamond color and pour a small amount into the tray. Dip the wax-coated tip of the diamond pen onto the flat side of the diamond, allowing it to stick to the pen. Carefully place the diamond onto the corresponding symbol on the canvas.
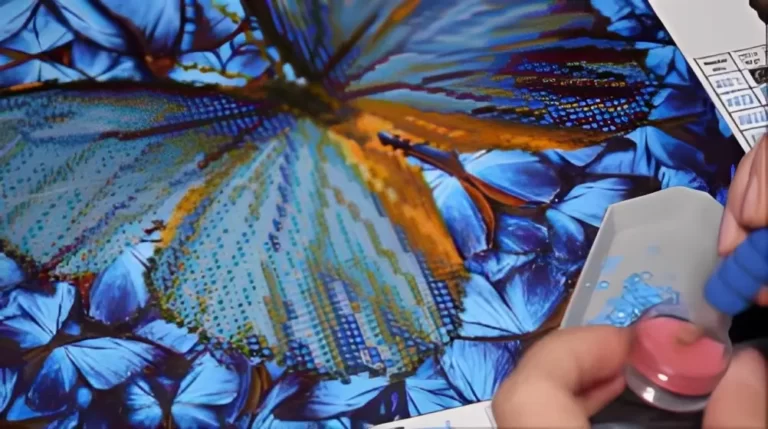
Working in Sections
Working in sections has several benefits when it comes to diamond painting. Firstly, it helps prevent dust or debris from sticking to the exposed adhesive. Secondly, it maintains the integrity of the canvas, ensuring straight lines and preventing accidental smudging.
Lastly, working in sections allows you to easily take breaks without worrying about losing your place.
As you work through each section, make sure to keep the protective cover on the canvas. Only remove a small portion of the cover at a time, exposing the adhesive for the section you’re currently working on. This practice keeps the rest of the canvas clean and prevents the adhesive from drying out.
Finishing Touches
Once you’ve completed your diamond painting, you may choose to seal and frame it for long-lasting preservation. Sealing the painting helps protect the diamonds from falling off and adds a glossy finish to the artwork.
You can use a finishing spray or clear glue to seal the diamonds, following the manufacturer’s instructions.
When it comes to framing, select a frame that matches the dimensions of your canvas. A well-chosen frame enhances the overall appearance of the artwork and allows you to display it proudly. Consider your personal style and the decor of the intended display area when choosing a frame.
Conclusion
Diamond painting is a delightful craft that offers a creative outlet and a sense of accomplishment. With this guide, you now have a solid understanding of how to do diamond painting as a beginner.
Remember to choose the right kit, prepare your canvas properly, and use the tools effectively. Enjoy the process, embrace your creativity, and let your diamond painting masterpiece shine!


One Comment