
How to Do Diamond Art Painting?
Diamond art painting, also known as diamond painting or diamond embroidery, is a popular craft that combines elements of paint-by-numbers and cross-stitch.
It offers a creative and relaxing way to create stunning, sparkling artwork using tiny resin rhinestones, or “diamonds.” In this article, we will guide you through the process of diamond art painting, from selecting a design to completing your masterpiece. So, let’s dive in and discover how to bring your own diamond art to life!
Materials Needed
Before you begin your diamond art painting journey, it’s essential to gather all the necessary materials. Here are the items you’ll need:
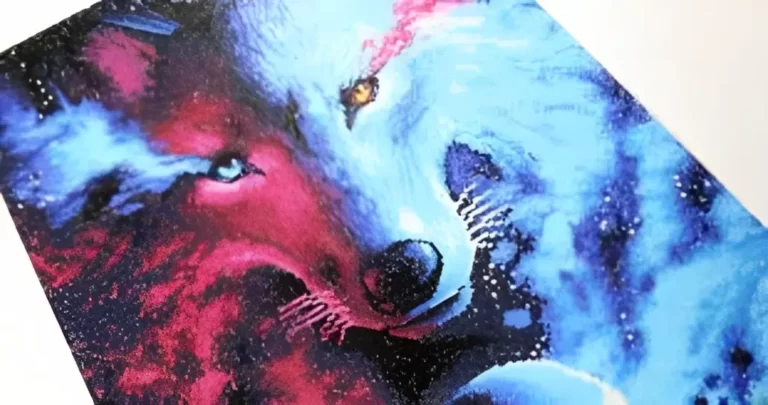
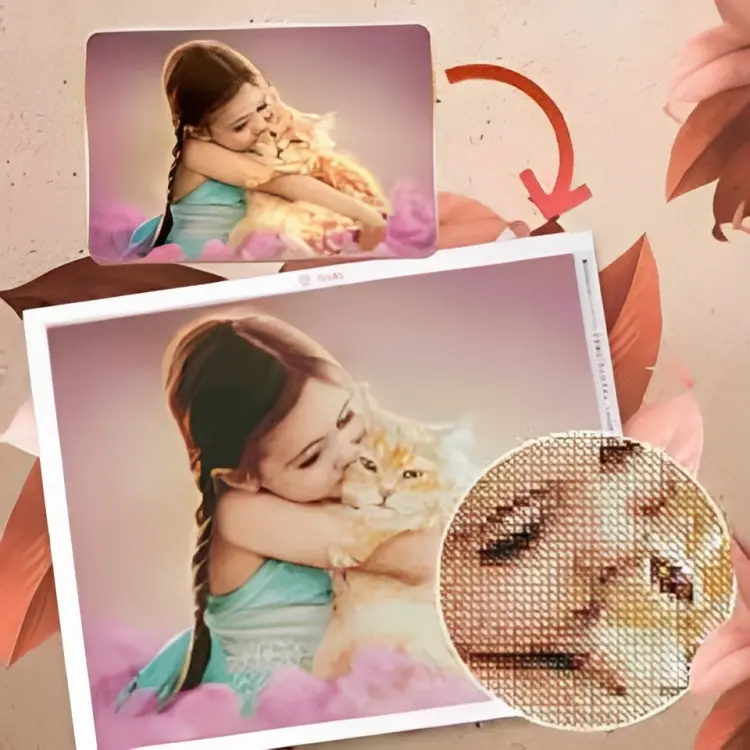
Choosing a Design
When it comes to diamond art painting, there is an abundance of designs available to suit every taste and preference. You can find a wide range of designs, including animals, landscapes, flowers, and even famous artworks. Consider your interests and the level of intricacy you desire before selecting a design. Start with a smaller, simpler design if you’re new to diamond art painting to familiarize yourself with the process.
Preparing the Canvas
Before you begin applying the diamonds, it’s crucial to prepare the canvas properly. Lay it flat on a clean, smooth surface and remove any wrinkles by gently rolling it in the opposite direction. Some kits come with adhesive canvases, while others require you to apply adhesive manually. Follow the instructions provided with your kit to ensure the canvas is ready for diamond application.
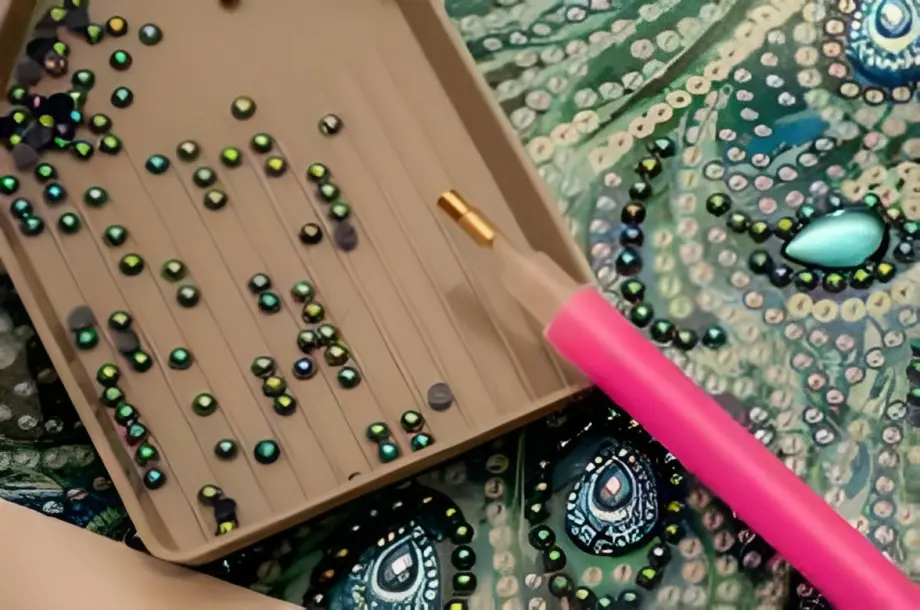
Organizing the Diamonds
Organizing the diamonds is a crucial step to ensure a smooth and efficient painting process. The diamonds are typically color-coded and come in small packets or containers. Start by emptying all the diamond packets onto a flat surface and sort them by color. You can use the provided tray or small bowls to keep the diamonds separated and easily accessible.
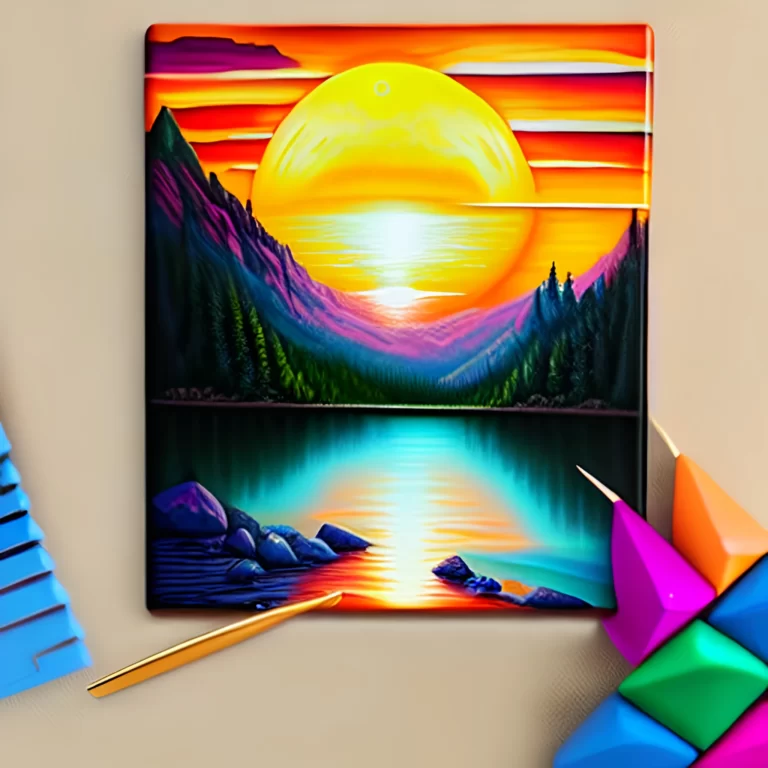
Applying the Diamonds
Now comes the fun part – applying the diamonds to the canvas! The canvas is divided into numbered or lettered sections, each corresponding to a specific diamond color.
Dip the tip of the applicator pen into the wax pad to pick up a diamond, which will stick to the pen’s tip. Place the diamond onto the corresponding symbol on the canvas and press gently. Repeat the process until the section is complete.
Finishing Touches
Once you have placed all the diamonds onto the canvas, take a step back and admire your work. Use the diamond painting roller to gently press down on the completed sections.
This step ensures that the diamonds are firmly attached to the canvas. If you notice any diamonds that are not sitting properly, use the tweezers to adjust their position. Take your time to ensure that all the diamonds are securely in place.
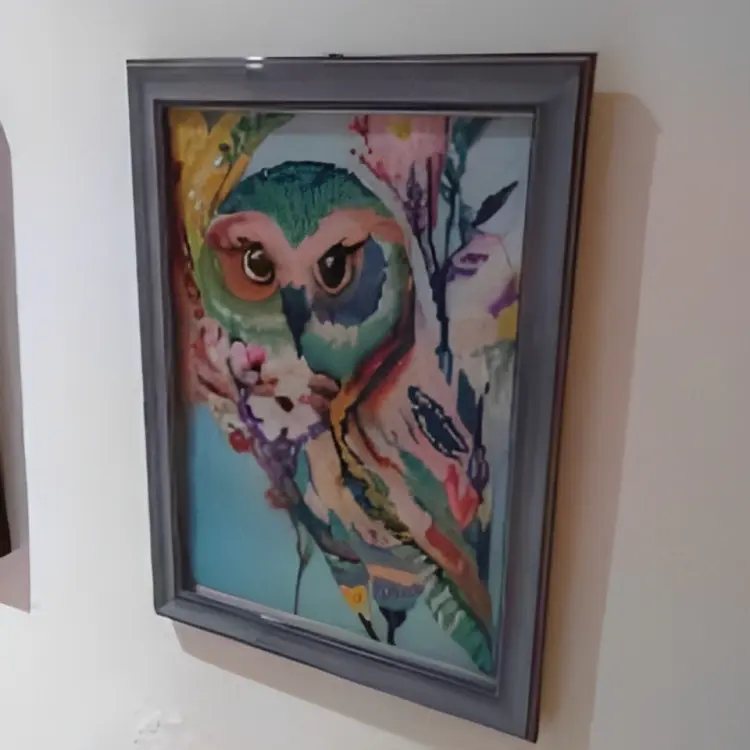
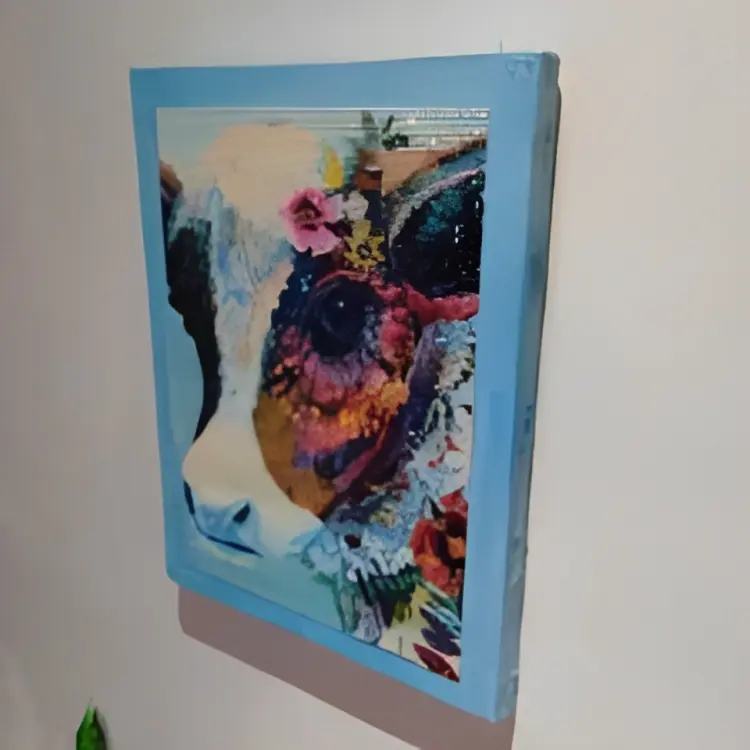
Framing and Displaying
After completing your diamond art painting, you may want to showcase it by framing or displaying it. Carefully remove the protective plastic film from the canvas and allow it to lay flat for a while.
If you choose to frame your artwork, ensure that it fits the dimensions of the canvas. Alternatively, you can use a display stand to prop up your painting on a shelf or desk, allowing others to admire your sparkling creation.
Tips and Tricks
Conclusion
Diamond art painting is a captivating and enjoyable craft that enables you to create stunning pieces of art using sparkling diamonds. By following the steps outlined in this article, you can embark on your own diamond art painting journey with confidence. Let your creativity shine as you bring your chosen designs to life, one diamond at a time. Enjoy the process, and revel in the satisfaction of creating dazzling masterpieces that will be cherished for years to come.
One Comment