How to Decrease a Diamond Painting?
Diamond painting is a popular craft that combines the joy of painting by numbers and the precision of cross-stitch. However, there may be instances where you find yourself needing to decrease the size of a diamond painting. Whether you want to fit the painting into a specific frame or create a smaller version of a larger design, this article will guide you through the process of resizing a diamond painting.
Assessing the Diamond Painting
Before embarking on the resizing process, it’s crucial to assess the current size and dimensions of the diamond painting. Evaluate the painting’s dimensions and determine the desired size reduction. Consider how the reduction will impact the clarity and detail of the image, ensuring that important elements are not compromised in the resizing process.
Preparing the Workspace
Clear a clean and flat surface where you can comfortably work on the diamond painting. Gather the necessary tools and materials, including scissors or a rotary cutter, ruler, pencil, fabric glue or clear nail polish, and a well-lit workspace. Adequate lighting is essential for accurate work and ensures that you can properly see the details of the painting.
Measuring and Marking the Cutting Lines
Using a ruler and a pencil, carefully measure and mark the desired size reduction on the canvas. Ensure the markings are symmetrical and accurate. Take into account the placement of important elements in the design, such as focal points or significant details, to ensure they remain intact and visible in the resized painting.
Cutting the Canvas
With sharp scissors or a rotary cutter, follow the marked lines to cut the canvas. Make clean and precise cuts, being cautious not to damage the surrounding areas of the design. Take your time and ensure the cuts are smooth and accurate, as this will impact the final appearance of the resized diamond painting.
Securing the Edges
To prevent fraying and unraveling of the canvas, apply fabric glue or clear nail polish to the cut edges. This step ensures a neat and professional finish. Allow the adhesive to dry completely before proceeding to the next steps, as this will prevent any accidental smudging or damage to the canvas.
Adjusting the Pattern
After cutting the canvas, you may need to adjust the pattern to match the new canvas size. Redraw or transfer important details if necessary, ensuring that the resized pattern aligns with the cut canvas. Pay attention to maintaining the integrity of the design, making any adjustments to ensure a cohesive and visually appealing final result.
Sorting and Organizing Diamonds
Before resuming the diamond application process, sort and organize the diamonds according to color and code. Group them in resealable bags or storage containers, making it easier to locate and apply the correct diamonds during the resizing process. Proper organization will save time and help maintain a smooth workflow.
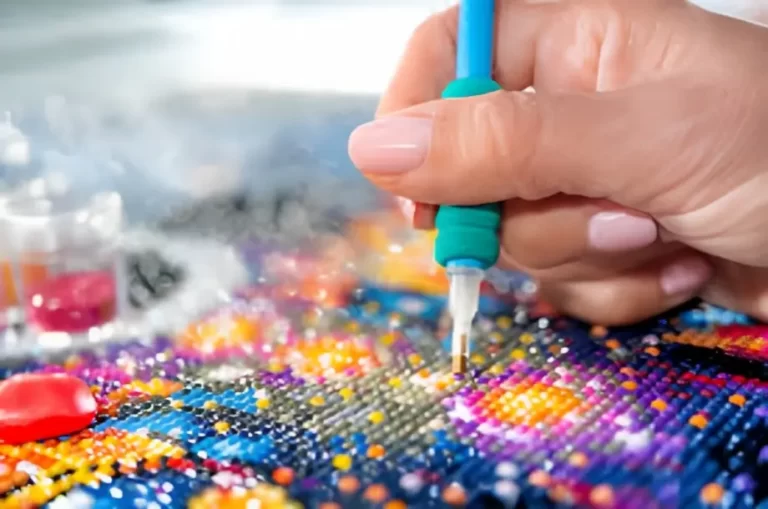
Resuming Diamond Application
Start applying the diamonds to the newly resized section of the canvas. Use the appropriate tools, such as a diamond painting pen, to pick up and place the diamonds accurately. Follow the color-coded guide on the canvas, ensuring that the resized section seamlessly blends with the rest of the diamond painting.
Completing the Resized Diamond Painting
Continue the diamond application process until the entire resized canvas is filled with diamonds. Double-check for any missing or misaligned diamonds and make any necessary adjustments to ensure a polished and finished look. Pay attention to the details and ensure that the resized section seamlessly integrates with the rest of the design.
Final Touches and Finishing
After completing the diamond application, remove any excess wax or residue from the canvas. Use a clean cloth or tissue to gently remove any remaining wax, ensuring a clean and pristine appearance. Press the completed canvas under a heavy book or apply pressure to ensure proper adhesion of the diamonds. This step will help the diamonds adhere firmly to the canvas. Finally, consider framing or displaying your resized diamond painting according to your personal preferences.
Conclusion
Decreasing the size of a diamond painting offers versatility and allows you to customize the artwork to your specific needs. By following the step-by-step process outlined in this article, you can confidently resize a diamond painting while preserving its beauty and detail. Embrace your creativity and enjoy the rewarding experience of creating a stunning masterpiece in a smaller format.