How to Create a Diamond Painting with a Photo Collage?
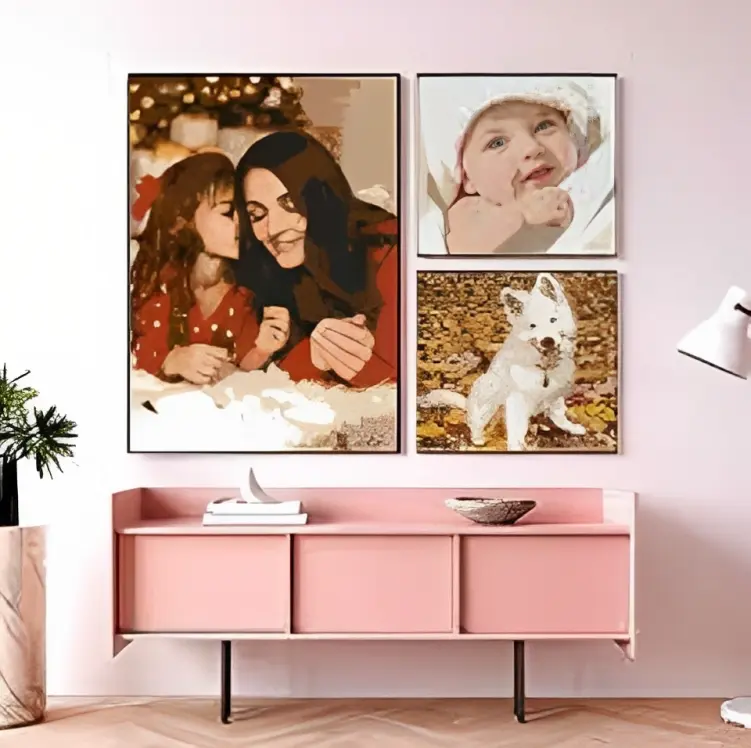
Diamond painting has rapidly gained popularity as an engaging and visually rewarding craft. A fusion of Paint By Numbers and Cross Stitch, diamond painting involves meticulously placing tiny resin “diamonds” onto a canvas to create dazzling Diamond Art. What’s even more exciting is the possibility to create your diamond painting masterpiece using a photo collage, bringing your cherished memories to life in a stunning, sparkling form. In this article, we’ll guide you through the step-by-step process of crafting a diamond painting with a photo collage.
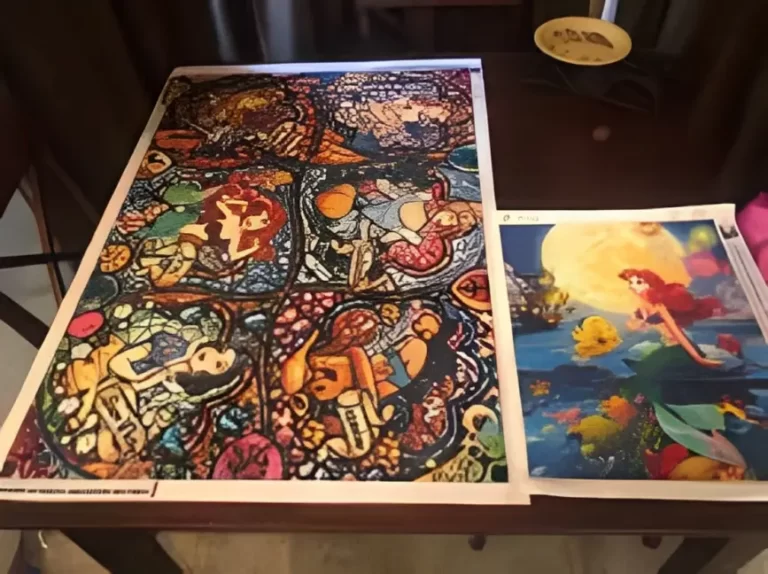
Selecting the Right Photo
The foundation of a captivating diamond painting lies in choosing the right photo. Opt for a high-resolution image that captures the essence of your desired subject. Keep in mind that more intricate details in the photo will translate to a more intricate diamond painting. To ensure optimal results, make sure your chosen photo has the appropriate dimensions that match the canvas size you intend to use.
Gathering Supplies
Before embarking on your diamond painting journey, gather all the necessary supplies. You’ll need a canvas with adhesive, diamond gems, a diamond applicator pen, wax pad, and, of course, your photo collage. Investing in high-quality materials ensures a smoother and more enjoyable crafting process, resulting in a stunning final product.
Preparing the Canvas
Begin by carefully unboxing and inspecting the canvas. Next, apply the adhesive layer to the canvas surface. This layer is crucial as it provides the necessary surface for the diamonds to adhere to. Smoothly attach your photo collage to the canvas, ensuring it’s centered and securely in place.
Sorting Diamonds
Organizing your diamond gems is an essential step to maintain clarity and efficiency. Sort the diamonds by color and their corresponding code. Utilize storage containers or trays to keep the diamonds easily accessible, preventing confusion during the crafting process.
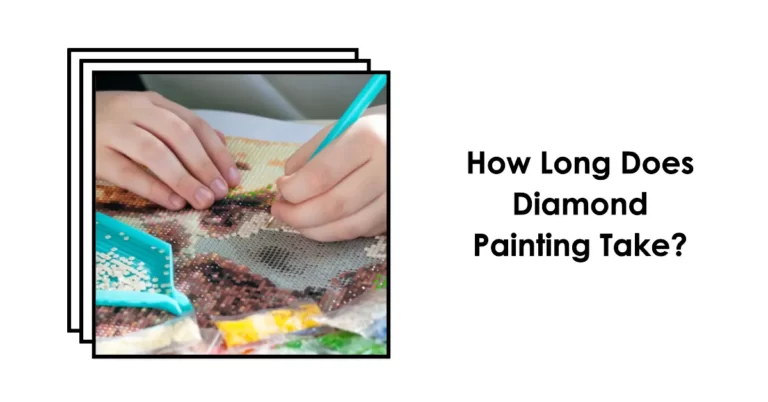
Transferring Diamonds
Now comes the exciting part—transferring the diamonds to the canvas. Apply a small amount of wax to the diamond applicator pen to help pick up the diamonds. Gently place each diamond onto its designated spot on the canvas, adhering to the color and code provided.
Techniques for Accuracy
To achieve accuracy and uniformity in your diamond painting, consider employing various techniques. The checkerboard method involves alternating colors on areas with the same color, creating a visually interesting pattern.
The row-by-row method is excellent for large color blocks, allowing you to work quickly while maintaining alignment. Alternatively, the color-by-color method involves completing one color at a time, offering a satisfying sense of progression.
Choosing Diamond Shapes
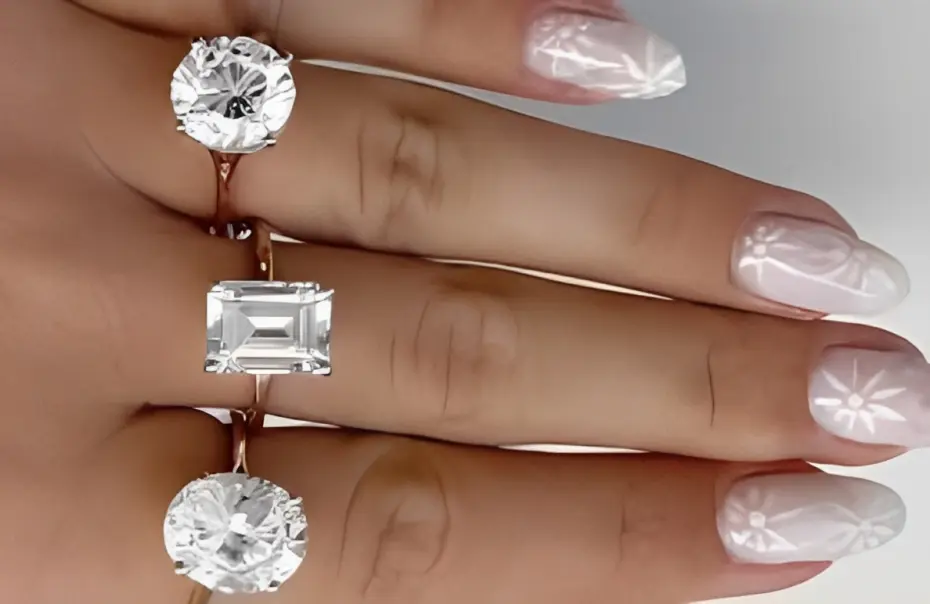
When selecting diamonds, you’ll encounter two primary shapes: round and square. Round diamonds are easier and faster to pick up and apply, while square diamonds create a fuller, mosaic-like appearance. The choice between the two shapes depends on your personal preference and the desired visual outcome of your diamond painting.
Progress and Patience
Diamond painting is a step-by-step process that requires patience and dedication. As you work your way across the canvas, diamond by diamond, you’ll witness your creation come to life. The gradual completion adds to the satisfaction, making each finished section a small victory.
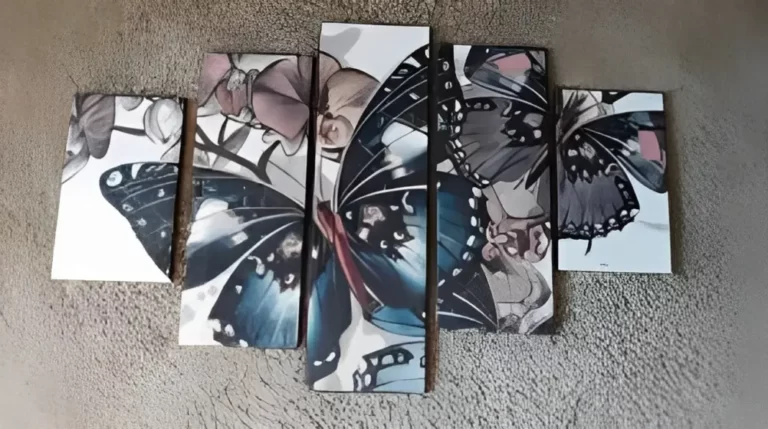
Displaying the Finished Piece
Once your diamond painting is complete, it’s time to display your masterpiece. There are various options, from traditional framing to modern foam board displays. Consider using magnetic hanger bars for a quick and effortless way to showcase your artistry.
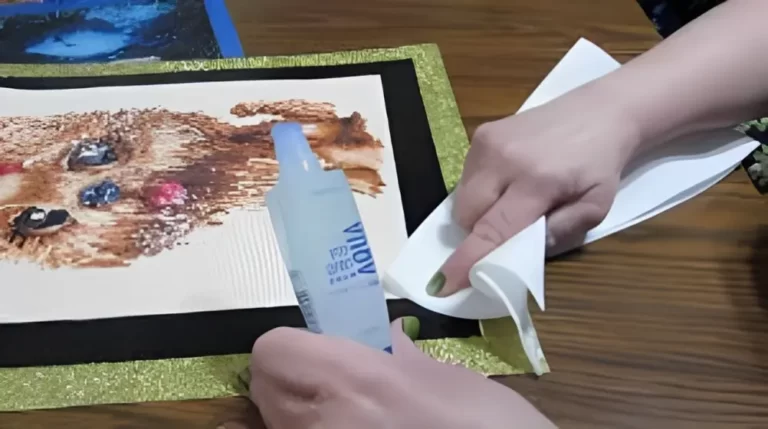
Maintenance and Preservation
To ensure the longevity of your diamond painting, consider sealing it after completion. Sealing helps protect the diamonds from dust and environmental factors, preserving the vibrancy of your creation. Regular cleaning with gentle methods will help maintain its allure over time.
Personalization and Creativity
While following the steps is important, don’t shy away from adding your personal touch. Get creative by arranging diamonds in unique patterns or incorporating special elements that resonate with you. Diamond painting is not only about recreating an image but also infusing it with your artistic flair.
Conclusion
Creating a diamond painting with a photo collage is a captivating way to blend cherished memories with artistic expression. From selecting the right photo to meticulously placing diamonds, each step contributes to the journey of crafting a sparkling masterpiece. As you watch your creation come to life, the joy and satisfaction of diamond painting will leave you inspired to embark on new artistic endeavors.