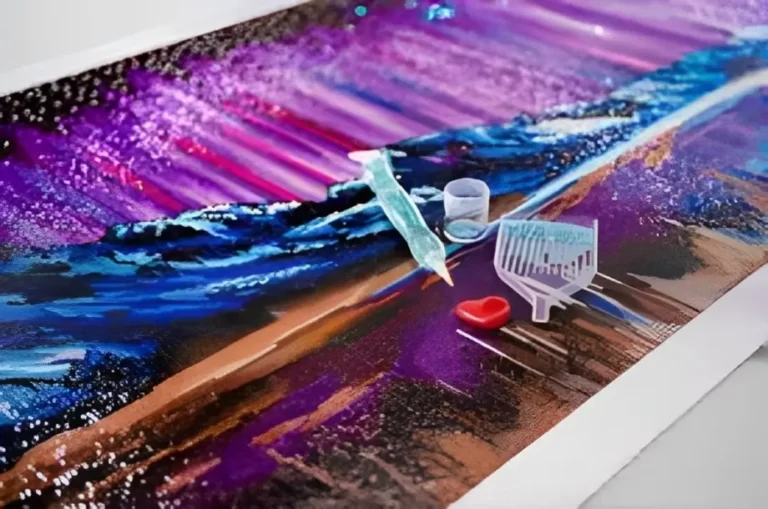
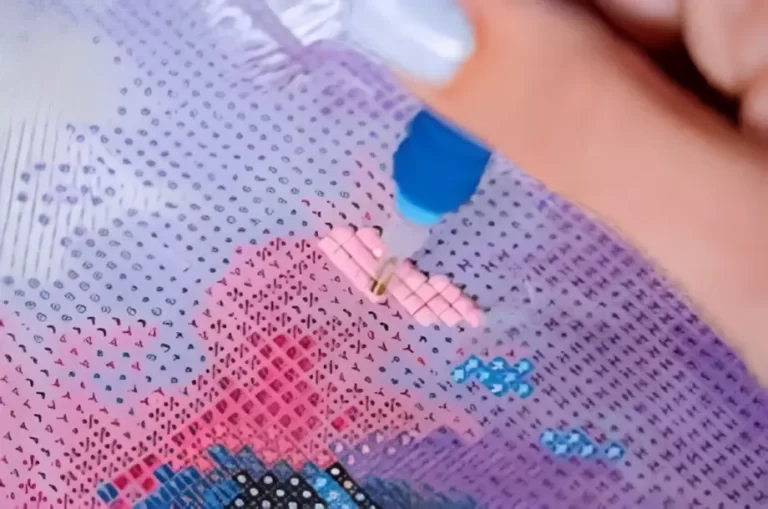
How to Clean Diamond Painting Drills?
Diamond painting has become a popular and enjoyable craft for many, with its beautiful end results and therapeutic process. However, as you spend time working on your diamond art projects, you might notice that some of your diamond painting drills and tools become sticky and oily over time.
This is a common occurrence, but fear not! In this article, we will guide you on how to clean your diamond painting drills effectively and maintain a clean workspace for an enjoyable crafting experience.
Importance of Cleaning Diamond Painting Drills
Cleaning your diamond painting drills is crucial for several reasons. Firstly, a clean workspace allows you to focus on your art without distractions. Secondly, it ensures the longevity of your tools and accessories, saving you money in the long run. Lastly, clean drills and tools make the entire diamond painting process smoother and more enjoyable.
Materials Needed for Cleaning
Before you start cleaning your drills, gather the necessary materials. You will need baby wipes or wet paper towels with a bit of dish soap, a bowl of warm water, sanitizer, a mesh strainer, rubbing alcohol, Q-tips, and a clean, soft toothbrush.
Basic Cleaning Techniques
For mildly oily drills or slightly dirty tools, a simple wipe down will often do the trick. Use a baby wipe to clean off the excess wax and oil that accumulate on the drills and tools. Alternatively, you can use a wet paper towel with a bit of dish soap on it. After wiping, rinse the drills thoroughly and let them air dry to avoid moisture entrapment.
Deep Cleaning Method
For drills that require more thorough cleaning, opt for a deep cleaning method. Fill a bowl with warm water and add a bit of dish soap and sanitizer. Place your drills in a mesh strainer and lower them into the water for around 30 to 60 minutes. Afterward, rinse the drills with fresh water and dry them on a plate or paper towel until completely moisture-free.
Cleaning Diamond Painting Tools
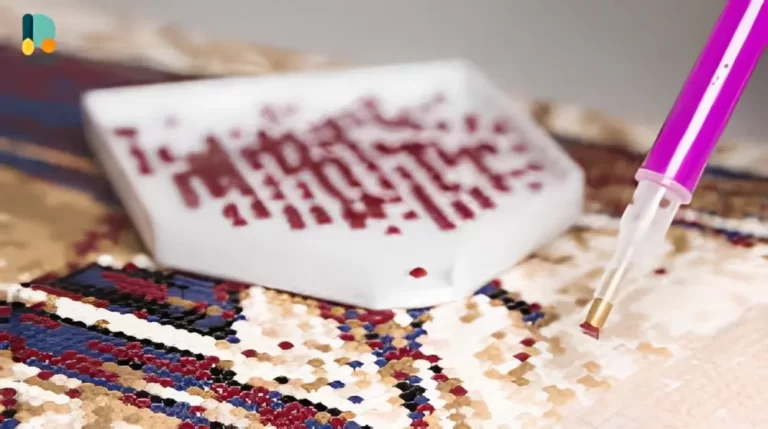
Diamond painting pens, tweezers, and other tools also need regular cleaning. Use rubbing alcohol and a Q-tip to clean these tools gently, ensuring they are free from dust and debris.
Preventing Dust and Debris
To prevent dust, hairs, and debris from getting stuck between the drills, consider using a cosmetic brush or a soft toothbrush. Regularly brushing the canvas can help maintain a clean workspace.
Storing and Organizing Diamond Painting Supplies
Proper storage is essential to keep your supplies clean and organized. Invest in specific storage containers to protect your round and square drills from damage. Additionally, keep extras of other materials, like wax, in case you run low mid-project.
Tips for Cleaning Clumped Drills
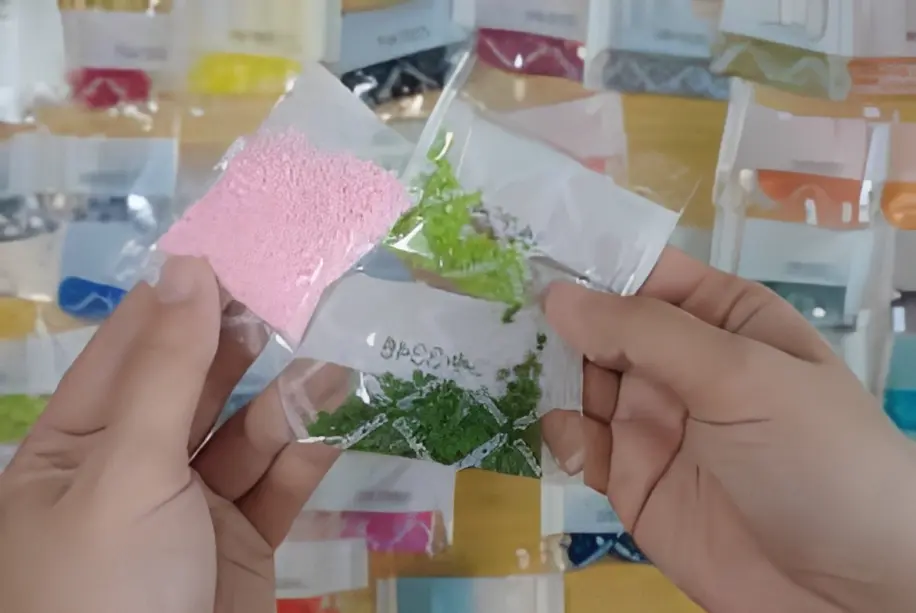
If you encounter clumped drills, don’t fret. Use a rolling pin and a zippered plastic bag to carefully separate them. Afterward, rinse the drills and let them dry before use.
Sealing and Framing the Finished Diamond Painting
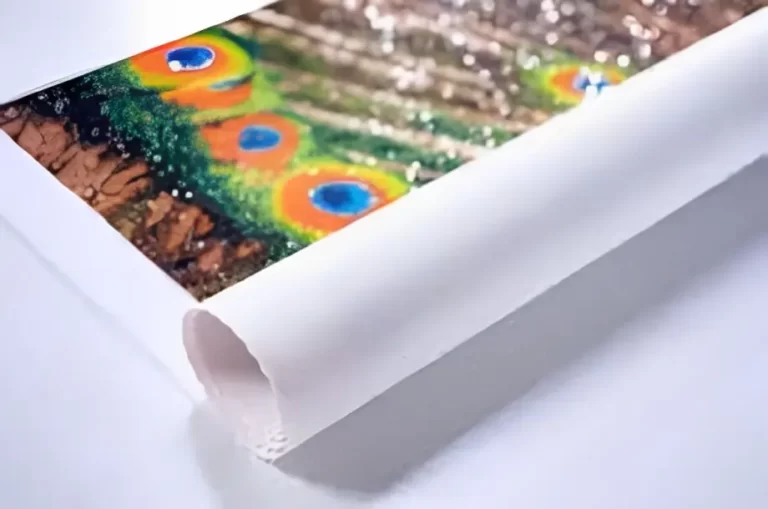
Once you complete your diamond painting, it’s time to seal and frame it. Use fine glitter to take up leftover adhesive before sealing the painting. Once sealed, you can frame and proudly display your masterpiece.
Addressing Specific Cleaning Challenges
If you come across specific challenges, such as herb and ashes stuck between the drills, follow these steps. [Include step-by-step guidance on dealing with specific challenges.]
Conclusion
In conclusion, cleaning your diamond painting drills and tools is a vital part of maintaining a clean and enjoyable crafting experience. By following the cleaning tips provided in this article, you can ensure your diamond painting projects are smooth, stress-free, and yield beautiful results.
Keep your workspace clean, organize your supplies, and embrace the therapeutic joy of diamond painting!
