How Do You Seal a Diamond Painting?
Diamond painting has become a popular craft activity that combines the joy of painting with the sparkle of diamonds. If you have completed a diamond painting masterpiece or are planning to start one, you might be wondering how to protect and preserve your artwork for years to come.
In this article, we will guide you through the process of sealing a diamond painting to ensure its longevity and enhance its overall appearance.
Understanding Diamond Painting
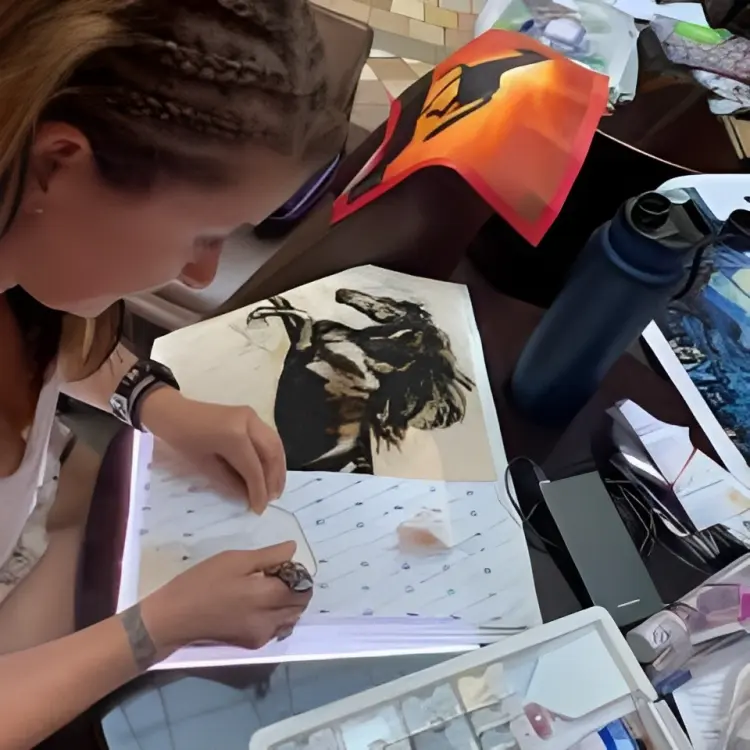
Before we delve into the process of sealing a diamond painting, let’s take a moment to understand how diamond painting works. Essentially, diamond painting involves four main components: the canvas, the diamonds (also known as drills), the applicator tool, and the adhesive.
The canvas is pre-printed with symbols or numbers that correspond to the colors of the diamonds.
Choosing the Right Diamond Painting Kit
Selecting the right diamond painting kit is crucial to ensure an enjoyable and successful experience. Consider factors such as the design, size of the canvas, and the quality of materials provided in the kit. It’s important to choose a design that resonates with you and matches your skill level.
Additionally, pay attention to the canvas’s size, as larger canvases require more time and effort to complete.
Preparing the Canvas
Before you start placing the diamonds, it’s essential to prepare the canvas properly. Begin by unrolling the canvas and laying it on a flat surface.
Some canvases may arrive with wrinkles due to the packaging, so it’s advisable to flatten them using gentle heat, such as using an iron on low heat or a hairdryer. This step ensures a smooth and even surface for diamond placement.
Applying the Diamonds
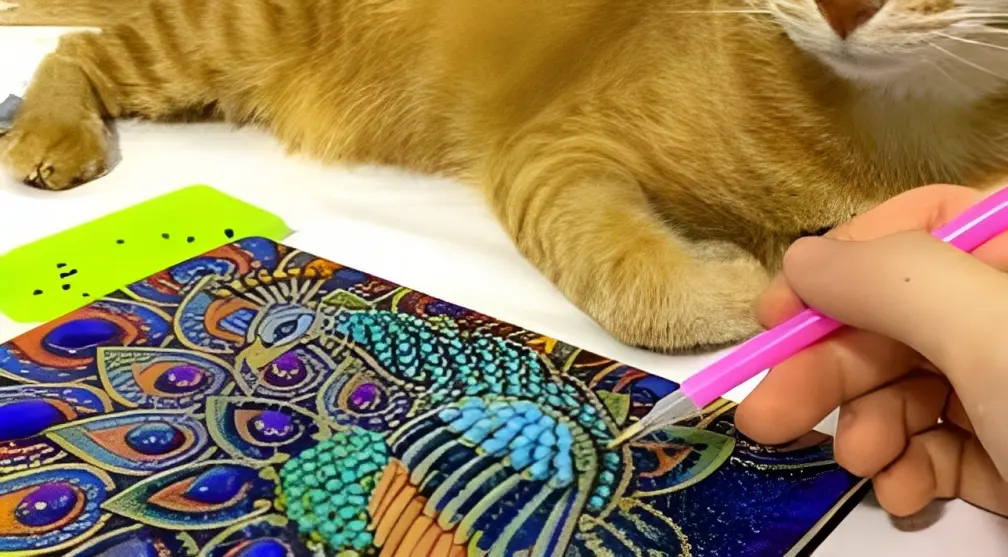
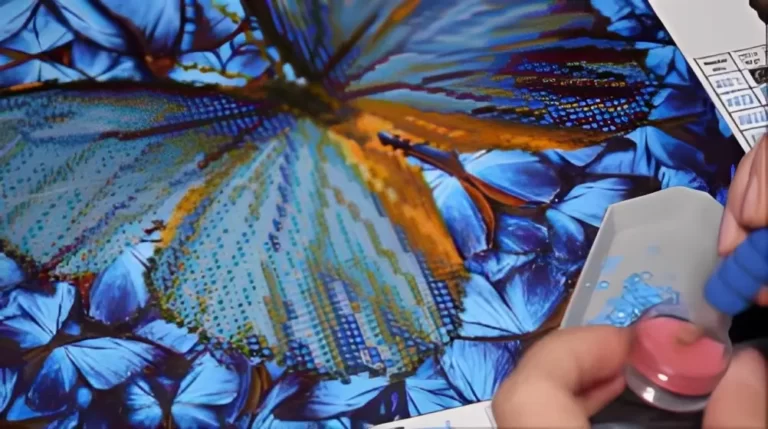
Once the canvas is flat and ready, it’s time to start applying the diamonds. The process involves picking up individual diamonds with the applicator tool, dipping it into the wax or gel provided in the kit, and gently pressing it onto the corresponding symbol on the canvas.
The diamonds should fit snugly and align perfectly, creating a stunning visual effect.
Completing the Painting
As you progress with your diamond painting, it’s crucial to periodically review your work to ensure accuracy and consistency. Fill in any gaps or areas where the adhesive might be showing.
This step guarantees a polished and seamless final result. Once you have completed the painting, you can take pride in your masterpiece.
Sealing a Diamond Painting
Sealing a diamond painting is an optional but highly recommended step to protect and preserve the artwork. Sealing helps to secure the diamonds in place, prevents dust and debris from accumulating, and enhances the overall durability of the canvas.
It also adds a layer of protection against accidental touching, which can cause diamonds to dislodge.
Sealing Methods
There are two common methods for sealing diamond paintings: spray-on sealers and brush-on sealers. Spray-on sealers, available in aerosol bottles, provide a convenient and even application.
They are easy to use and do not typically yellow over time. Some popular spray-on sealers include ModPodge Spray Acrylic Sealer and Tombow Aqua liquid glue. On the other hand, brush-on sealers come in tubs or tins and require a brush for application.
They offer more control and are suitable for intricate designs. Popular brush-on sealers include ModPodge Super Glossy, DuraClear Gloss Varnish, MinMax Polyurethane, and MinMax Polycrylic.
Step-by-Step Guide to Sealing
To seal your diamond painting, follow these steps:
- Flatten the canvas to ensure a smooth surface.
- Roll the diamonds with even pressure to secure their adhesion.
- Clean the canvas to remove any dust or dirt.
- Work in a well-lit and well-ventilated area.
- Tape the canvas onto a flat and even surface.
- Apply the sealer using a brush or spray, ensuring a thin and even layer.
- Remove any excess sealer using a craft scraper or old credit card.
- Allow the sealer to cure and dry according to the product’s instructions.
Benefits and Drawbacks of Sealing
When considering whether to seal your diamond painting, it’s important to weigh the benefits and drawbacks. Sealing offers protection against dust, debris, and accidental touching, ensuring the longevity of your artwork. However, sealing diminishes some of the shine and sparkle of the diamonds. It’s particularly noticeable with pearlescent effects and AB diamonds, as the sealant adds an additional layer over the distinctive glow they provide.
Displaying and Caring for Sealed Diamond Paintings
Once your diamond painting is sealed, you have various options for displaying it. You can frame it with or without glass, mount it on a magnetic frame, or affix it directly to a wooden board.
Choose a display method that suits your preferences and showcases your artwork effectively. Additionally, regular maintenance, such as gentle dusting with a soft cloth, will help keep your sealed diamond painting in pristine condition.
Frequently Asked Questions
- Can I seal a diamond painting if it’s already framed?
- Will sealing a diamond painting make it waterproof?
- Can I use hairspray as a sealant for diamond paintings?
- How long does it take for the sealer to dry completely?
- Can I use a brush-on sealer for a diamond painting with AB diamonds?
Conclusion
Sealing a diamond painting provides essential protection and longevity to your artistic masterpiece. By following the steps and guidelines outlined in this article, you can ensure that your diamond painting remains vibrant, secure, and preserved for years to come. So, go ahead and seal your diamond painting to safeguard your hard work and cherish the beauty of your creation.
