

Diamond Painting Techniques for Creating Realistic Shading?
Diamond painting is a captivating craft that has gained widespread popularity among art enthusiasts and DIY crafters. It combines the relaxation of paint-by-numbers with the sparkling brilliance of small, faceted diamonds, resulting in stunning works of art. While diamond painting itself is a rewarding experience, taking the art to the next level requires mastering techniques for creating realistic shading. In this article, we will explore various methods to add depth and dimension to your diamond paintings, elevating them to museum-quality masterpieces.
Understanding Shading in Diamond Painting
Shading is the art of creating light and dark areas in a painting to give the illusion of depth and three-dimensionality. In diamond painting, shading is achieved by strategically placing diamonds of varying colors and shades to imitate the interplay of light and shadow in a real-life subject. Effective shading can transform a flat, two-dimensional canvas into a lifelike and captivating artwork.
Choosing the Right Colors
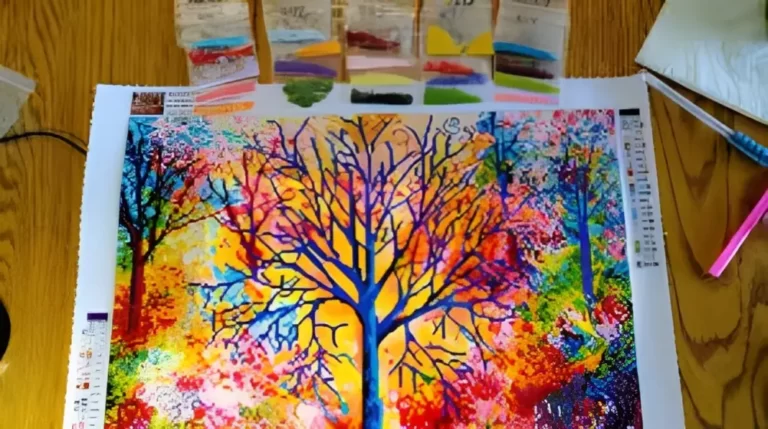
The first step in creating realistic shading is selecting the appropriate colors for your diamond painting. Understanding color values, which refer to the relative lightness or darkness of a color, is crucial. Use a color chart or swatch to identify shades that are darker or lighter versions of the primary colors in your artwork. Opt for a variety of shades to achieve a natural transition between light and shadow.
Working with Light and Shadow
Highlighting and shadowing are essential components of realistic shading. Highlights are areas that catch the light, and they should be represented by lighter-colored diamonds. Shadows, on the other hand, are areas where light is blocked, and they require darker-colored diamonds. Carefully study your reference image to identify the light source and apply shading accordingly.
Blending Techniques
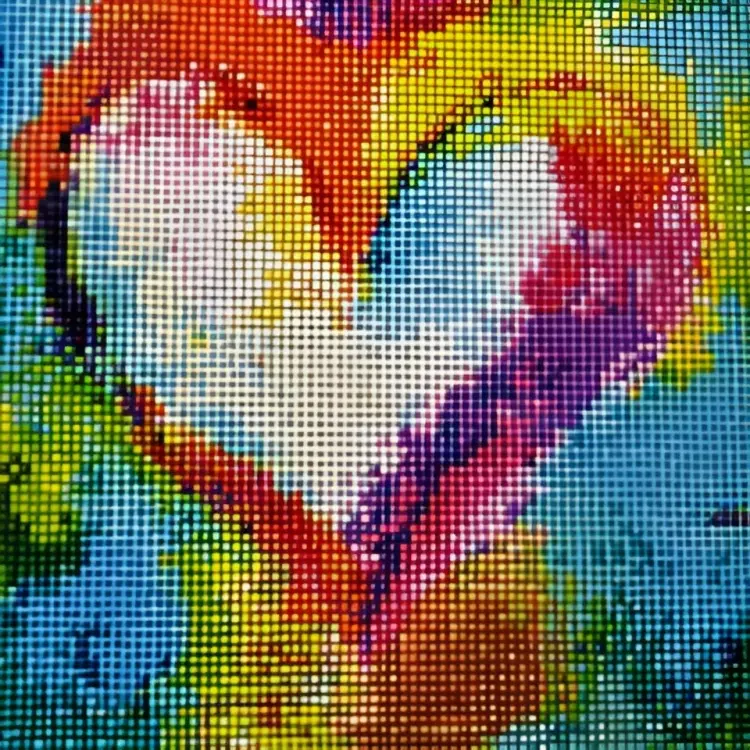
Blending is a technique used to create smooth transitions between colors, mimicking the gradual shift of tones found in real-life subjects. Wet blending involves using a small amount of adhesive on the canvas to create a cohesive blend of colors. Dry blending is achieved by placing diamonds close together without leaving gaps, resulting in a seamless transition. Cross-hatching, a technique borrowed from traditional art, involves laying diamonds in intersecting lines to create a mesh-like effect.
Layering for Depth
Layering is a fundamental technique for achieving depth in diamond painting. By building multiple layers of diamonds on top of each other, you can create the illusion of depth and dimension. Start with a base layer of lighter colors and gradually add darker shades on top to enhance the three-dimensional effect.
Utilizing Special Drills
Some diamond painting kits come with special drills, such as AB drills (Aurora Borealis) or metallic drills. AB drills have a shimmering coating that adds a unique sparkle to your artwork, perfect for creating highlights. Metallic drills, on the other hand, reflect light differently, making them ideal for adding texture and dimension to certain areas of your painting.
Working with Transparent Canvases
Transparent canvases provide a unique opportunity to create a stained glass effect in your diamond painting. These canvases feature areas with no printed design, allowing light to pass through. By strategically placing diamonds on these transparent areas, you can achieve a stunning stained glass appearance.
Adding Texture and Detail
To enhance the realism of your diamond painting, consider using different diamond shapes. Round diamonds are commonly used, but square and special-shaped drills can add texture and detail to specific areas. Additionally, incorporating microbeads and rhinestones can provide intricate detailing and a captivating visual effect.
Tips for Beginners
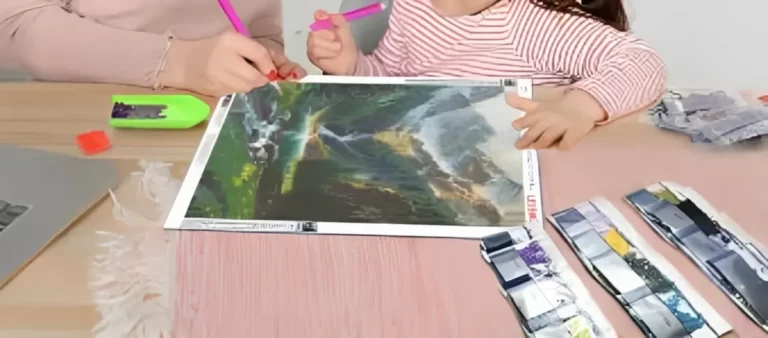
For those new to diamond painting, diving into complex shading techniques might seem intimidating. Start with simple shading projects and gradually work your way up to more intricate designs. Like any skill, practice is key, and with time, you will become more proficient in creating realistic shading.
Showcasing Your Artwork
Once you’ve completed your masterpiece, it’s time to showcase it proudly. Consider framing your diamond painting to protect and display it in all its brilliance. Choose a frame that complements your artwork and find the perfect spot to hang it, where it can be admired by all.
Conclusion
Diamond painting is a truly mesmerizing art form that allows individuals to create beautiful and unique works of art. Mastering the techniques of realistic shading elevates the craft, transforming ordinary paintings into extraordinary creations. By understanding color values, utilizing blending techniques, and incorporating special drills, you can take your diamond painting skills to new heights. Remember, practice and experimentation are essential to honing your shading abilities and producing breathtaking artwork.
One Comment