Diamond Painting – How to Seal with Resin?
Diamond painting has become a widely popular craft and hobby, offering a meditative and creative outlet for enthusiasts. As you invest time and effort into completing a diamond painting, it’s essential to protect and preserve your masterpiece for years to come. One effective method of sealing and safeguarding your finished diamond painting is through resin sealing. In this article, we’ll guide you through the process of resin sealing, ensuring your artwork remains intact and stunning.
Understanding Resin Sealing
Resin sealing involves applying a protective layer of resin over the completed diamond painting. Resin, once cured, creates a clear and glossy surface that enhances the sparkle of the diamonds and adds a professional touch to the artwork. The benefits of resin sealing include increased durability, protection against dust and moisture, and the elimination of the need for framing.
Preparation
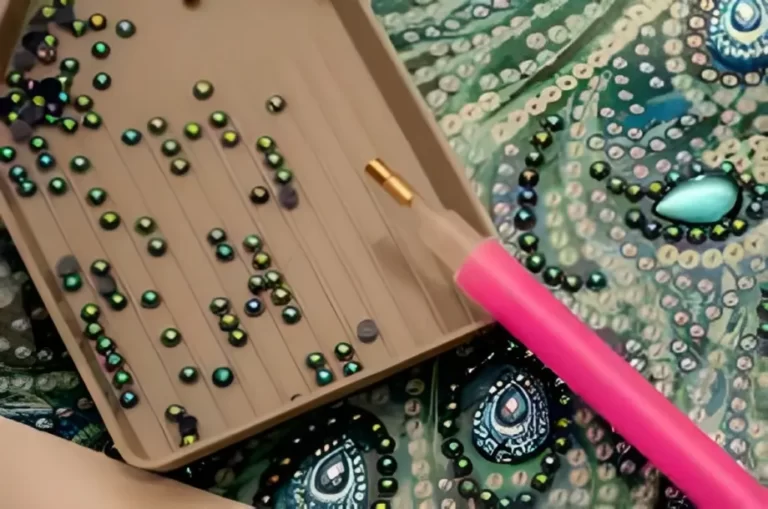
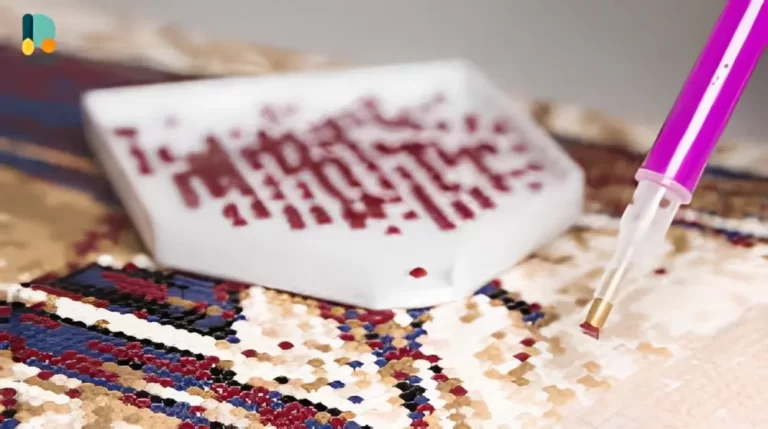
Before you begin the resin sealing process, gather all the necessary materials, including a high-quality epoxy resin, mixing cups, stirring sticks, a heat gun or torch, and a clean, flat workspace. Ensure the diamond painting is free from dust and debris before proceeding.
Step-by-Step Guide
Drying and Curing
Allow the resin-sealed diamond painting to dry and cure for the recommended time as specified on the resin product’s packaging. Avoid moving or touching the artwork during this time to prevent any disturbances.
Finishing Touches
Once the resin is fully cured, trim any excess resin from the edges using a sharp knife or blade. Wipe the surface clean to achieve a polished finish that showcases the brilliance of the diamonds.
Precautions and Tips
Comparing Resin Sealing to Other Methods
Resin sealing offers several advantages over traditional framing or other sealants. It provides a seamless and clear protective layer that allows the diamonds to sparkle brightly without the hindrance of a frame. Additionally, resin sealing is more durable, ensuring your diamond painting stays intact for an extended period.
Long-Term Maintenance
To ensure the longevity of your resin-sealed diamond painting, avoid exposing it to direct sunlight for extended periods. Clean the surface gently with a soft, lint-free cloth to remove any dust or fingerprints.
Conclusion
Resin sealing is an excellent method to preserve and protect your completed diamond painting, enhancing its beauty and longevity. By following the step-by-step guide and taking necessary precautions, you can achieve a stunning and durable resin-sealed artwork that will be cherished for years to come. So, unleash your creativity and enjoy the process of sealing your diamond paintings with resin.