Diamond Painting: How to Fix Bent Drills?
Diamond painting is an increasingly popular craft hobby that involves creating beautiful artworks by placing tiny resin drills on a canvas. As enjoyable as this activity is, it can be frustrating when the drills become bent during the process.
Bent drills can hinder the smooth flow of diamond painting and may even compromise the overall appearance of the artwork. In this article, we will guide you on how to fix bent drills and provide tips to prevent this issue in the future.
Understanding Bent Drills
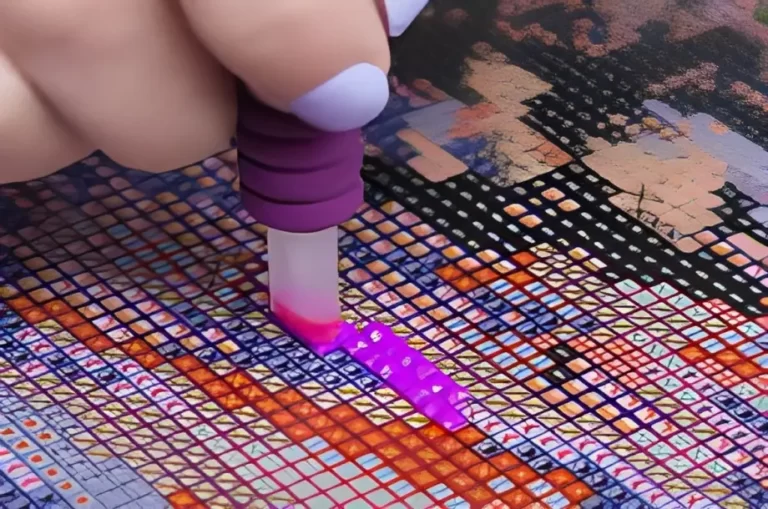
Before we delve into the solution, let’s understand what bent drills are and why they occur. Bent drills are diamond-shaped resin pieces with a flat and a faceted side, and they come in various colors corresponding to the canvas’s design.
When drills become bent, they no longer sit flush on the adhesive canvas, creating gaps and affecting the artwork’s final appearance.
Bent drills can occur due to various reasons, including rough handling, improper storage, or manufacturing defects. Additionally, some drills may naturally be more prone to bending due to their size or material composition.
Tools Needed for Fixing Bent Drills
To effectively fix bent drills, you will need some basic tools and materials. These include tweezers or pliers, a flat surface, a soft cloth, and, in some cases, gentle heat. It’s essential to work in a clean and clutter-free workspace to avoid further damage to the drills or the canvas.
Step-by-Step Guide to Fix Bent Drills
Now, let’s go through the step-by-step process of fixing bent drills:
Step 1: Preparing the Bent Drills for Fixing
Carefully inspect the bent drills and separate them from the rest of your diamond painting supplies. Lay them out on a soft cloth to protect them from scratches while you work.
Step 2: Straightening the Drills using Different Methods
There are several methods to try when straightening bent drills:
Method 1: Using Tweezers or Pliers Hold the drill gently with the tweezers or pliers, and apply slight pressure to bend it back into shape. Be cautious not to exert too much force to prevent breaking the drill.
Method 2: Rolling the Drills on a Flat Surface Place the bent drills on a flat and clean surface, like a glass or ceramic plate. Use your fingertip or a rounded tool to roll the drills gently in a circular motion, nudging them back to their original shape.
Method 3: Applying Gentle Heat For plastic drills, you can use a hairdryer set to the lowest heat setting. Hold the drill with tweezers and pass it through the warm air for a few seconds until it becomes more pliable. Then, carefully straighten the drill.
Method 4: Other Potential Methods Some crafters have reported success in using warm water baths or even steam to soften and straighten bent drills. However, caution must be exercised, as excessive heat or moisture can damage the drills.
Preventing Bent Drills
While fixing bent drills is possible, it’s always better to prevent this issue from occurring in the first place. Here are some tips to prevent drills from getting bent:
By following these simple tips, you can significantly reduce the chances of encountering bent drills during your diamond painting projects.
Dealing with Severely Bent Drills
In some cases, drills may become severely bent or damaged beyond repair. If you have exhausted all efforts to straighten them, it’s best to set them aside and use replacements. Many diamond painting suppliers offer replacement drills or additional packs that you can purchase to complete your artwork seamlessly.
Best Practices for a Smooth Diamond Painting Experience
Besides fixing bent drills, here are some best practices to ensure a smooth and enjoyable diamond painting experience:
Care and Maintenance of Diamond Painting Tools
To prolong the lifespan of your diamond painting tools, clean and maintain them regularly. Clean the applicator tool, tweezers, and trays after each use to prevent dust and residue buildup. Proper maintenance ensures that your tools will be ready for future diamond painting projects.
Conclusion
Diamond painting is a delightful and rewarding hobby, and fixing bent drills is a skill every enthusiast should have. By following the step-by-step guide and taking preventive measures, you can enjoy a seamless diamond painting experience with stunning results.
Remember to handle your drills with care, maintain your tools, and enjoy the therapeutic process of creating beautiful diamond paintings. Happy crafting!