
How to Use Glue in 5D Diamond Painting Embroidery DIY?
Diamond painting has gained immense popularity among craft enthusiasts due to its therapeutic and rewarding nature. One essential element in this creative process is the glue, which plays a crucial role in securing the sparkling diamond beads to the canvas. In this article, we will guide you on how to use glue effectively in your 5D diamond painting embroidery DIY projects.
Understanding 5D Diamond Painting
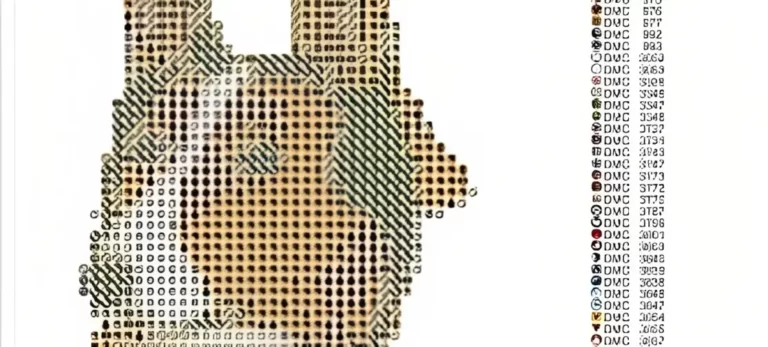
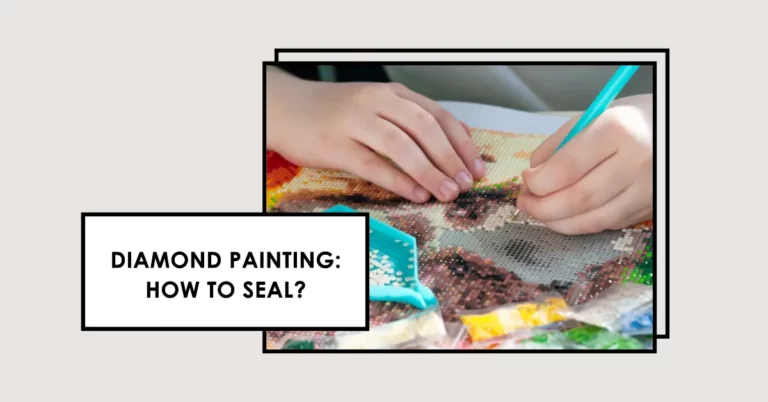
5D diamond painting is a captivating craft that involves creating intricate mosaic-like designs by sticking small resin diamonds onto a pre-printed canvas. The canvas contains symbols or codes that correspond to different colored diamonds, making it easier to create stunning artwork. The final result is a shimmering and vibrant piece of art that can be displayed or gifted.
Importance of Glue in 5D Diamond Painting
Glue is an essential component in 5D diamond painting as it ensures the longevity and stability of the diamond beads on the canvas. The glue acts as an adhesive that securely holds the diamonds in place, preventing them from falling off or shifting during the process or over time. It provides a strong bond between the diamonds and the canvas, resulting in a polished and professional-looking finished product.
Types of Glue Used in 5D Diamond Painting
Several types of glue are commonly used in 5D diamond painting. Let’s explore each of them:
Preparing the Work Surface
Before starting your diamond painting project, it’s essential to prepare the work surface properly. Ensure that the surface is clean, smooth, and free from dust or debris. A clean work surface allows for better adhesion and prevents any interference with the glue’s effectiveness.
Applying Glue to the Canvas
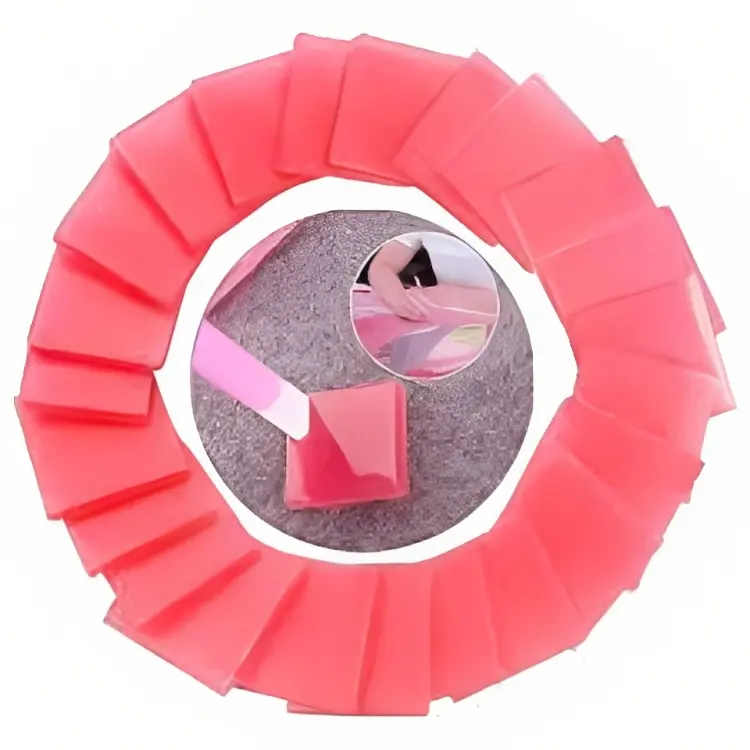
Once your work surface is ready, it’s time to apply the glue to the canvas. Take a small amount of glue clay or wax and knead it gently until it becomes soft and pliable. Roll it into a cylindrical shape or create a small ball for easy handling.
Using your diamond applicator pen or tool, press the tip onto the glue to pick up a small amount. Apply the glue evenly to the area on the canvas where you wish to place the diamonds. Remember to work in small sections to prevent the glue from drying before you can place the diamonds.
Transferring the Diamonds
Now that the glue is applied, it’s time to transfer the diamonds onto the canvas. Take your diamond applicator pen and gently press the tip onto the flat side of a diamond. The pen’s tip will pick up the diamond due to the adhesive properties of the glue.
Carefully place the diamond onto the corresponding symbol or code on the canvas. Press the diamond down gently but firmly to ensure it adheres well to the glue. Repeat this process for each diamond, working systematically across the canvas.
Enhancing Adhesion and Removing Excess Glue
To enhance the adhesion of the diamonds, you can use a diamond painting wood roller or your fingers to press down gently on the completed areas. This step ensures that the diamonds are securely attached to the canvas and reduces the risk of them popping off.
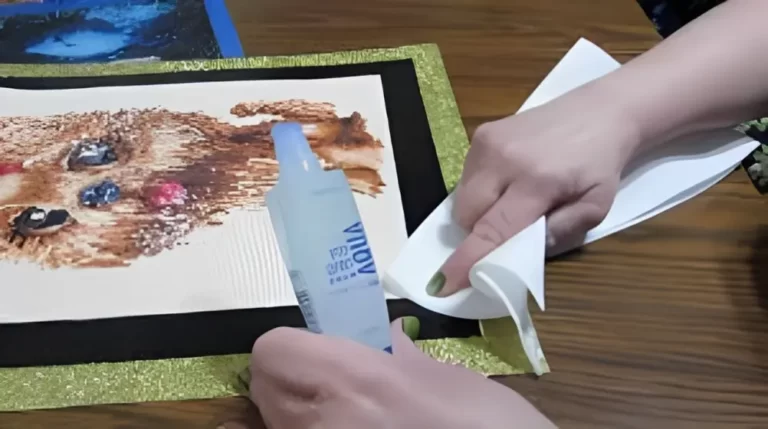
If you accidentally apply excess glue that seeps out around the diamonds, it’s important to remove it promptly. Use a clean, dry cloth or a cotton swab to carefully wipe away the excess glue without disturbing the diamonds. Removing excess glue maintains the neat and polished appearance of your diamond painting.
Tips for Efficient and Clean Glue Application
To achieve a flawless diamond painting, consider the following tips for efficient and clean glue application:
Curing and Drying Time
After completing your diamond painting, it’s essential to allow sufficient time for the glue to cure and dry completely. The curing time may vary depending on the type of glue used. Typically, it takes 24-48 hours for the glue to fully cure and provide a strong bond. Avoid touching or moving the canvas during this time to prevent any damage to the diamonds or their placement.
Once the glue is fully cured, you can proudly display your completed diamond painting or consider additional steps such as framing or sealing it with a protective layer.
Conclusion
Using glue in 5D diamond painting embroidery DIY projects is crucial for creating stunning and long-lasting artwork. By following the steps outlined above, you can effectively apply glue, transfer diamonds, and achieve a professional-looking finish. Remember to choose the appropriate type of glue for your project, maintain a clean work surface, and utilize the tips provided for efficient and clean glue application. Enjoy the process and unleash your creativity with 5D diamond painting!
One Comment