How to make your own 4 piece diamond painting wand
|

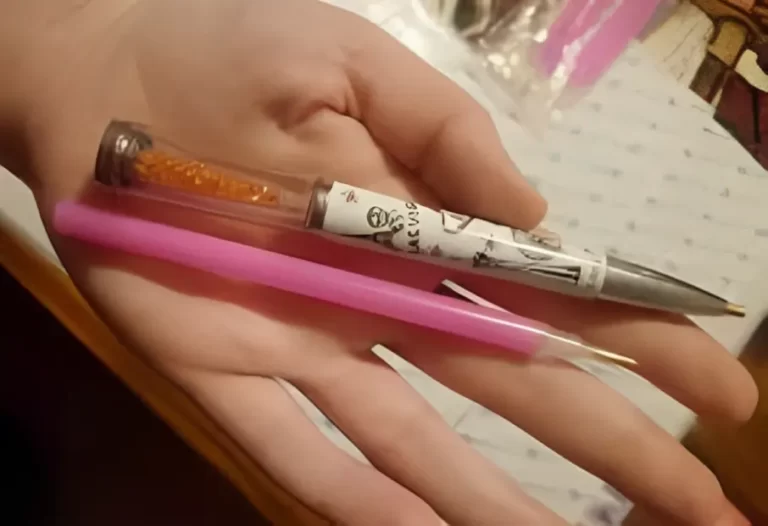
How to Make Your Own 4 Piece Diamond Painting Wand?

Diamond painting has gained popularity as a creative and relaxing hobby for people of all ages. The process of creating dazzling artwork using tiny resin diamonds is not only enjoyable but also therapeutic. To enhance the diamond painting experience, a diamond painting wand is an essential tool that helps in picking and placing the diamonds with precision. While you can easily purchase a wand, making your own 4 piece diamond painting wand allows for customization and adds a personal touch to your craft. In this article, we will guide you through the step-by-step process of creating your very own diamond painting wand.

Materials Needed

Before you begin crafting your diamond painting wand, gather the following materials:

  • Wooden dowels (four pieces)
  • Wooden beads (four pieces)
  • Strong adhesive glue
  • Acrylic paint or decorative tape
  • Paintbrushes
  • Sandpaper (medium-grit)
  • Decorative elements (optional)

Step-by-Step Guide to Making a 4 Piece Diamond Painting Wand

Step 1: Preparing the Base

To create a sturdy and comfortable base for your diamond painting wand, follow these steps:

  • Take the wooden dowels and sand them lightly using medium-grit sandpaper. This step ensures a smooth surface for painting.
  • Using acrylic paint or decorative tape, add color or patterns to the dowels. Let your creativity shine!
  • Allow the paint to dry completely before moving on to the next step.

Step 2: Creating the Handle

The handle of the wand provides a comfortable grip while working on your diamond painting. Follow these steps to create the handle:

  • Take one wooden bead and apply a small amount of strong adhesive glue on the hole.
  • Insert one end of the dowel into the glued hole of the bead. Make sure it is securely attached.
  • Repeat this process with the remaining three dowels and beads.
  • Let the glue dry completely before proceeding.

Step 3: Attaching the Wands

To assemble the four pieces of the wand, follow these steps:

  • Apply adhesive glue to the other end of each dowel.
  • Carefully align the glued ends of two dowels and press them together firmly.
  • Repeat this process with the remaining two dowels, forming a cross shape.
  • Allow the glue to dry completely, ensuring a strong bond between the dowels.

Step 4: Decorating the Wand

Now that you have the basic structure of the wand, it’s time to unleash your creativity and add decorative elements:

  • Use acrylic paint, glitter, or decorative tape to further enhance the appearance of the wand.
  • Consider adding beads, ribbons, or other embellishments to make it uniquely yours.
  • Allow the decorations to dry completely before using the wand.

Tips for Customizing Your Diamond Painting Wand

While creating your own 4 piece diamond painting wand, here are some tips to make it even more special:

  • Adding Personal Touches: Paint or decorate the wand with colors or patterns that reflect your personal style or preferences.
  • Using Different Colors or Patterns: Experiment with various shades or decorative tapes to create a visually appealing wand.
  • Applying Decorative Elements: Incorporate beads, sequins, or charms to make your wand stand out.

Maintenance and Care

To ensure the longevity of your diamond painting wand, follow these maintenance tips:

  • Proper Storage: Store the wand in a clean and dry place, away from direct sunlight and excessive heat.
  • Cleaning Instructions: Use a soft cloth or damp sponge to clean the wand when necessary. Avoid using harsh chemicals that may damage the decorations.

Conclusion

Creating your own 4 piece diamond painting wand allows you to customize your tool to match your artistic style. By following the simple steps outlined in this article, you can craft a personalized wand that will enhance your diamond painting experience. Let your creativity shine as you embark on this DIY project!

FAQs

Yes, you can explore different materials based on your preference and availability. However, ensure that the materials are sturdy and safe to use.

The time required depends on the complexity of your design and the drying time of the paint or glue. On average, it can take a few hours to complete the entire process.

Certainly! The number of pieces can vary based on your design and creativity. Feel free to experiment with different configurations.

No, decorating the wand is optional. It adds a personal touch and makes the wand more visually appealing, but it is not necessary for its functionality.

With adult supervision and assistance, children can participate in making their own diamond painting wands. Ensure they handle the tools and adhesives safely.

Similar Posts

Leave a Reply

Your email address will not be published. Required fields are marked *