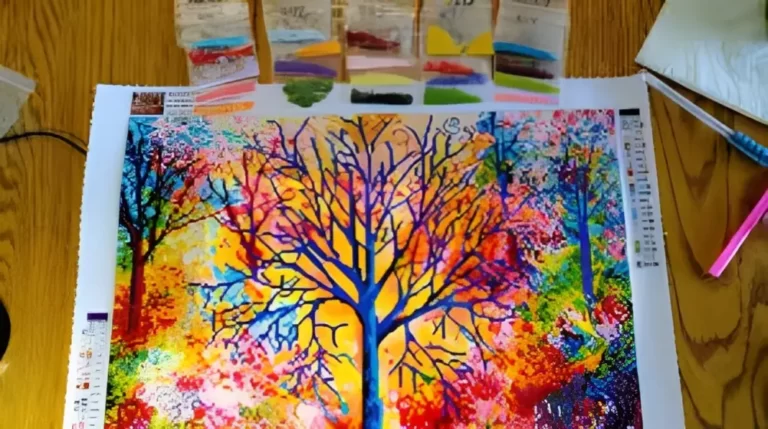
Diamond painting is a popular and mesmerizing craft that allows art enthusiasts to create stunning mosaic-like paintings using small, faceted drills. Once you’ve completed your diamond painting masterpiece, the next step is to showcase it in a way that does justice to your hard work and creativity.
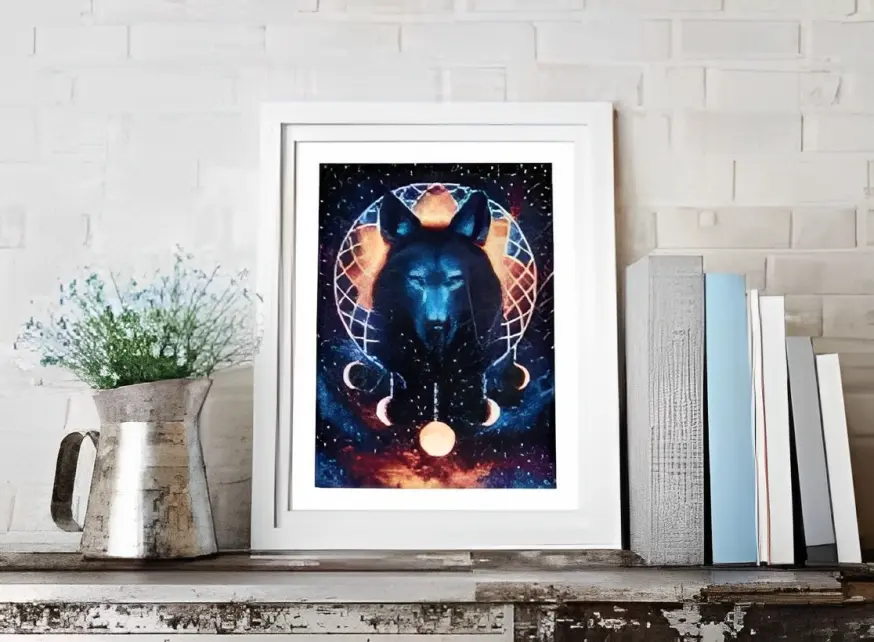
Framing your diamond painting with wood offers a classic and elegant display solution. In this guide, we will explore the steps to frame diamond painting with wood, ensuring a beautiful presentation of your artwork.
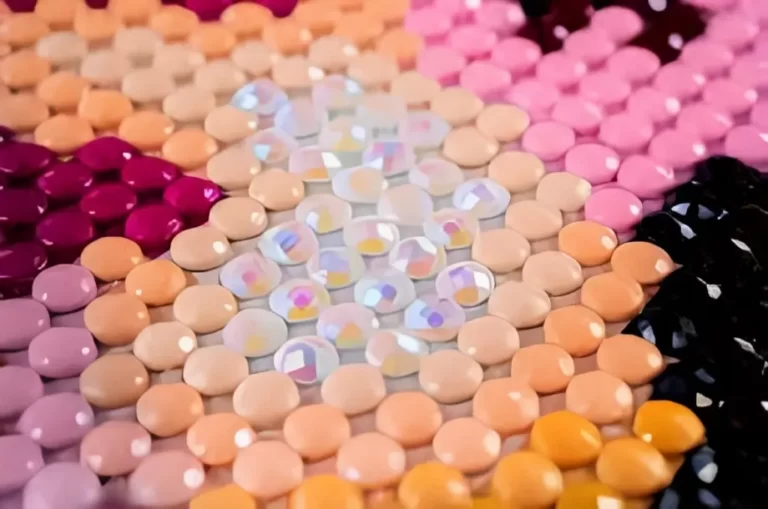
Before diving into the framing process, let’s briefly understand what diamond painting is. Diamond painting is a craft that combines elements of cross-stitching and paint-by-numbers. It involves placing tiny resin drills, resembling diamonds, onto a canvas with adhesive. The result is a dazzling and sparkling artwork that captures the light and adds a touch of brilliance to any space.
Why Frame Diamond Painting with Wood?
Framing your diamond painting with wood has several advantages over other framing methods:
Durability and Stability: Wooden frames provide robust support for the canvas, ensuring it stays taut and securely mounted.
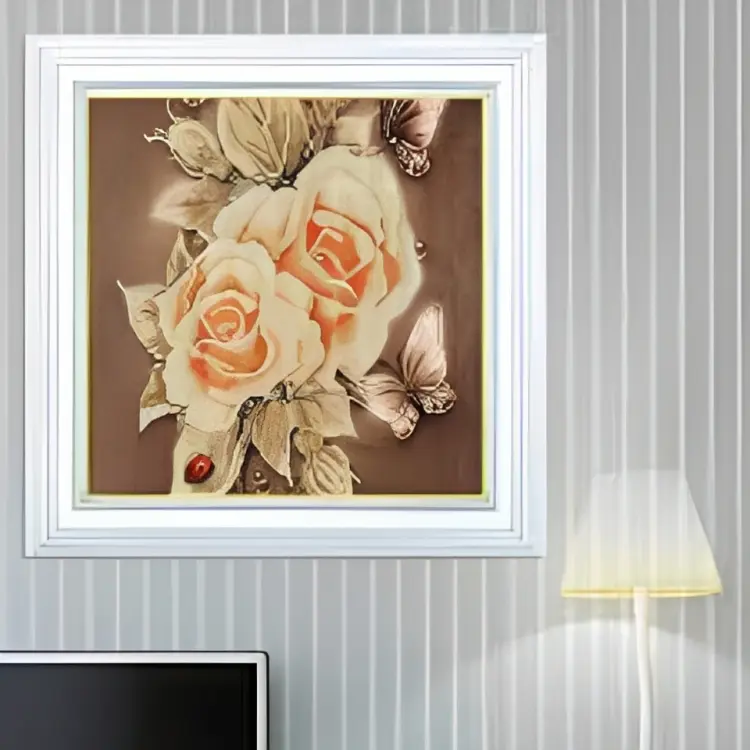
Aesthetic Appeal: Wood exudes a timeless charm that enhances the overall presentation of your artwork, adding a touch of sophistication to any room.
Choosing the Right Wood for Framing
When selecting wood for framing your diamond painting, consider the following factors:
Types of Wood: Popular choices include pine, oak, birch, and poplar. Each type has its unique grain pattern and color, so choose one that complements your artwork.
Finishing Options: Decide whether you want a natural wood finish, stain, paint, or varnish to enhance the appearance of the frame.
Preparing the Diamond Painting
Before framing, ensure your diamond painting is ready for display:
Checking for Imperfections: Inspect the canvas for any wrinkles, creases, or missing drills. Smooth out any imperfections to achieve a flawless result.
Flattening the Canvas: If your canvas has creases from rolling, flatten it by gently ironing it on low heat with a cloth over the drills.
Sealing the Diamond Painting (Optional): Consider applying a clear sealant over the diamond painting to secure the drills and protect the artwork from dust and damage.
Building the Wooden Frame
Now it’s time to create the wooden frame for your diamond painting:
Measuring and Cutting the Wood: Measure the dimensions of your diamond painting and cut the wood accordingly using a saw.
Assembling the Frame: Assemble the wooden pieces to form the frame. Use wood glue and clamps to ensure a sturdy construction.
Sanding and Smoothing the Edges: Sand the edges of the frame to achieve a smooth and polished look.
Attaching the Diamond Painting to the Frame
With the wooden frame ready, it’s time to mount your diamond painting:
Using Adhesive or Double-Sided Tape: Apply adhesive or double-sided tape to the back of the canvas, ensuring it adheres evenly to the frame.
Ensuring Even Stretching: Carefully stretch the canvas over the frame, making sure there are no wrinkles or sagging.
Adding a Protective Layer (Optional)
Consider adding a protective layer over your framed diamond painting:
Using Glass or Acrylic Sheet: Place a glass or acrylic sheet over the artwork to shield it from dust and potential damage.
Pros and Cons of Protective Layer: Weigh the benefits of protection against potential glare and reflections from the protective layer.
Hanging and Displaying the Framed Diamond Painting
With your framed diamond painting ready, choose the perfect spot for display:
Choosing the Right Location: Select a wall or area that showcases your artwork without exposing it to excessive sunlight or humidity.
Mounting Hardware and Hooks: Install appropriate mounting hardware and hooks to securely hang the framed diamond painting.
Maintenance and Care Tips
Ensure the longevity of your framed diamond painting with proper maintenance:
Cleaning the Frame and Painting: Regularly dust and clean the frame and glass to keep your artwork looking pristine.
Avoiding Direct Sunlight and Humidity: Protect the diamond painting from direct sunlight and high humidity, as these can affect the adhesive and drills.
Conclusion
Framing your diamond painting with wood is a rewarding and creative process that elevates your artwork’s presentation. The durable, customizable, and aesthetically pleasing nature of wooden frames ensures your diamond painting remains a timeless and cherished masterpiece. Whether you choose a natural wood finish or add a protective layer, the end result will be a stunning display that captivates the beholder.
FAQs:
While various types of wood can be used, popular choices include pine, oak, birch, and poplar.
Sealing the diamond painting is optional but can provide added protection and longevity.
The use of a protective layer, such as glass or acrylic, is a personal preference and depends on the display location and desired level of protection.
Use a soft, lint-free cloth to dust the frame and glass regularly. Avoid using harsh chemicals or abrasive materials that may damage the artwork.
It is best to avoid displaying diamond paintings in areas with high humidity, such as bathrooms and kitchens, to prevent potential damage to the adhesive and drills.
I'm William, a diamond painting enthusiast. Through my site diamond-paint.com, I offer tips, tricks, and resources for creating stunning works of art. Join me on this journey of self-expression and artistic fulfillment!
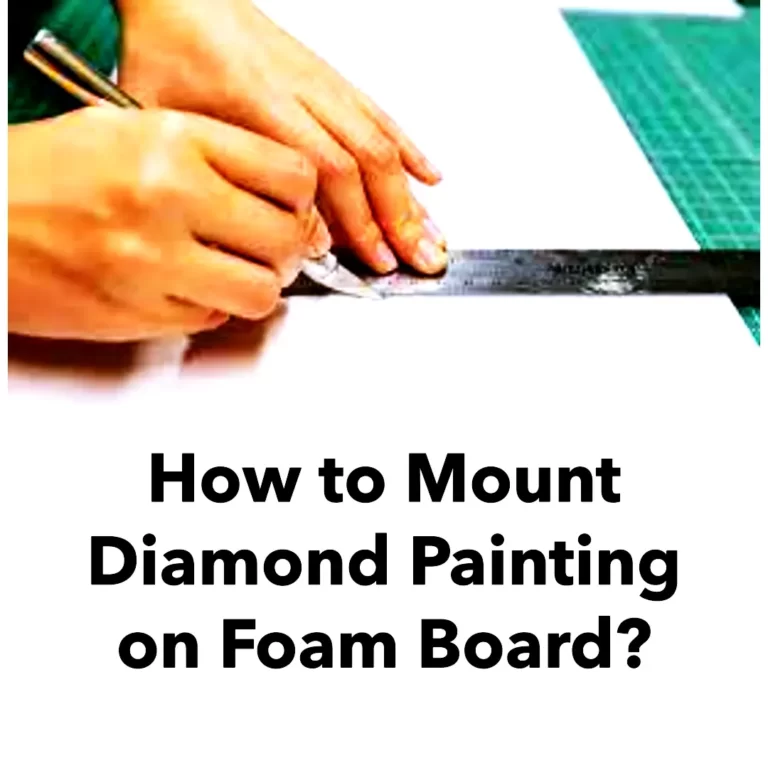
Diamond painting is a creative and relaxing hobby that allows you to create stunning artwork using tiny resin drills. Once you’ve completed your diamond painting masterpiece, you may want to display it proudly. One popular and cost-effective way to showcase your finished work is by mounting it on foam board. In this article, we will…
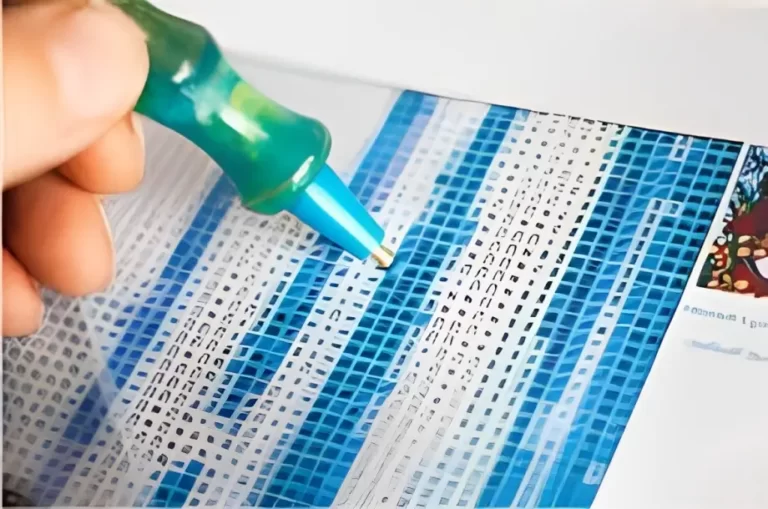
Diamond painting has become a popular and therapeutic craft, bringing joy to countless hobbyists. One of the essential components of diamond painting is the adhesive used to secure the dazzling diamonds onto the canvas. Choosing the right glue and understanding how to use it properly can greatly impact the quality and longevity of your diamond…
Diamond painting has gained popularity as a captivating craft that allows individuals to create stunning works of art using small diamond-like gems called diamond drills. One term frequently encountered in diamond painting is “full drill.” In this article, we will explore what full drill means in the context of diamond painting, its significance, and how…
Diamond painting has become a popular craft hobby, captivating enthusiasts with its sparkling and vibrant creations. If you’re new to diamond painting, one question that often arises is whether to choose square or round diamond drills. In this article, we will explore the differences between square and round drills, their advantages, and help you decide…
Diamond painting is an art form that involves placing colorful resin rhinestones, also known as drills, onto a canvas to create stunning mosaic-like pictures. While diamond painting can be a relaxing and rewarding hobby, working with large canvases can pose some unique challenges. In this article, we will explore effective strategies to manage large canvases…
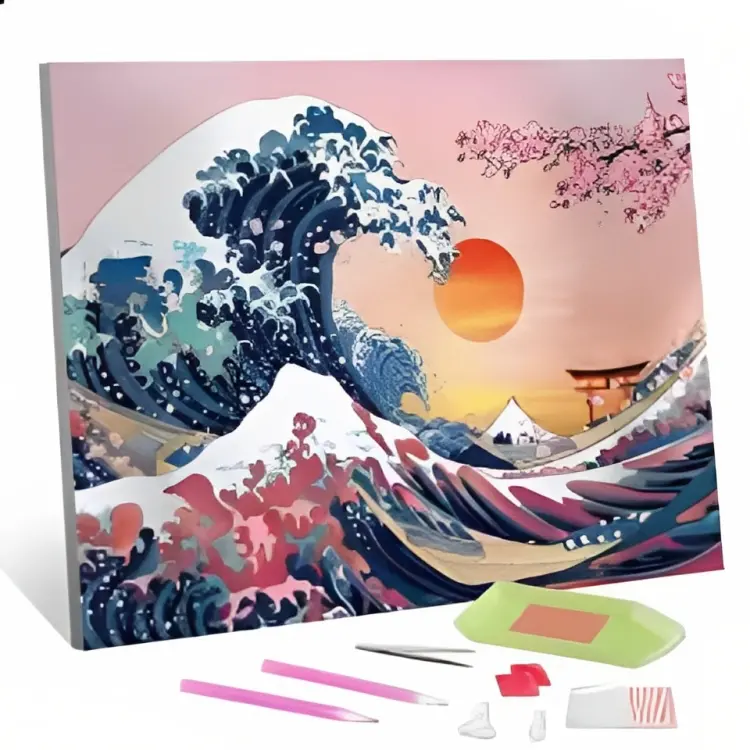
Diamond painting has gained immense popularity as a creative and therapeutic activity. If you’re new to this craft, a 5D diamond painting kit is a perfect starting point. In this article, we will guide you through the process of completing a 5D diamond painting kit, step by step. So, let’s dive in and explore the…


One Comment