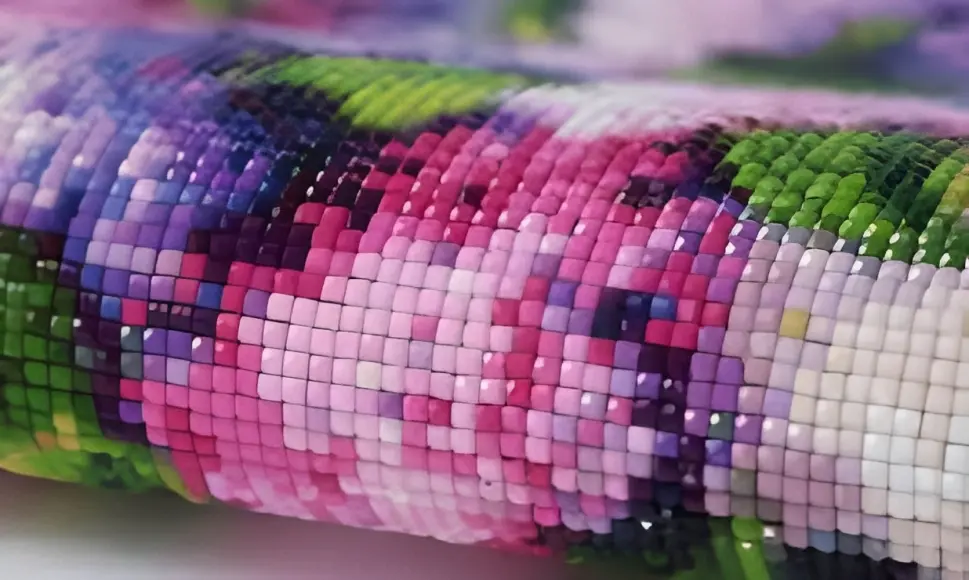
Diamond painting has gained immense popularity as a creative and relaxing craft activity. Among the different types of diamond painting, square diamond painting stands out for its unique aesthetic appeal and the level of detail it offers. If you’re new to square diamond painting or want to enhance your skills, this guide will take you through the step-by-step process of creating a stunning square diamond painting.
The popularity of square diamond painting has soared in recent years due to its ability to produce stunning, high-quality artwork that closely resembles pixel art. The precision and meticulousness required make it a favorite among experienced crafters and art enthusiasts.Whether you’re a beginner or an experienced diamond painter, this article will guide you through the process of creating a beautiful square diamond painting.
Before diving into your square diamond painting project, it’s essential to gather the necessary materials and set up a dedicated workspace. Here are the initial steps to get started:
Choosing the right square diamond painting kit: Select a kit that aligns with your artistic preferences and skill level. Consider factors such as design complexity, canvas size, and the inclusion of all necessary tools.
Gathering the necessary materials: Apart from the kit, you’ll need an applicator pen or wax pad, a tray to hold the drills, tweezers for corrections, and a light pad for enhanced visibility.
Setting up your workspace: Find a clean, well-lit area where you can comfortably work on your diamond painting. Ensure you have a flat surface, preferably covered with a soft cloth or mat to prevent the canvas from slipping.
Preparing the Canvas
Before placing the square diamond drills, it’s crucial to prepare the canvas properly. Follow these steps for effective canvas preparation:
Understanding the symbol chart or key: Each square on the canvas corresponds to a specific color and symbol indicated on the chart. Familiarize yourself with the symbols to avoid confusion during the painting process.
Applying adhesive to the canvas: Most square diamond painting kits come with a pre-printed adhesive canvas. Start from one corner and gradually peel off the protective film, exposing a small section of the adhesive at a time.
Avoid exposing large areas to prevent dust or debris from adhering to the adhesive.
Handling the square diamond drills: Square drills are smaller and more intricate than round drills. Gently shake the container to separate the drills and use the applicator pen or wax pad to pick them up for placement.
Placing the Square Diamond Drills
Proper placement of the square diamond drills is crucial to achieving a neat and visually appealing result. Follow these guidelines for accurate and aligned placement:
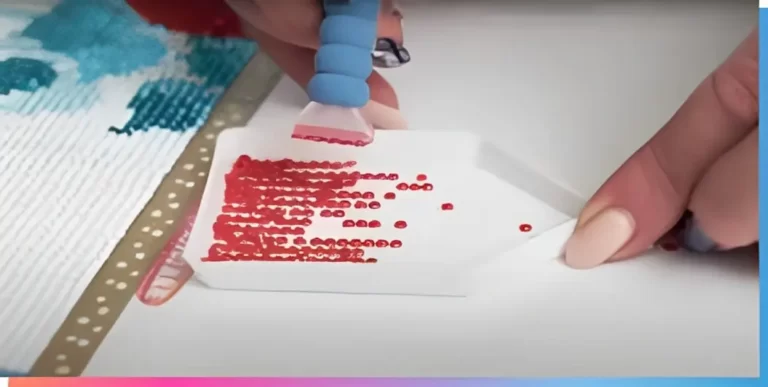
Using the applicator pen or wax pad: Dip the applicator pen or wax pad into the wax or glue pad provided in your kit. This will help create a sticky surface that allows the drills to adhere to the pen or pad.
Techniques for picking up and placing the drills: Place the tip of the pen or pad on top of a square drill, and gently press down to pick it up. Align the drill with the corresponding symbol on the canvas and apply slight pressure to secure it in place.
Keeping the drills straight and aligned: To ensure the drills are perfectly aligned, use a ruler or straight edge to guide the placement. Press the ruler lightly against the row of drills to keep them straight and prevent any misalignment.
Filling in the Canvas
Once you’ve mastered the placement technique, it’s time to fill in the canvas with the square diamond drills. Follow these steps for a smooth and efficient painting process:
Starting from one corner or edge: Begin at the top-left corner or any edge of your choosing. Work in small sections to prevent the adhesive from drying out before placing the drills.
Working section by section: Focus on completing one section at a time, following the color and symbol guide. This approach helps you maintain a consistent pattern and prevents accidental placement of incorrect colors.
Dealing with different colors and symbols: As you progress through the canvas, you’ll encounter a variety of colors and symbols. Take your time to ensure each drill is correctly placed, paying attention to color transitions and intricate details.
Finishing Touches
As you near the completion of your square diamond painting, it’s essential to pay attention to the finishing touches for a polished final piece. Consider the following steps:
Checking for any missing drills: Regularly inspect the canvas to identify any missing drills. Use tweezers to pick up and place the missing drills, ensuring a seamless and complete design.
Pressing down the drills for better adhesion: Once all the drills are in place, gently press down on the canvas to ensure they are securely attached. This step enhances the adhesion and prevents drills from dislodging during handling or framing.
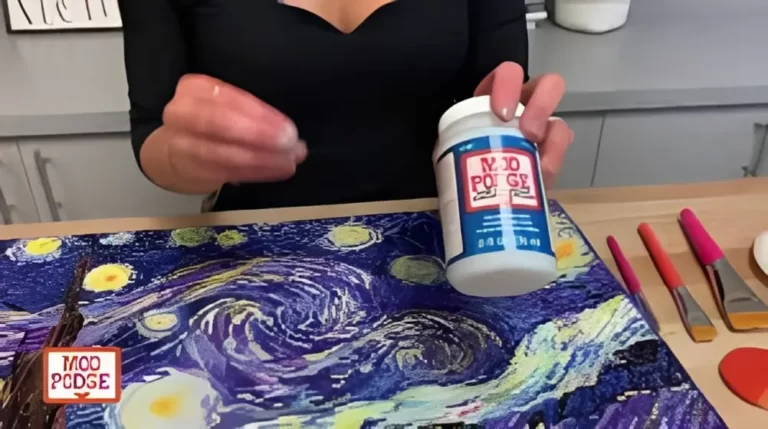
Cleaning and protecting the completed painting: Use a soft, lint-free cloth to gently wipe the surface of the canvas to remove any dust or debris. If desired, you can also apply a protective sealant or varnish to enhance the longevity and vibrancy of the artwork.
Tips and Tricks for Square Diamond Painting
To enhance your square diamond painting experience and achieve outstanding results, consider the following tips and tricks:
Organizing and storing diamond drills: Use labeled storage containers or organizers to keep your diamond drills sorted by color. This helps streamline the painting process and prevents the loss of drills.
Using a light pad for better visibility: Place a light pad underneath the canvas to illuminate the symbols and drills. This makes it easier to see the details and ensures accurate placement.
Dealing withmistakes and fixing misplaced drills: If you accidentally place a drill in the wrong spot, carefully remove it using tweezers and reposition it in the correct place. Take your time and be patient to avoid damaging the canvas or drills.
Showcasing Your Square Diamond Painting
Completing a square diamond painting is a rewarding accomplishment, and you may want to showcase your creation. Consider the following options:
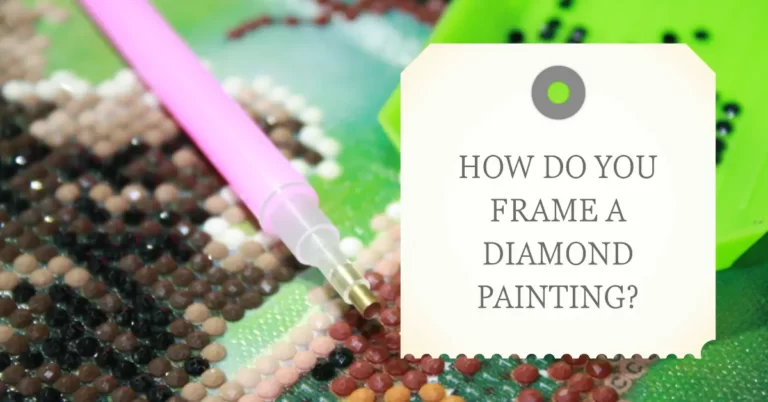
Framing or mounting the finished painting: Choose a frame that complements the style and size of your diamond painting. Alternatively, you can mount it on a stretched canvas or display it in a shadow box for a three-dimensional effect.
Sharing your creation on social media:
Join diamond painting communities on platforms like Instagram or Facebook to share your artwork and connect with fellow enthusiasts. Use hashtags related to diamond painting to reach a wider audience.
Joining online communities and forums: Participate in online forums and communities dedicated to diamond painting. You can seek advice, share experiences, and gain inspiration from others’ work.
Conclusion
Square diamond painting is a captivating and rewarding craft that allows you to create stunning, mosaic-like artwork. By following the steps outlined in this guide, you can confidently embark on your square diamond painting journey. Remember to choose a suitable kit, prepare the canvas diligently, and master the techniques for accurate placement. With practice and patience, you’ll soon be able to create beautiful square diamond paintings that showcase your creativity and attention to detail.
FAQs
Square diamond painting is more suited for experienced diamond painters due to its intricate nature. It’s recommended for beginners to start with round diamond painting and gradually transition to square drills.
If drills become dislodged, use tweezers to carefully remove them and apply a small amount of adhesive to the back before repositioning them.
While many diamond painting kits come with pre-printed designs, some enthusiasts enjoy creating their own designs. You can use software or online tools to convert images into diamond painting patterns.
Store leftover diamond drills in labeled containers or small zip-lock bags, sorted by color. This will make it easier to find the desired drills for future projects.
It’s possible to combine square and round drills to add dimension and texture to your artwork. However, ensure that the adhesive canvas is specifically designed for both types of drills to ensure proper adhesion.
I'm William, a diamond painting enthusiast. Through my site diamond-paint.com, I offer tips, tricks, and resources for creating stunning works of art. Join me on this journey of self-expression and artistic fulfillment!
Diamond painting has become a popular craft activity that combines the creativity of painting with the sparkle of diamonds. As diamond painting enthusiasts know, each painting requires thousands of small resin drills to be placed onto an adhesive canvas. However, it’s essential to know how many drills come in each bag to ensure you have…
Diamond painting is a popular craft activity that combines the beauty of painting with the sparkle of diamonds. It involves creating a dazzling artwork by placing small resin rhinestones, known as diamonds, onto a canvas with adhesive. Once completed, a diamond painting can be a cherished keepsake. However, to ensure its longevity and preserve its vibrant…
5D Diamond Painting has taken the crafting world by storm, captivating art enthusiasts and hobbyists alike with its mesmerizing sparkle and intricate designs. Whether you are a seasoned diamond painter or just starting with this creative journey, learning how to frame your finished masterpiece can elevate it to a stunning display piece for your home…
Diamond painting is a popular craft activity that involves creating a sparkling artwork by placing colorful resin diamonds onto a sticky canvas. Once you have completed your diamond painting, the next step is to frame it to preserve and showcase your masterpiece. Framing a diamond painting not only protects it but also enhances its visual…
Diamond painting is a popular craft that combines the creativity of painting with the relaxation of working with beads. It involves placing small resin diamonds onto a canvas, creating a stunning and sparkling piece of art. If you’re new to diamond painting and want to learn how to get started, this guide will walk you…
Halloween is just around the corner, so you probably already have your spooky decorations in mind. Carved pumpkins are one of the most common—and endearing—Halloween decorations. But let’s be honest: carving a pumpkin can be really difficult. From cleaning out the seeds to using sharp tools, it’s understandable why many people shy away from the…