How to Create a Diamond Painting with a Mosaic or Tile-Like Design?
Diamond painting has taken the world of crafting by storm, offering enthusiasts a creative and soothing outlet to create stunning pieces of art. If you’re looking to add a unique twist to your diamond painting projects, consider exploring the world of mosaic and tile-like designs.
These intricate patterns can elevate your diamond painting to a whole new level of visual appeal. In this article, we’ll guide you through the process of creating a diamond painting with a mosaic or tile-like design, from selecting the right design to displaying your masterpiece.
Understanding Diamond Painting
Before delving into mosaic and tile-like designs, let’s briefly understand the basics of diamond painting. This art form involves placing tiny diamond-like facets onto an adhesive canvas, creating a dazzling and sparkling effect.
While diamond painting traditionally involves placing diamonds in a grid pattern, mosaic and tile-like designs introduce an element of complexity and artistry that transforms the final artwork into a captivating mosaic masterpiece.
Exploring Mosaic and Tile-Like Designs
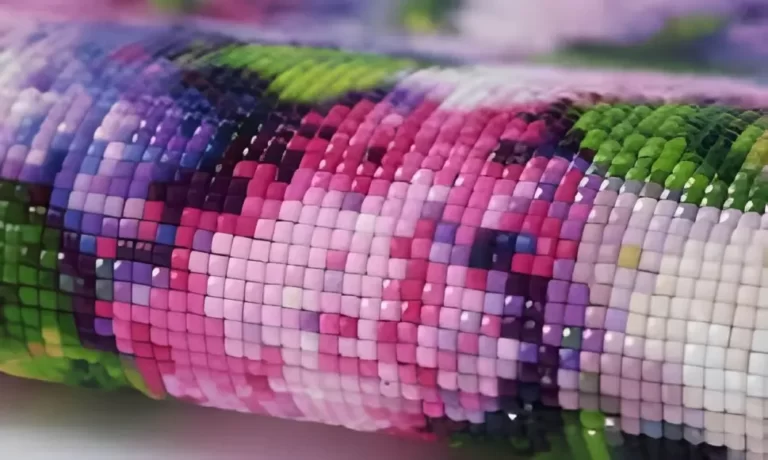
A mosaic design in diamond painting is reminiscent of traditional mosaic art, where small pieces come together to form intricate patterns. Similarly, a tile-like design involves arranging diamonds in a way that resembles individual tiles, creating a visually striking effect. What sets these designs apart is their ability to convey depth, dimension, and texture, making them ideal for creating intricate scenes, landscapes, or abstract compositions.
Choosing the Right Design
When venturing into mosaic and tile-like designs, selecting the right pattern is crucial. Consider your skill level, patience, and the complexity you’re comfortable with. Beginners might want to start with simpler patterns that involve fewer color variations, while experienced diamond painters can explore intricate designs with a wide range of shades. Remember that the process is as important as the end result, so choose a design that resonates with you.
Materials Needed
To embark on your mosaic or tile-like diamond painting journey, gather the necessary materials. You’ll need a diamond painting kit that includes a canvas with the chosen design, color-coded diamonds, an applicator pen or wax pen, a tray, and adhesive wax. Investing in high-quality materials ensures a smoother and more enjoyable experience.
Preparing the Canvas
Once you have your materials ready, it’s time to prepare the canvas. Lay out the canvas on a clean and flat surface. Mosaic and tile-like designs require precision, so ensure the canvas is wrinkle-free and properly aligned. Take your time during this step, as a well-prepared canvas sets the foundation for a successful project.
Sorting Diamonds
The hallmark of a captivating mosaic or tile-like design is its intricate arrangement of colors and shades. Before you begin placing diamonds, sort them by color and label them for easy access. This organizational step prevents confusion and streamlines the diamond placement process, allowing you to focus on the creative aspect of your project.
Applying Diamonds
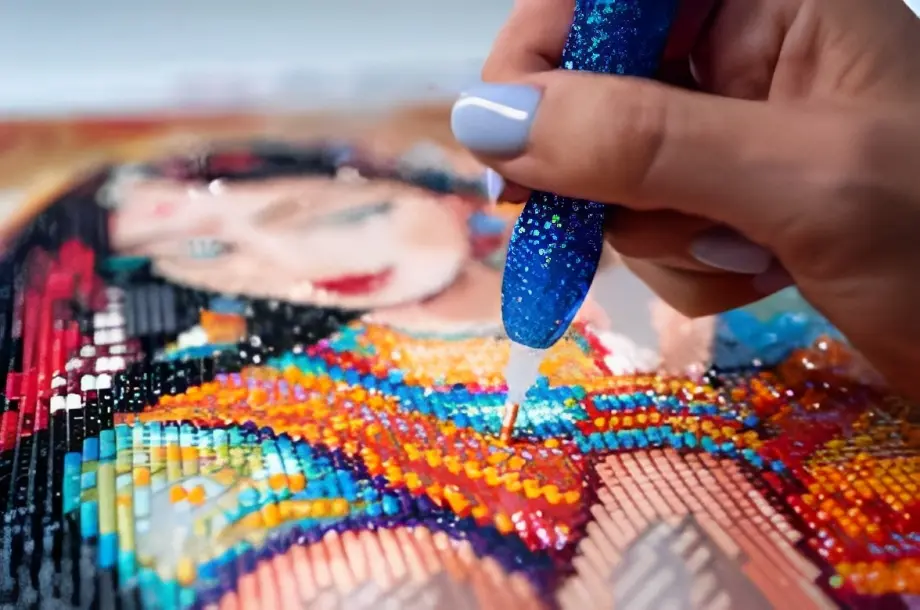
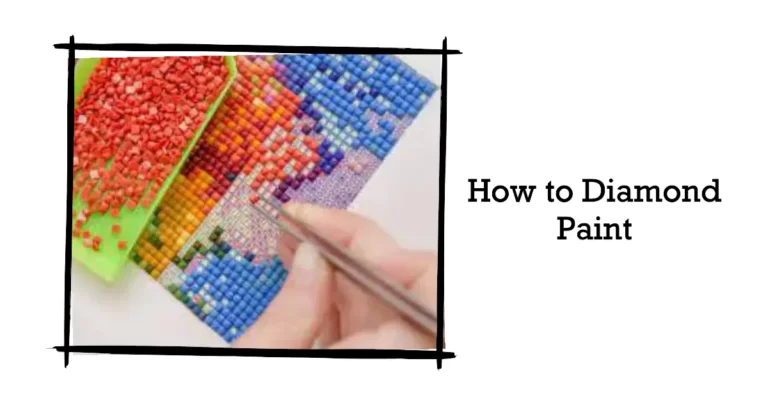
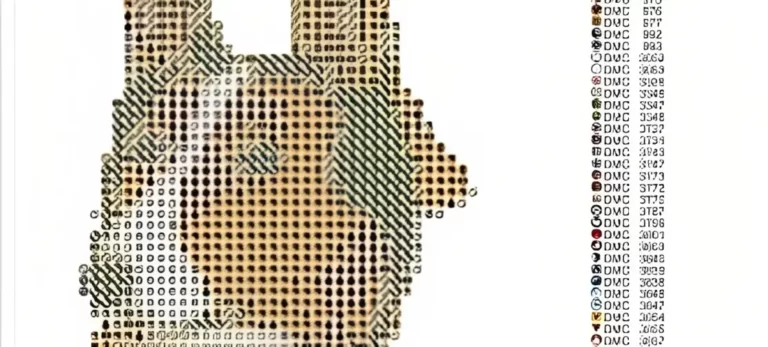
As you start placing diamonds, refer to the color-coded symbols on the canvas. Begin from the edges and work your way inwards. The repetitive nature of diamond painting is meditative, offering a relaxing and rewarding experience. Use an applicator pen or wax pen to pick up diamonds and place them precisely on the corresponding symbols.

Tools for Precision
To achieve the highest level of accuracy, utilize specialized tools. An applicator pen or wax pen allows you to handle and place diamonds with ease. A light pad is especially helpful, as it illuminates the canvas from beneath, making symbols and colors more visible. These tools enhance your ability to create intricate and detailed mosaic designs.
Creating Depth and Dimension
Mosaic and tile-like designs thrive on creating the illusion of depth and dimension. Experiment with shading, color gradients, and careful placement of diamonds to achieve this effect. Consider the interplay of light and shadow to bring your artwork to life. The artistry lies in selecting the right shades and arranging them in a way that adds realism and texture.
Troubleshooting and Tips
While creating a mosaic diamond painting can be immensely satisfying, challenges may arise. Misplaced diamonds, uneven lines, or incorrect colors are common issues. If you encounter a mistake, gently remove the diamond using tweezers or the edge of the applicator pen. Stay patient and remember that each mistake is an opportunity to learn and improve your technique.
Enjoying the Process
As you work on your mosaic or tile-like diamond painting, savor the experience. Diamond painting is not only about the final result but also the journey itself. Embrace the therapeutic aspect of the craft, allowing your mind to relax and focus on the present moment. Engaging in a creative endeavor like diamond painting can bring a sense of accomplishment and joy.
Framing and Displaying
Once you’ve completed your masterpiece, it’s time to showcase it proudly. Consider framing your mosaic diamond painting to preserve its beauty and protect it from dust and damage. A well-chosen frame enhances the artwork’s visual impact and transforms it into a statement piece for your home.
Conclusion
Creating a diamond painting with a mosaic or tile-like design is an artistic endeavor that combines precision and creativity. The process of placing diamonds intricately to form mesmerizing patterns is not only a form of art therapy but also a means of self-expression. By following the steps outlined in this article, you can embark on a diamond painting journey that results in a unique and captivating mosaic masterpiece.
