How to Create a Diamond Painting with a Gradient Background?
Diamond painting has become a beloved artistic hobby for individuals seeking a creative outlet. The meticulous process of placing colorful diamond drills onto a canvas to create stunning mosaic-like artworks is not only relaxing but also highly rewarding. In this guide, we’ll explore how to take your diamond painting to the next level by incorporating a gradient background, adding depth and vibrancy to your masterpiece.
Choosing Your Diamond Painting Kit
Before embarking on your gradient background journey, it’s essential to choose the right diamond painting kit. Consider the size of the canvas and the complexity of the design. A larger canvas provides more space to work with the gradient, while a simpler design might allow the background to shine more brightly.
Gathering Materials
To begin, gather your materials. You’ll need a diamond painting kit (including diamonds, canvas, and tools), a set of acrylic paints or markers for the gradient, a paintbrush or sponge, and a palette. Ensure you have a flat and clean working surface to avoid any disruptions during the process.
Preparing the Canvas
Carefully unbox your diamond painting kit, taking care not to damage the canvas or diamonds. Lay out the canvas and gently flatten any creases or wrinkles. A smooth canvas will provide a clean foundation for both the diamonds and the gradient background.
Understanding Gradient Backgrounds
A gradient background involves a smooth transition of colors from one shade to another. It adds depth and dimension to your artwork, creating an eye-catching visual effect. The gradient can be a subtle shift from light to dark or an explosion of vibrant hues.
Choosing the Right Gradient
When selecting colors for your gradient, consider the overall mood you want to convey. Soft pastels create a serene ambiance, while bold and contrasting colors evoke energy and excitement. Use a color wheel to find complementary colors that work harmoniously together.

Creating the Gradient Background
Begin by preparing the gradient colors on your palette. Apply the lightest color to the canvas using a paintbrush or sponge, starting from one edge and gradually transitioning to the darker color. Blending the colors is key to achieving a smooth gradient effect. Take your time to ensure seamless transitions.
Placing Diamond Drills
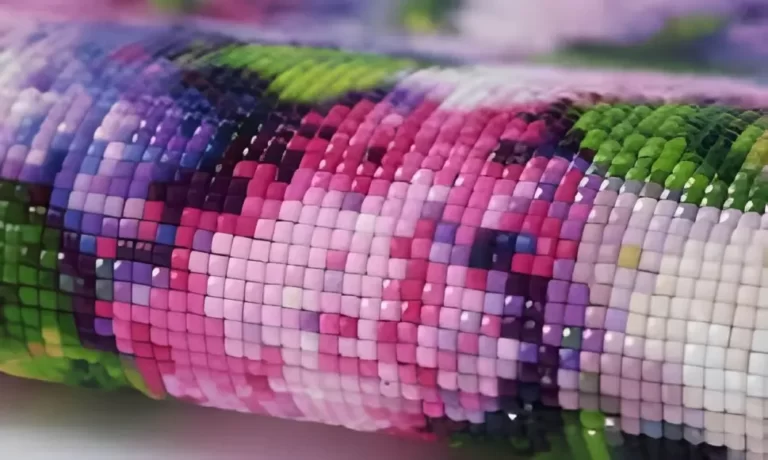
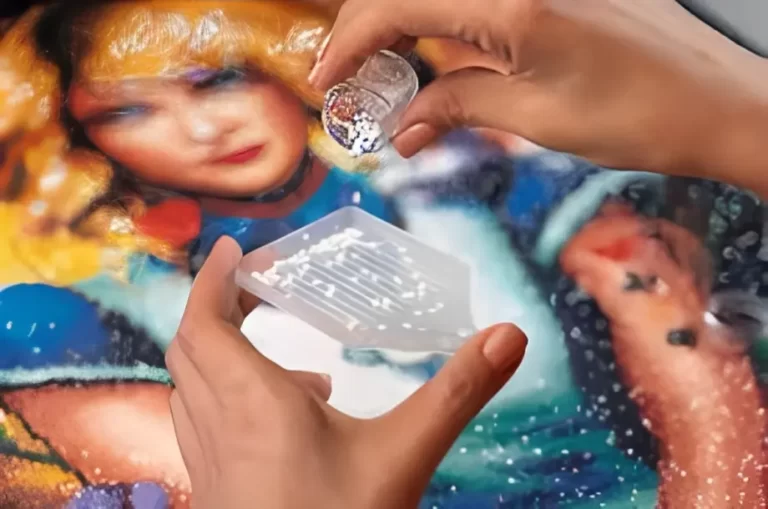
As your gradient background dries, it’s time to start placing the diamond drills. Refer to the diamond painting kit’s instructions for the correct placement. The contrast between the diamonds and the gradient will create a captivating interplay of textures and colors.
Combining Gradient and Diamonds
Strategically place the diamond drills to complement the gradient background. Consider placing lighter diamonds on darker areas of the gradient and vice versa. This interaction between the gradient and diamonds will result in a visually captivating artwork.
Finishing Touches
Once you’ve placed all the diamonds, take a moment to admire your work. Seal the diamonds using the provided adhesive or a clear varnish to ensure they stay in place. If desired, add any final embellishments, such as rhinestones or sequins, to enhance the overall sparkle.
Frame or Display Your Artwork
Your gradient background diamond painting is now complete! Decide whether you want to frame it and hang it as wall art or display it on an easel. Alternatively, you can gift it to a loved one or use it as a decorative element in your living space.
Conclusion
Creating a diamond painting with a gradient background is a rewarding artistic endeavor that combines the precision of diamond placement with the creative flair of color blending. The steps outlined in this guide provide a foundation for experimenting with gradients and diamonds to craft a unique and mesmerizing artwork. Unleash your imagination, and let your diamond painting journey take you to new artistic heights.
