How to Fix Diamond Painting Drills that are Misprinted or Misshaped?
Diamond painting is a captivating and creative craft that involves placing tiny, sparkling drills onto a canvas to create dazzling and intricate designs. However, even in this delightful pursuit, challenges can arise. One such challenge is dealing with misprinted or misshaped diamond painting drills.
These irregularities can hinder the overall beauty of the artwork. In this guide, we will explore the steps to rectify this issue and ensure your diamond painting masterpiece turns out flawless.
Understanding Misprinted or Misshaped Diamond Painting Drills
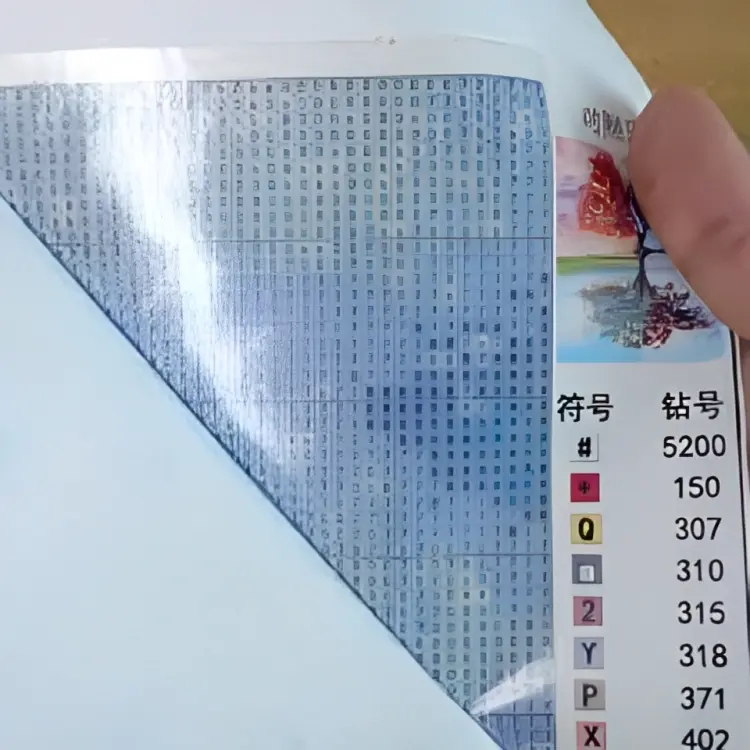
Misprinted or misshaped drills can occur due to manufacturing inconsistencies or handling during shipping. Misprints might involve faded colors or unclear symbols, while misshaped drills can have irregular facets or sizes.
Such issues can detract from the precision and brilliance that diamond painting strives to achieve. It’s important to address these problems to achieve the desired end result.
Identifying Misprinted or Misshaped Drills
The first step is to identify these flawed drills. A keen eye can spot faded colors or distorted symbols. Using a magnifying glass can help you detect even the subtlest irregularities, ensuring no defective drill goes unnoticed. The earlier you identify these issues, the easier it will be to correct them.
Preparing Tools for Correction
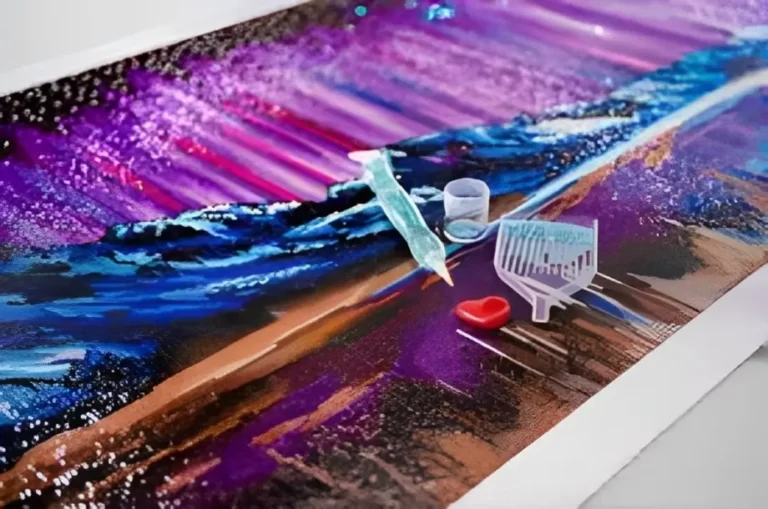
Before embarking on the correction process, ensure your workspace is organized. Clear away any distractions and gather essential tools such as tweezers, a straightening tool, and adhesive. A well-prepared workspace will facilitate a smooth correction process.
Correcting Misprinted or Misshaped Drills
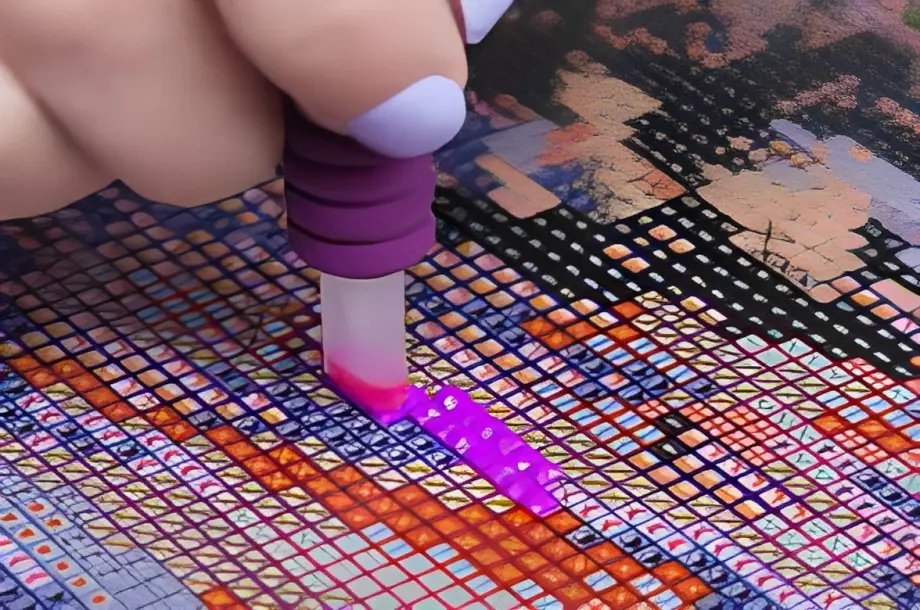
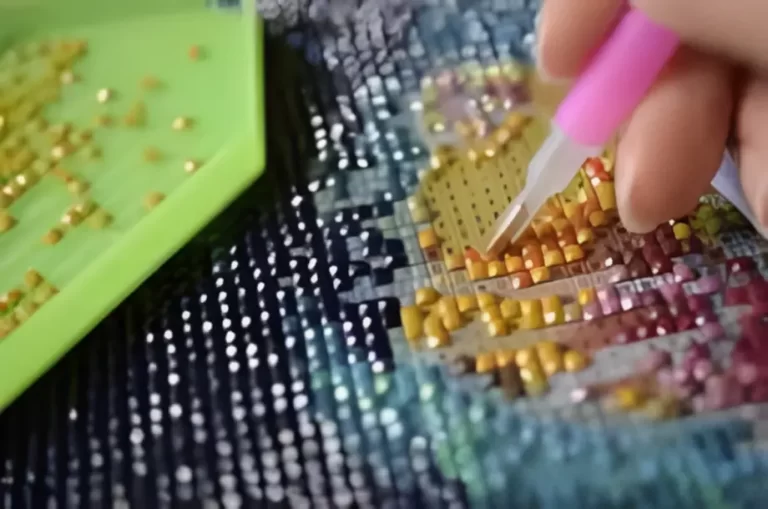
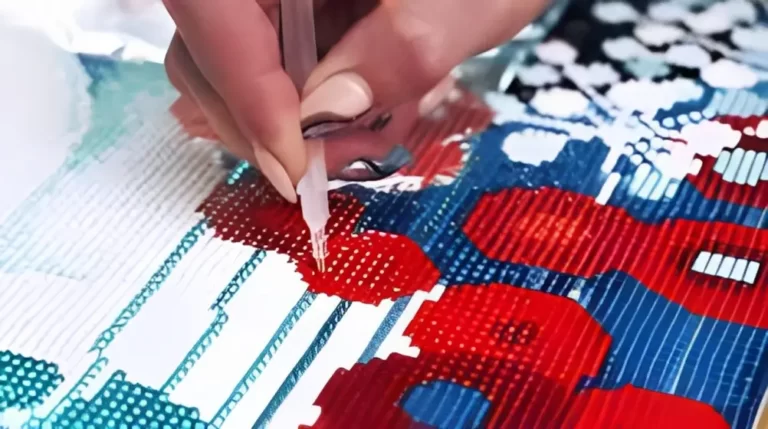
There are several methods to fix misprinted or misshaped drills. The first method involves using a straightening tool. Gently place the tool over the misshaped drill and apply slight pressure to align the facets. Alternatively, you can use tweezers to manually adjust the drill’s shape. Be careful and patient to avoid damaging neighboring drills. If the drill is beyond correction, consider replacing it with a properly shaped one.
Tips for Preventing Future Issues
Prevention is key to maintaining the quality of your diamond painting. Carefully examine drills before starting a new project, checking for clarity of symbols and color vibrancy. Purchase your diamond painting kits from reputable sources to reduce the likelihood of receiving flawed drills. Properly storing your drills in a cool and dry environment can also prevent deformities.
Restoring the Artwork
Correcting misprinted or misshaped drills is not only about fixing the individual drills but also about restoring the overall harmony of the artwork. Blend the corrected drills seamlessly into the design, ensuring that no irregularities stand out. This meticulous approach will yield a finished piece that sparkles with precision.
Conclusion
Creating a stunning diamond painting masterpiece requires attention to detail and a commitment to perfection. By following the steps outlined in this guide, you can address the challenges posed by misprinted or misshaped drills and ensure that your artwork shines with the brilliance it deserves.
