Diamond Painting – How to Make Your Own Design
Diamond painting is a popular and creative craft that allows enthusiasts to create stunning artworks using colorful plastic beads or crystals. While there are many ready-to-use diamond painting kits available in various designs, there’s a certain thrill in creating your own unique diamond painting from scratch. In this guide, we’ll walk you through the step-by-step process of making your own diamond painting design, from selecting the image to putting the final touches.
Step 1: Selecting the Image
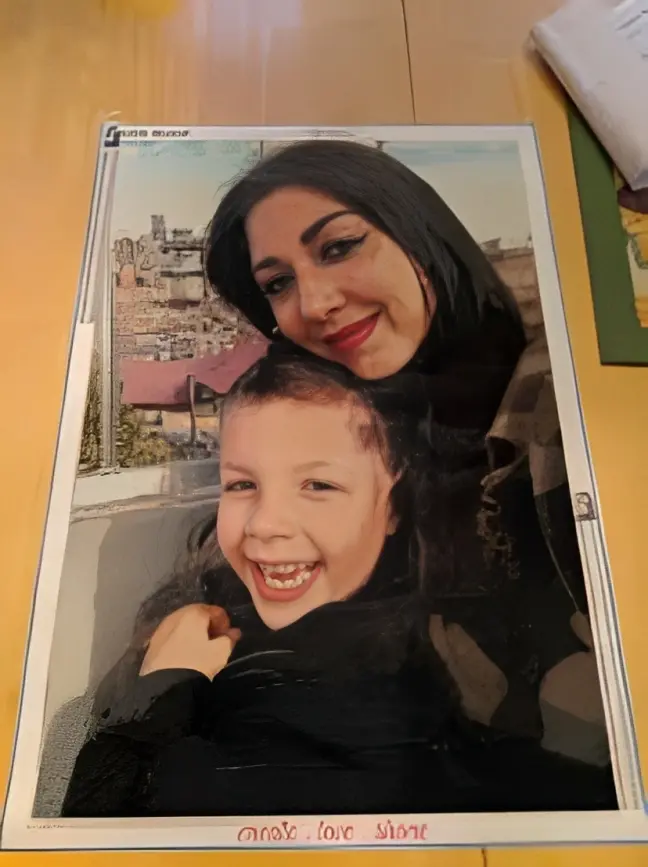
Before you begin, choose an image that holds significance to you or one that you find visually appealing. It could be a cherished family photograph, a beautiful landscape, or even a famous artwork. However, it’s essential to ensure that the image is of high quality and has the right size and level of detail to translate well into diamond painting.
Consider the copyright and usage rights of the image you choose. If it’s a personal photograph, you have the right to use it. However, for copyrighted images or artwork, you may need permission from the original creator.
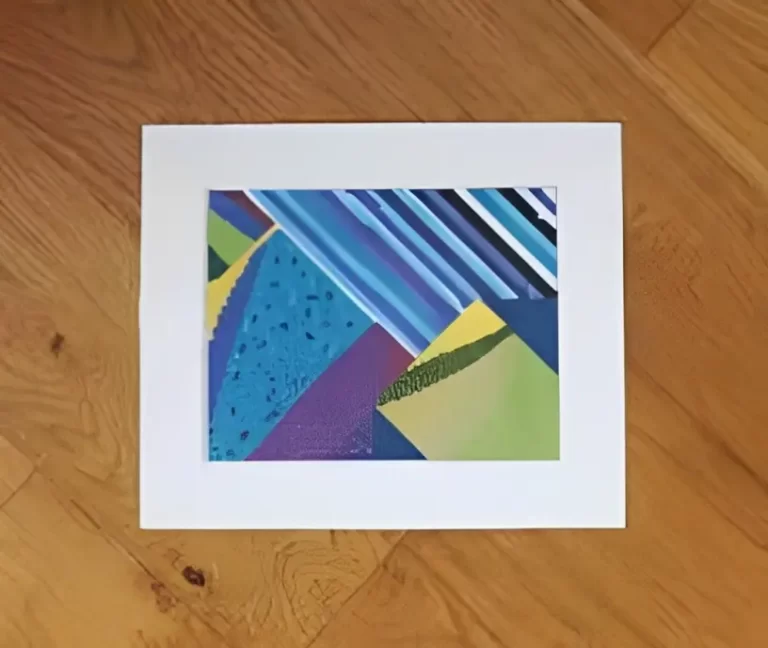
Step 2: Preparing the Canvas
To create your custom diamond painting, you’ll need a blank diamond painting canvas. These canvases come in various sizes and have a grid and adhesive surface to hold the diamonds in place. Now, transfer the selected image onto the canvas.
There are several methods to transfer the image:
Step 3: Choosing the Diamonds
The next step is to choose the type of diamonds you want to use. You have the option of square diamonds and round diamonds, each offering unique advantages. Square diamonds are easier to place and align neatly on the canvas, while round diamonds are more flexible and suitable for designs with curved lines.
Consider coordinating the colors and symbols on the chart to ensure a visually appealing and well-balanced design.
Step 4: Organizing the Diamonds
Before you start painting, it’s essential to organize your diamonds for easy access during the process. Use deluxe pens or other special tools that come with diamond painting kits to pick up and place the diamonds accurately.
Implement effective sorting techniques to avoid confusion and speed up the process.
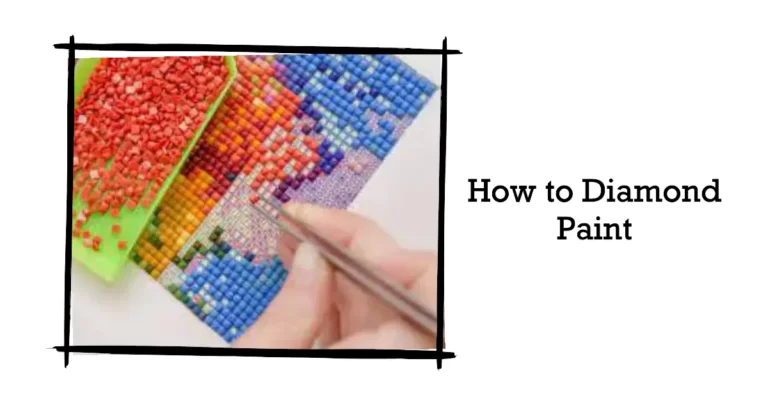
Step 5: Start Painting with Diamonds
Now comes the fun part – painting with diamonds! Familiarize yourself with the chart provided and start applying the diamonds to the corresponding symbols on the canvas. Take your time and enjoy the meditative and satisfying process.
Use the tips provided to ensure your work is neat and precise, avoiding any gaps or misplacements.
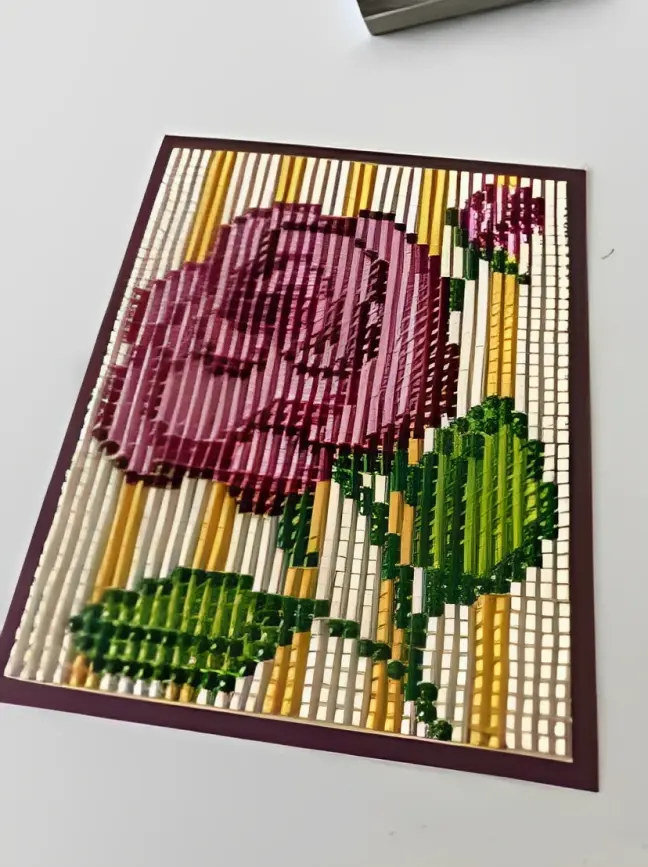
Step 6: Adding Personal Touches
As you become more comfortable with diamond painting, feel free to experiment with abstract designs or add personal elements to the canvas. Mix and match diamond shapes to create exciting textures and effects. This is your opportunity to let your creativity shine!
Step 7: Finishing and Sealing
When you complete your diamond painting, make sure all the diamonds are firmly pressed onto the adhesive surface. Check for any loose diamonds and secure them in place. For a lasting finish, seal your diamond painting with a suitable sealer to protect it from dust and wear.
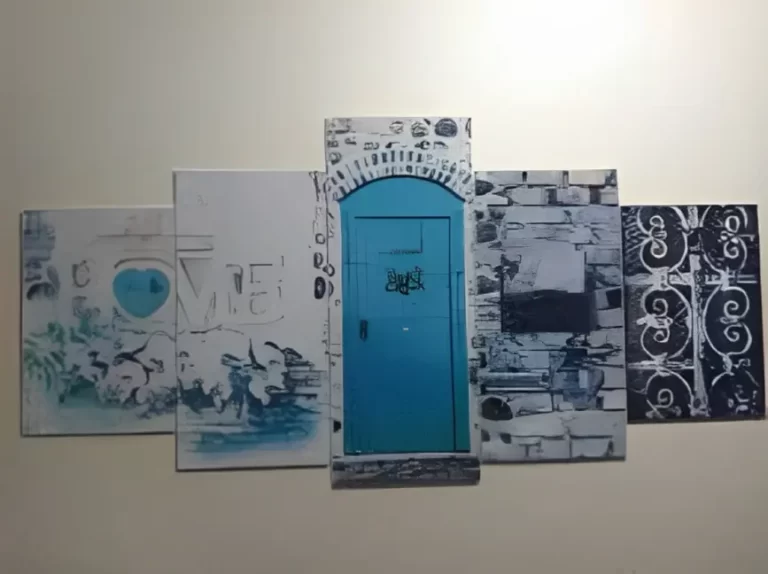
Step 8: Displaying and Gift Ideas
Congratulations on completing your custom diamond painting! Now, consider how you want to display your masterpiece. You can mount and frame it for a professional finish, or you can gift it to a loved one, making it a heartfelt and personalized present.
Conclusion
Creating your own diamond painting design is a rewarding and enjoyable experience. From selecting the perfect image to applying the final diamond, the process allows you to express your creativity and create a unique piece of art. Whether you choose to keep it for yourself or gift it to someone special, your custom diamond painting will be a cherished creation.