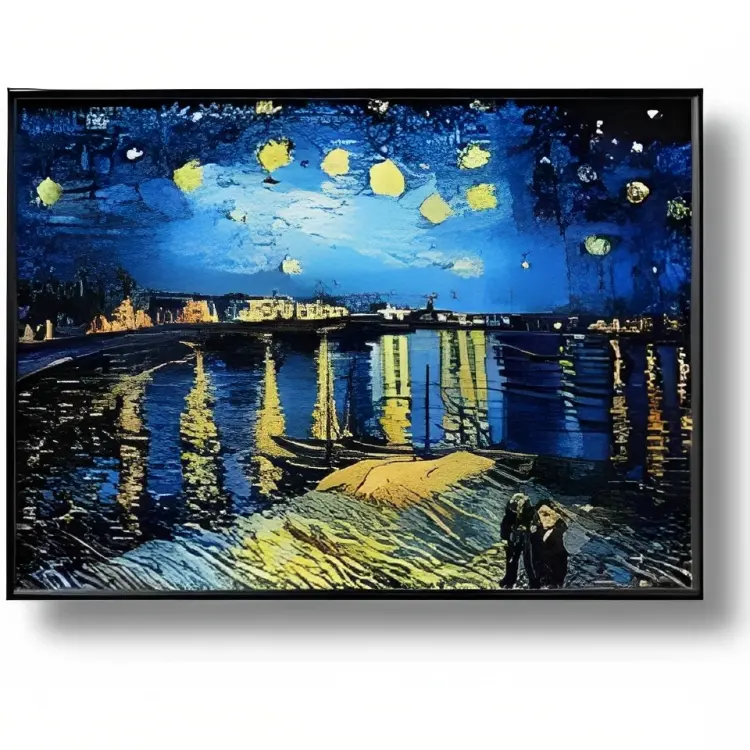
Diamond Painting: How to Fix Misplaced Drills?
Diamond painting is a beloved craft that combines creativity and precision, resulting in stunning artwork adorned with colorful diamond drills. While the process can be relaxing and therapeutic, diamond painters may encounter a common challenge: misplaced drills.
In this article, we will explore effective techniques to fix misplaced drills and achieve a flawless finish in your diamond painting projects.
Understanding Misplaced Drills
Before diving into the solutions, it’s essential to understand why drills may get misplaced. Common reasons include accidentally touching or bumping the canvas, improper tool handling, or insufficient adhesive.
Misplaced drills can detract from the overall beauty of the artwork, making it essential to address the issue promptly.
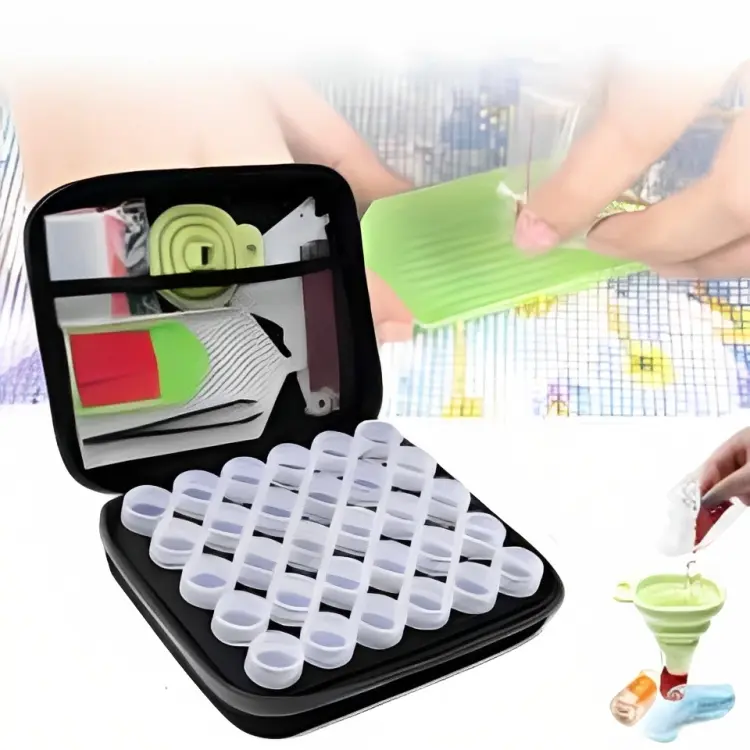
Tools Needed for Fixing Misplaced Drills
To tackle misplaced drills, you’ll need a few essential tools. A roller pin is a valuable tool for firmly securing loose drills back into place. Additionally, tweezers are helpful for making precise adjustments, especially when dealing with smaller drills or intricate areas. Depending on the adhesive used, having glue or wax at hand for re-adhesion is crucial.
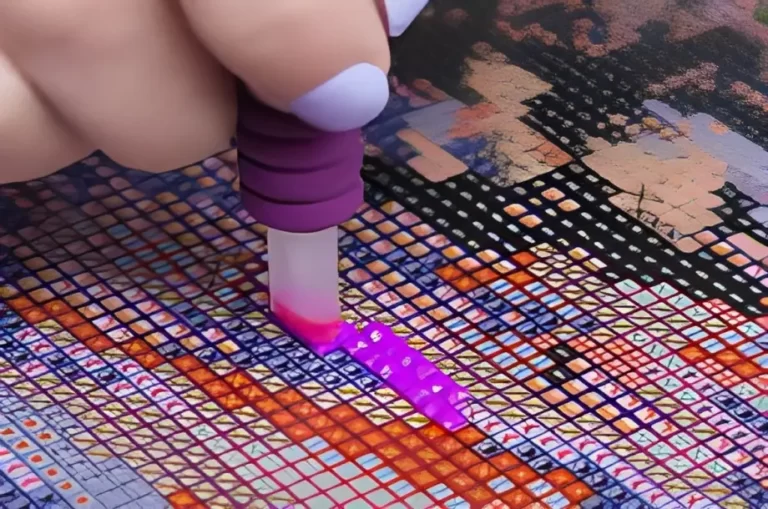
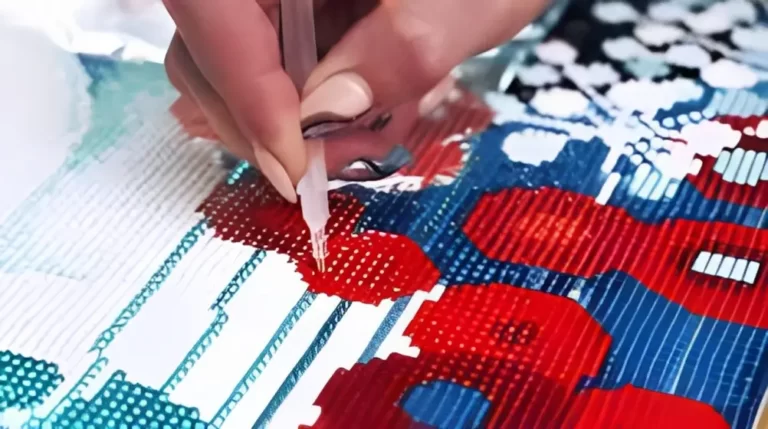
Step-by-Step Guide to Fix Misplaced Drills
Preventing Misplaced Drills
While fixing misplaced drills is possible, prevention is always better. To avoid future misplacements, take your time during the diamond painting process. Double-check each drill’s placement before moving on to the next one and maintain a steady working surface.
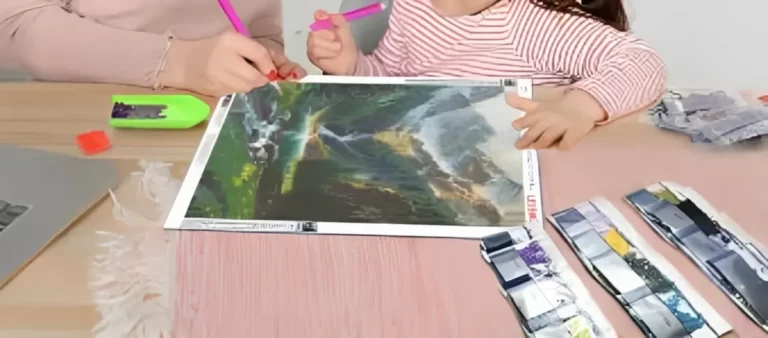
Using a Light Pad for Better Visibility
A light pad can significantly enhance your diamond painting experience. It provides better visibility of symbols and colors on the canvas, reducing the chances of drill misplacement. Using a light pad also minimizes eye strain, allowing you to focus on the finer details with ease.
Additional Tips for a Flawless Finish
For intricate areas, consider using magnifying tools to ensure precision. Keep your canvas clean and free from debris, as it can interfere with drill adhesion. A dust-free canvas ensures a smooth surface for the drills to stick firmly.
Fixing Misplaced Drills in Different Diamond Shapes
The process of fixing misplaced drills may slightly differ depending on the diamond shape used. While round drills are forgiving and can be adjusted easily, square drills demand more accuracy in placement.
Conclusion
Fixing misplaced drills in your diamond painting projects is a skill worth mastering. With the right tools and techniques, you can achieve a flawless finish that showcases the true beauty of your artwork. Remember to exercise patience and precision during the diamond painting process to prevent misplacements in the first place. Happy diamond painting!