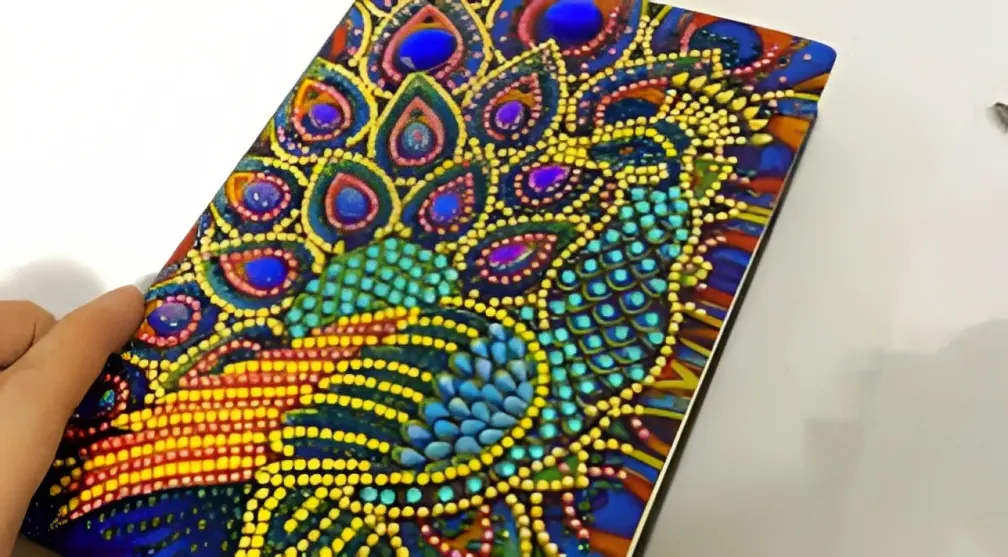
Diamond painting is a popular craft that combines the beauty of painting with the sparkle of diamonds. Once you have completed your diamond painting masterpiece, you may wonder how to protect it and enhance its appearance. Sealing your diamond painting is an important step to ensure its longevity and preserve its brilliance. In this article, we will explore the different options for sealing diamond paintings and provide a step-by-step guide on how to seal them effectively.
Before we delve into the process of sealing diamond paintings, let’s first familiarize ourselves with the materials and tools used in this craft. A typical diamond painting kit includes:
Diamond painting canvas: A pre-printed canvas with adhesive that serves as the base for placing the drills.
Diamond drills: Small resin drills that are faceted like diamonds and come in various colors.
Diamond applicator tools: A pen-like tool with a wax tip or a grip that allows you to pick up the drills.
Wax pad: A sticky pad used to coat the diamond applicator and make it easier to pick up the drills.
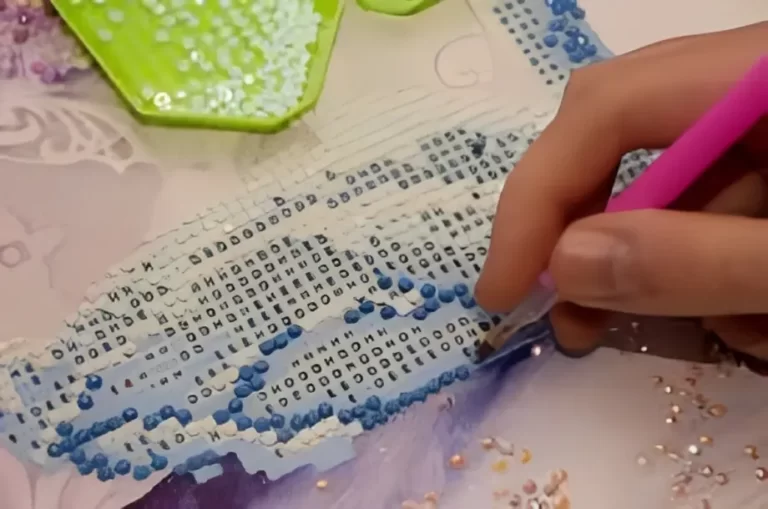
Once you have prepared the materials, it’s time to start applying the diamond drills to the canvas. Follow these steps for a smooth and accurate application:
Understand the canvas and its symbols: The canvas is usually printed with symbols that correspond to specific colors. Refer to the legend provided in your kit to match the symbols with the corresponding drill colors.
Place the diamond drills on the canvas: Use the diamond applicator tool to pick up a drill and gently press it onto the corresponding symbol on the canvas. The drills should fit snugly and cover the adhesive completely.
Techniques for picking up and placing the drills accurately: Some crafters prefer using the “single-drill” method, picking up one drill at a time, while others use the “multi-drill” method, picking up multiple drills with the applicator. Choose the technique that works best for you and ensures precise placement.
Completing the Diamond Painting
As you continue applying the diamond drills, section by section, you may encounter areas with large expanses of the same color. Here are some tips to help you complete your diamond painting efficiently:
Work section by section: Start from one corner of the canvas and gradually work your way across, completing one section at a time. This approach helps you stay organized and prevents accidental smudging or misplacement of drills.
Dealing with large areas of the same color: When you encounter large areas of the same color, it can be time-consuming to place each drill individually. Instead, use a “magic pen” or a tray with multiple slots to speed up the process. Simply fill the pen or the tray with drills of the same color and press them onto the canvas in the desired area.
Using a light pad for better visibility: Some diamond paintings have intricate details that may be challenging to see under normal lighting conditions. Using a light pad underneath the canvas illuminates the symbols, making it easier to identify the correct placement for the drills.
Finishing Touches
Once you have placed all the drills and completed your diamond painting, it’s important to give it a final touch to ensure its longevity and durability. Follow these steps for the finishing touches:
Check for any missing or misaligned drills: Carefully examine your diamond painting to identify any gaps or drills that are not properly aligned. Use the diamond applicator or a pair of tweezers to adjust or add drills as needed.
Press down the drills for better adhesion: Gently press down on the surface of the completed diamond painting to ensure that all the drills are securely adhered to the canvas. This step helps prevent drills from loosening or falling off over time.
Remove excess wax residue: If there is any wax residue left on the canvas after completing the diamond painting, use a lint-free cloth or a soft brush to gently remove it. Excess wax can interfere with the sealing process.
Sealing the Diamond Painting
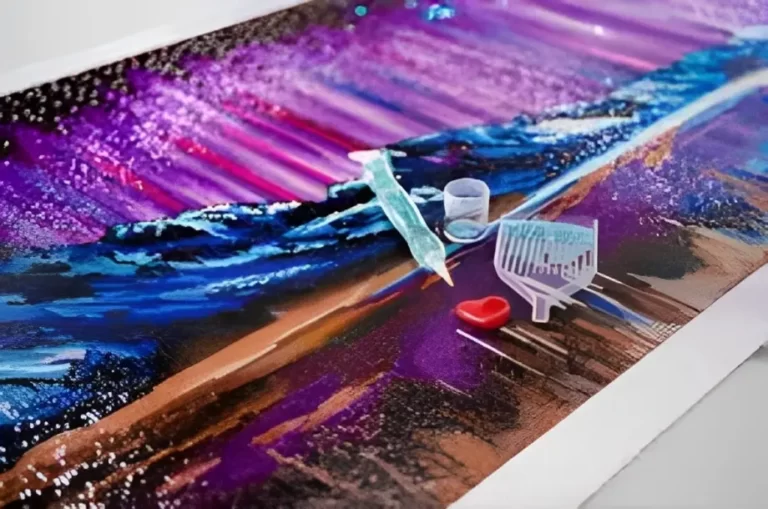
Sealing your diamond painting is a crucial step to protect it from dust, moisture, and general wear and tear. There are two common options for sealing diamond paintings: spray-on sealants and brush-on sealants. Let’s explore both options:
Spray-on sealants: Spray sealants are convenient to use and provide a smooth and even finish. They create a protective layer over the diamond drills without affecting their sparkle. To use a spray sealant, follow the manufacturer’s instructions and apply it in a well-ventilated area. Ensure that the canvas is placed on a protective surface, and spray the sealant evenly, holding the can at a distance recommended by the manufacturer.
Brush-on sealants: Brush-on sealants offer more control over the application process and allow for precise coverage. Use a soft-bristled brush to apply the sealant in thin, even coats. Start from one corner of the canvas and work your way across, ensuring that all the drills are coated. Allow each coat to dry before applying the next.
Displaying and Caring for Diamond Paintings
Once you have sealed your diamond painting, you can display it proudly in your home or gift it to someone special. Here are some tips for displaying and caring for diamond paintings:
Mounting the diamond painting on a frame: If you prefer a framed display, choose a frame that complements the size and aesthetics of your diamond painting. Carefully place the sealed canvas within the frame, ensuring that it is centered and secure.
Using glass protection for long-term preservation: To provide extra protection against dust and UV rays, consider using glass or acrylic protection for your framed diamond painting. The transparent barrier helps maintain the vibrancy of the drills and prevents them from getting damaged.
Cleaning and maintaining the diamond painting: To clean your diamond painting, gently dust it with a soft brush or use a lint roller to remove any loose particles. Avoid using liquid cleaners or abrasive materials, as they can damage the drills or the sealant.
Conclusion
Diamond painting is a captivating craft that allows you to create stunning and personalized artworks using tiny diamond-like drills. Sealing your diamond painting not only protects it from external elements but also enhances its longevity and brilliance. By following the steps outlined in this article, you can confidently seal your diamond painting and showcase your creative masterpiece for years to come.
Frequently Asked Questions (FAQs)
While hairspray may provide a temporary seal, it is not recommended for long-term preservation of diamond paintings. It may not provide adequate protection or maintain the same level of clarity as dedicated sealants.
Sealing your diamond painting once it’s completed is typically sufficient. However, if you notice any drills becoming loose over time, you can reapply the sealant to reinforce the adhesion.
While it is possible to frame a diamond painting without sealing it, sealing helps protect the drills from dust, moisture, and potential damage. It is recommended to seal your diamond painting before framing it for long-term preservation.
Sealing diamond paintings with metallic drills is equally important as sealing ones with regular drills. Metallic drills can be more prone to oxidation and tarnishing, so sealing them helps maintain their luster and prevents discoloration.
It is recommended to use sealants specifically designed for diamond paintings, as they are formulated to protect the drills without compromising their sparkle. Using other types of sealants may not provide the same level of adhesion or clarity.
I'm William, a diamond painting enthusiast. Through my site diamond-paint.com, I offer tips, tricks, and resources for creating stunning works of art. Join me on this journey of self-expression and artistic fulfillment!
Diamond painting has emerged as a popular craft and art form that combines the meditative qualities of paint-by-numbers with the sparkling elegance of mosaic art. Enthusiasts from all walks of life have been captivated by this unique creative hobby that allows them to create dazzling artwork using small resin diamonds. One such fascinating genre in the…
Diamond painting has gained popularity as a creative and relaxing craft activity. One of the most popular types of diamond painting is the 5D diamond painting kits. In this article, we will explore what 5D diamond painting kits are and delve into the best options available in the market. Understanding 5D Diamond Painting Kits 5D…
Diamond painting has gained immense popularity as a creative and relaxing craft activity. It involves placing tiny resin “diamonds” onto a canvas, following a pattern, to create a stunning and sparkling piece of art. One crucial aspect of diamond painting is choosing the right glue, as it plays a significant role in ensuring the diamonds…
Diamond art painting has gained popularity as a creative and relaxing hobby. One crucial element in this art form is the adhesive putty used to secure the diamond drills onto the canvas. The choice of adhesive putty plays a significant role in the overall quality and longevity of the finished diamond art piece. In this…
Diamond painting is a popular craft that combines the beauty of painting with the sparkle of diamonds. It involves placing small resin “diamonds” onto a canvas to create a stunning and vibrant image. Once you’ve completed your diamond painting masterpiece, it’s important to seal it to protect the diamonds and enhance its longevity. In this…
Diamond painting has gained immense popularity as a creative and therapeutic hobby in recent years. This unique craft involves placing tiny resin “diamonds” onto an adhesive canvas, resulting in stunning and shimmery compositions. If you are interested in trying diamond painting or are a seasoned enthusiast looking for the best companies to purchase from, this…