How to Fix Large Gaps Between Adhesive and Canvas on Diamond Painting?
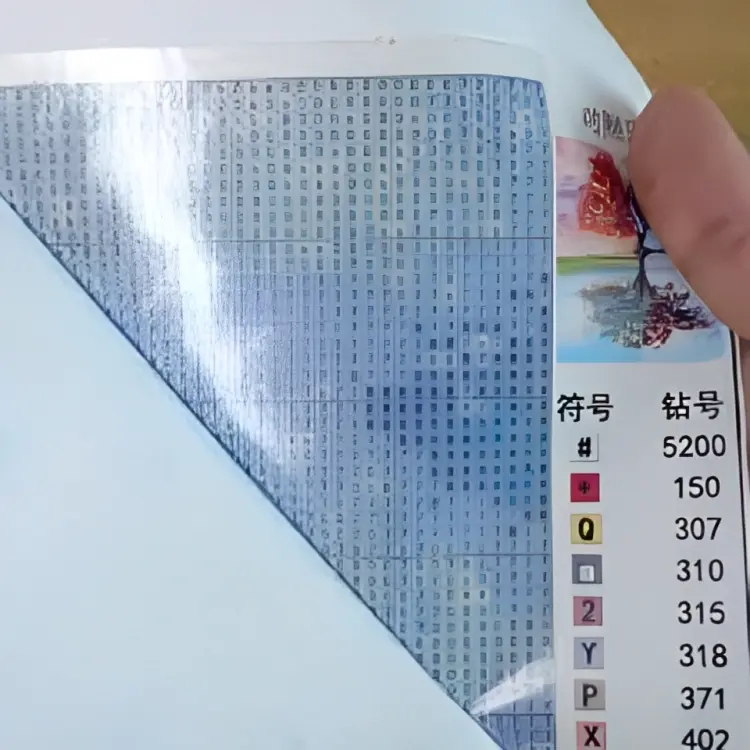
Creating a mesmerizing diamond painting masterpiece requires meticulous attention to detail and precision. However, even with the utmost care, artists may encounter large gaps between the adhesive and canvas surface, posing a challenge to the artwork’s overall aesthetics. In this article, we will explore effective techniques and methods to fix these gaps and ensure a flawless diamond painting experience.
Assessing the Gap Size and Location
Before delving into the solutions, it is essential to assess the size and location of the gaps on the canvas. Small gaps may be less noticeable, while larger ones can significantly impact the final result. Additionally, the gaps’ placement, such as near focal points or intricate patterns, may demand specific approaches for a seamless fix.
Tools and Materials Needed
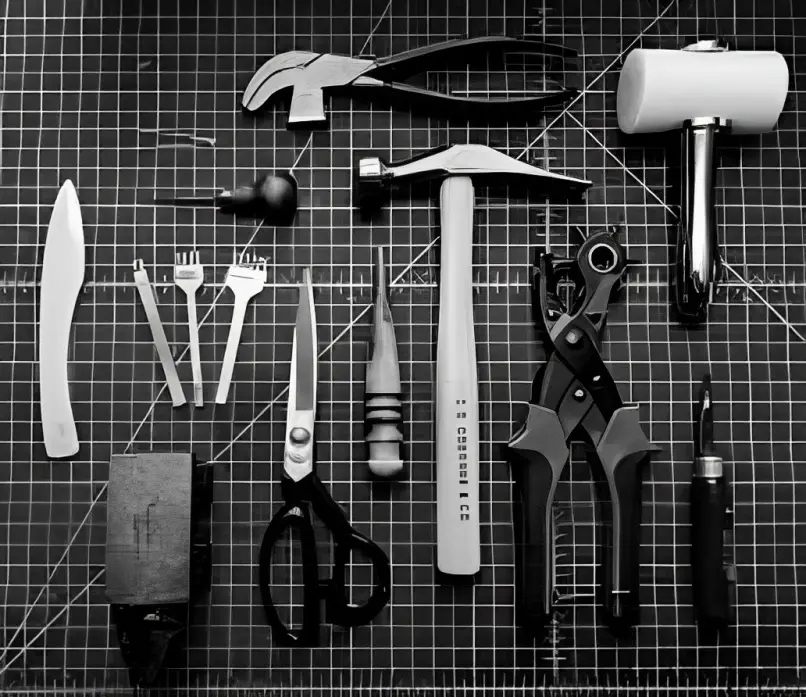
To undertake the gap-fixing process successfully, gathering the appropriate tools and materials is crucial. The essential toolkit may include spare diamonds, adhesive putty or wax, scissors, markers or paints, and a clean cloth for wiping surfaces.
Preparing the Canvas and Workspace
Creating a conducive workspace is vital for ensuring precision and focus during the gap-fixing process. Before commencing, lay the canvas on a clean and flat surface, ensuring it is free from dust and debris. Gently flatten the canvas to facilitate easy access to the gaps.
Technique 1: Using Extra Diamonds to Fill Gaps
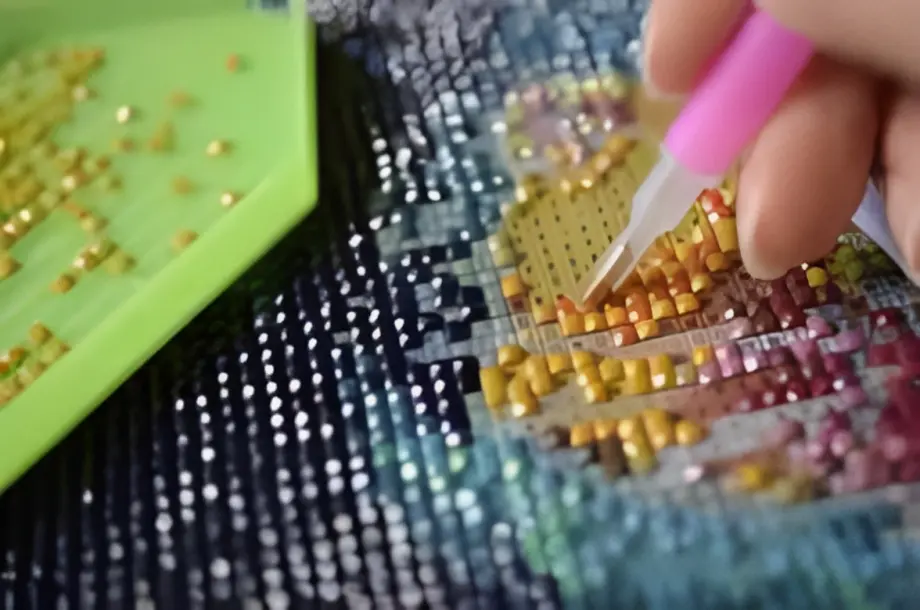
For minor gaps, utilizing spare diamonds from the kit can be an effective solution. Carefully place the diamonds into the gaps, aligning them with the existing pattern to maintain a seamless look.
Technique 2: Using Adhesive Putty or Wax
When dealing with slightly larger gaps, adhesive putty or wax can come to the rescue. Roll the putty into small balls and gently press them into the gaps, ensuring a secure fit.
Technique 3: Cutting and Replacing Adhesive Sheets
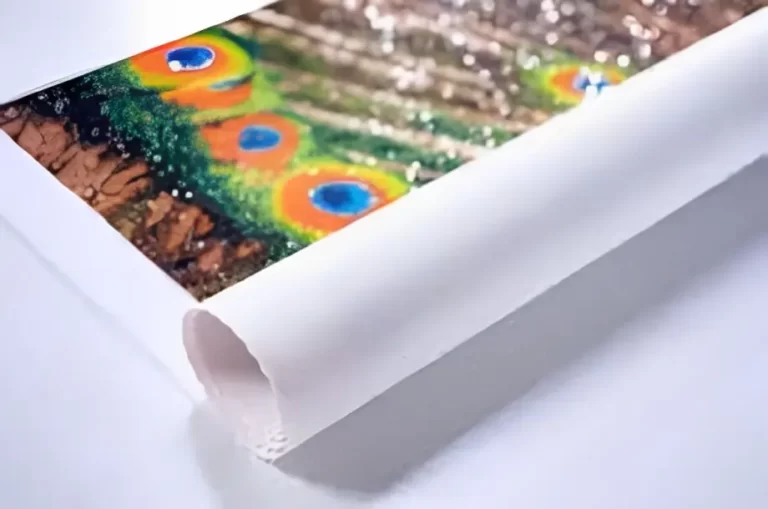
In cases of extensive damage or gaps, cutting and replacing the adhesive sheet is a viable option. Use scissors to carefully trim the damaged section, and then apply a new adhesive sheet, ensuring proper alignment.
Technique 4: Touching Up with Paints or Markers
For gaps that cannot be filled directly with diamonds or putty, using markers or paints that match the canvas colors can be an innovative solution. Carefully apply the colors to camouflage the gaps, blending them with the surrounding pattern.
Prevention Tips for Future Projects
To avoid encountering large gaps in future diamond painting projects, consider a few prevention tips. Opt for smaller canvas sizes as you gain experience, handle the adhesive sheets with care, and work in a controlled environment to minimize external factors that may affect the adhesive.
Common Mistakes to Avoid
When fixing gaps, it is essential to avoid common mistakes that may exacerbate the issue. Mishandling the adhesive, applying too much pressure, or using the wrong tools can lead to irreversible damage.
Personalizing and Customizing Gaps
Embrace creativity when dealing with gaps, as they can provide opportunities for personalization. Transform gaps into design elements, integrate them into the artwork, and experiment with various artistic techniques.
Final Touches and Quality Check
After fixing the gaps, thoroughly inspect the canvas for any irregularities or discrepancies. Ensure that the diamonds are firmly in place, and the canvas exudes a seamless appearance.
Conclusion
In conclusion, fixing large gaps between adhesive and canvas in a diamond painting project may initially seem challenging, but with the right techniques and tools, it is entirely achievable. Embrace creativity, exercise precision, and follow the outlined steps to create a flawless diamond painting masterpiece that you can be proud of.
