How to Use Diamond Painting Glue
Diamond painting has become a popular and therapeutic craft, bringing joy to countless hobbyists. One of the essential components of diamond painting is the adhesive used to secure the dazzling diamonds onto the canvas.
Choosing the right glue and understanding how to use it properly can greatly impact the quality and longevity of your diamond painting masterpiece. In this article, we will explore the different types of diamond painting glue and provide step-by-step instructions on how to use it effectively.
Types of Diamond Painting Glue
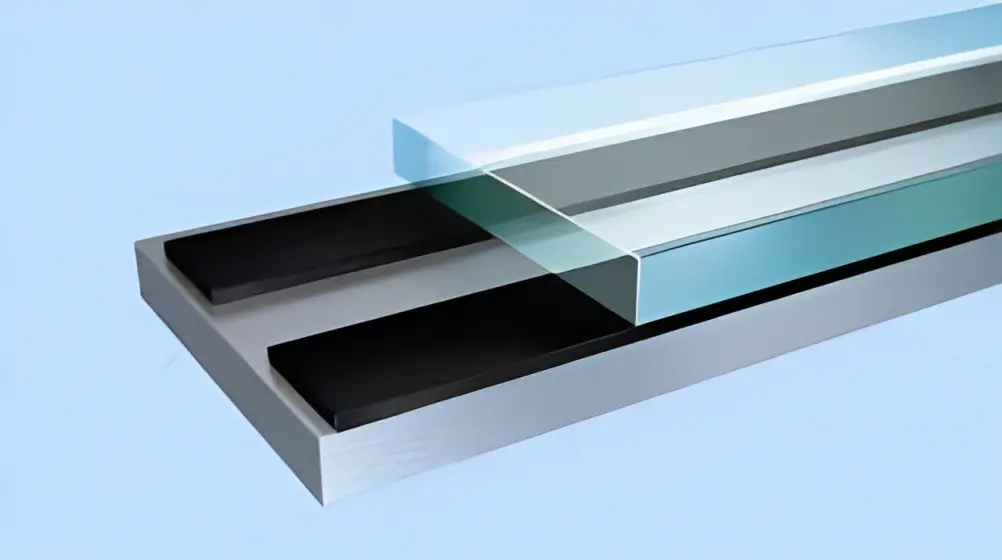
There are two main types of adhesive used in diamond painting: double-sided adhesive and poured glue. Double-sided adhesive canvases come with pre-applied adhesive sheets, while poured glue canvases have a liquid adhesive poured over the canvas, providing a sticky surface for diamond placement.
Advantages of Poured Glue Over Double Sided Adhesive
Poured glue has several advantages over double-sided adhesive. Firstly, it reduces the occurrence of air bubbles and wrinkles, ensuring a smoother diamond painting experience. Additionally, poured glue canvases are more durable and less prone to losing diamonds during the process. These advantages make poured glue a preferred choice for most diamond painters.
Preparing the Canvas
Before applying the glue, it’s essential to prepare the canvas properly. Unroll and flatten the canvas to ensure it lies flat without any creases or folds. Additionally, clean the canvas surface to remove any dust or debris that might interfere with the adhesive’s effectiveness.
Applying the Glue
When working with poured glue, it’s crucial to handle the glue bottles with care. Use applicators designed for precise glue application to avoid over-gluing the canvas.
Spreading the Glue
Properly spreading the glue is crucial to achieving an even distribution. Various techniques can be employed to ensure the adhesive covers the canvas surface without creating excess glue.
Placing Diamonds on the Canvas
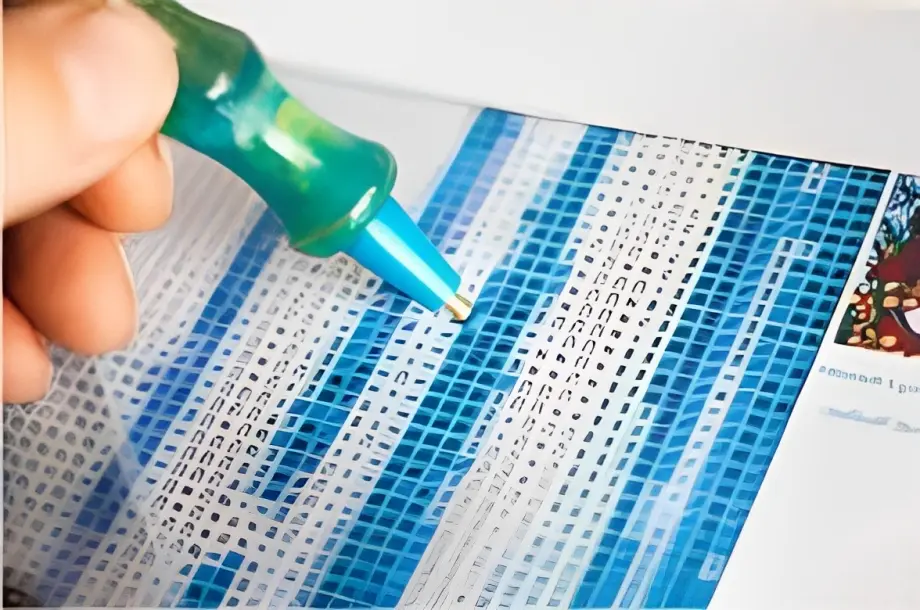
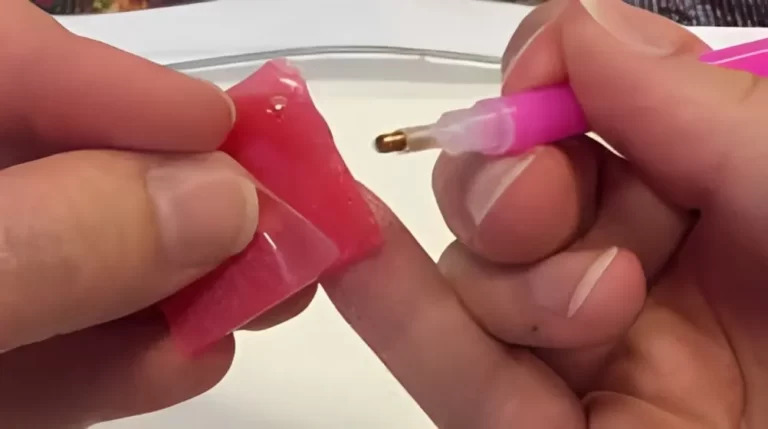
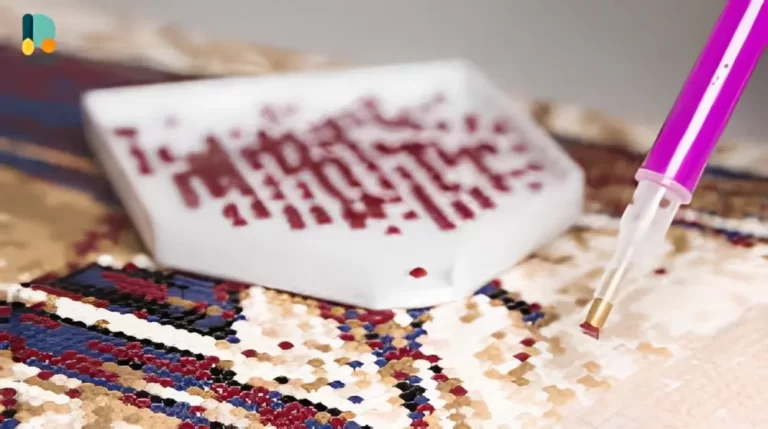
Using diamond pens or tweezers, carefully place the diamonds on the adhesive-covered canvas. Ensuring they stick properly will result in a stunning and long-lasting diamond painting.
Dealing with Mistakes
Mistakes happen, but they can be rectified in diamond painting. Learn how to correct misplaced diamonds and remove excess glue without damaging the canvas.
Drying and Curing
Allow sufficient drying time for the glue to set properly. Curing the canvas under optimal conditions will enhance the adhesive’s tackiness and longevity.
Tips for a Successful Diamond Painting
Explore helpful tips, such as working in sections and storing glue and diamonds properly, to ensure a smooth and enjoyable diamond painting journey.
Cleaning and Maintenance
Learn how to keep your diamond painting clean and well-maintained, ensuring its beauty stands the test of time. Removing dust and lint is essential to preserving the adhesive’s effectiveness.
Troubleshooting Common Issues
Discover solutions for common issues such as air bubbles, wrinkles, and loose diamonds. Addressing these problems promptly will ensure a flawless finished product.
Alternative Gluing Methods
Explore alternative adhesive options, such as wax-based adhesives and other specialized glues, to find the one that best suits your preferences and needs.
Conclusion
Diamond painting glue is a crucial element in creating stunning and enduring masterpieces. Opting for poured glue over double-sided adhesive can significantly improve your diamond painting experience. By following proper techniques for applying, spreading, and curing the glue, you can ensure the diamonds stick securely, leading to a satisfying and visually captivating finished diamond painting. Embrace the joy of diamond painting with the right glue and create dazzling works of art that you can cherish for years to come.
